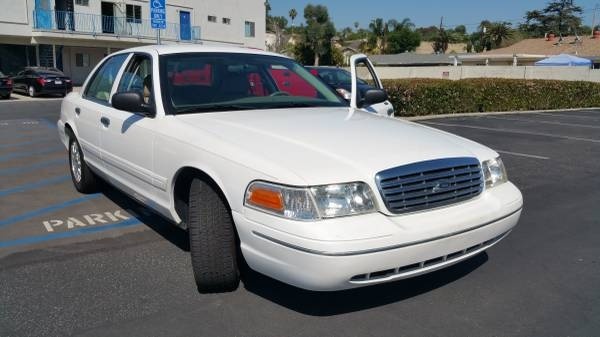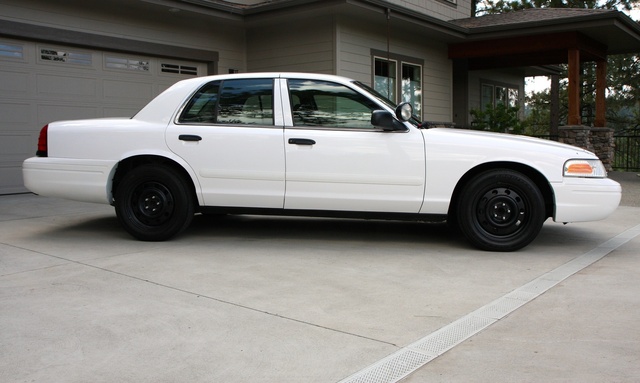
Ford Crown Victoria, Mercury Grand Marquis 2006 Workshop Repair & Service Manual (COMPLETE & INFORMATIVE for DIY REPAIR) ☆ ☆ ☆ ☆ ☆
* COMPLETE, Absolutely No Missing Pages!
* Official Service INFORMATION You Can Count On!
* Customer Satisfaction GUARANTEED!
This high QUALITY official manual for Ford Crown Victoria, Mercury Grand Marquis 2006 is 100 percents COMPLETE and INTACT, no MISSING, CORRUPT pages, sections to freak you out! This manual is exactly as described. It is in the cross-platform PDF document format so that it works like a charm on all kinds of devices.
FORMAT: PDF
LANGUAGE: English
PAGE: 3,266 Pages
OS: Windows/Mac OS X/Linux/Android/iOS
INSTANT DELIVERY: A download link will be sent to you instantly after payment. Simply click on the link and save it to your computer. You can use this Manual as long as you wish with no restrictions.
CUSTOMER SATISFACTION: If there is ANY kind of problem with the item you purchased, just drop a quick email. Within HOURS the issue shall be taken care of.
PRINTABLE MANUAL WITH DIAGRAMS: Just print the manual out and start to work. You can also use the manual with your Tablet/Laptop in your garage.
REFUND/EXCHANGE POLICY: We sell high QUALITY products only. However if you encounter any problems with the item you purchased, another replacement link will be sent to you. If we’re at fault, you will get 100 percents refund.
Buy ☆THE BEST MANUAL ON THE INTERNET☆ from responsible seller and get instant download now without uncertainty or surprise.
This highly detailed workshop service repair manual for download contains virtually everything you will ever need to repair, maintain, rebuild, refurbish or restore Ford Crown Victoria, Mercury Grand Marquis 2006. All diagnostic and repair procedures and gives you access to the same information that professional technicians and mechanics have. You can view and print out the complete repair procedures with this workshop service repair manual Download – you do not need to be skilled with a computer.
EXCERPTS:
2006 Crown Victoria/Grand Marquis
Workshop Manual
Quick Links
Introduction
Specifications
Metrics
Torque Wrench Adapter Formulas
Acronyms
Alphabetical Index
Table of Contents
1: General Information
00: Service Information
2: Chassis
04: Suspension
05: Driveline
06: Brake System
11: Steering System
3: Powertrain
03: Engine
07: Automatic Transmission
09: Exhaust System
10: Fuel System
4: Electrical
12: Climate Control System
13: Instrumentation and Warning Systems
14: Battery and Charging System
15: Audio Systems
17: Lighting
18: Electrical Distribution
19: Electronic Feature Group
5: Body and Paint
01: Body
02: Frame and Mounting
SECTION 309-00:
Exhaust System
SPECIFICATIONS
DESCRIPTION AND OPERATION
Exhaust System
DIAGNOSIS AND TESTING
Exhaust System
Inspection and Verification
Symptom Chart
GENERAL PROCEDURES
Exhaust System Alignment
REMOVAL AND INSTALLATION
Exhaust System — Exploded View
Muffler and Tailpipe
Muffler and Tailpipe — Fire Suppression System
Catalytic Converter
Exhaust Heat Shields — Catalytic Converter and Muffler
Exhaust System Alignment
1. WARNING: Before servicing a vehicle equipped with a fire suppression system, depower the system by following the procedure in Section 419-03 . Failure to follow the instructions may result in serious personal injury.
With the vehicle in NEUTRAL, position it on a hoist. For additional information, refer to Section 100-02 .
2. Loosen all fasteners joining the exhaust system components.
Beginning at the front of the vehicle, align the exhaust system to establish the maximum clearance.
Make sure all fit pipes are pushed all the way into the preceding pipe and the notches are correctly lined up with the tabs.
3.
Beginning at the front of the vehicle, tighten all fasteners and clamps to specification. For additional information, refer to Specifications in this section.
4.
5. Start the engine and check the exhaust system for leaks.
WARNING: If the vehicle is equipped with a fire suppression system, repower the system.
For important safety warnings and procedures, refer to Section 419-03 . Failure to follow these instructions may result in serious personal injury. If equipped with a fire suppression system, repower the system.