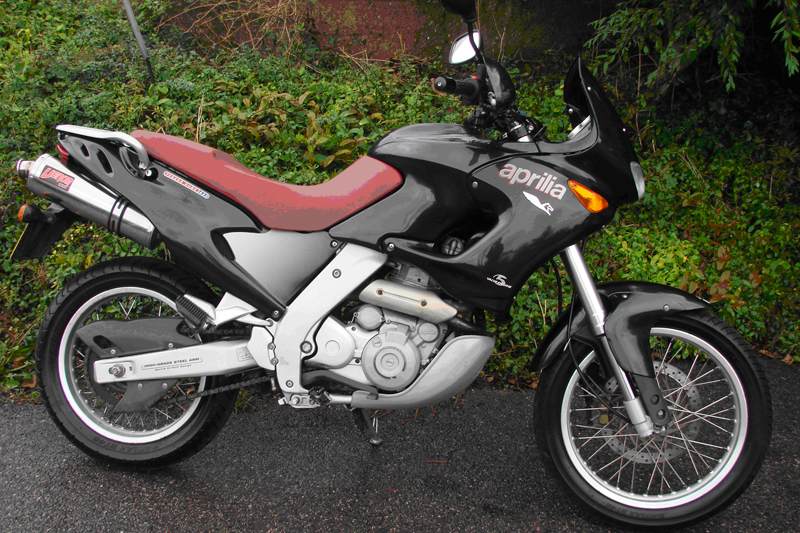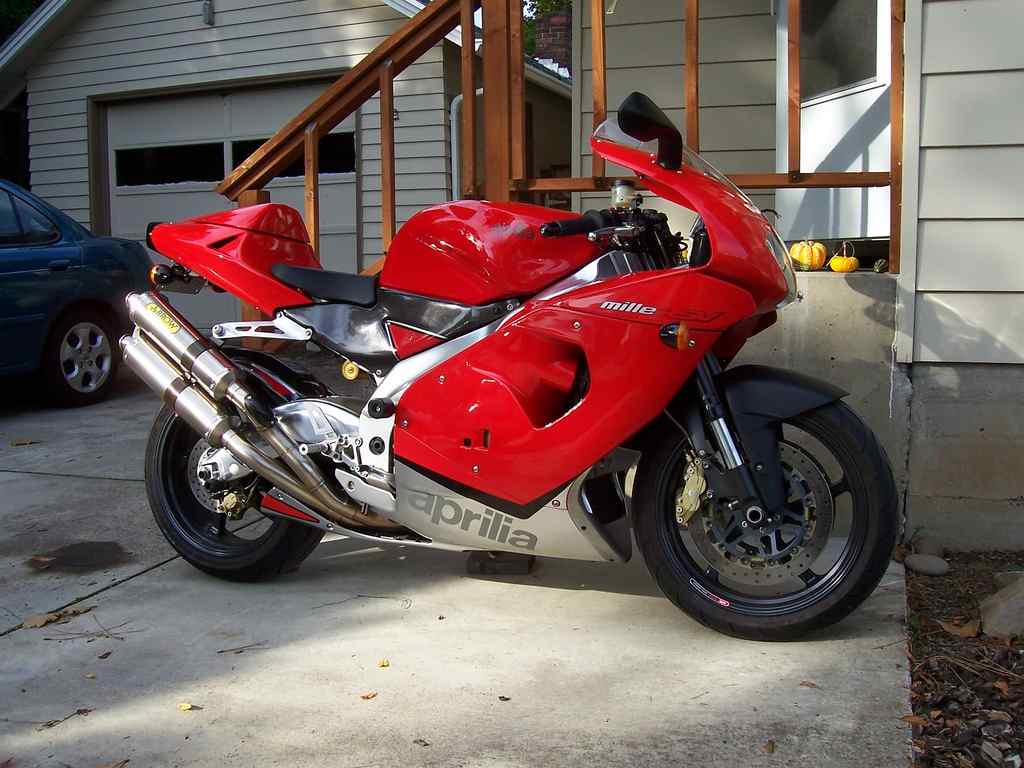
2000-2003 Aprilia RST Mille Motorcycle Workshop Repair & Service Manual (360 Pages, Searchable, Printable, Bookmarked, iPad-ready PDF)
Complete digital workshop service and repair manual written for the Aprilia RST Mille Motorcycle; Production model years: 2000 2001 2002 2003. All styles covered (all models, and engines). It is in the cross-platform PDF document format so that it works like a charm on all kinds of devices.
This QUALITY manual is 100% COMPLETE and INTACT, no MISSING/CORRUPT pages/sections to freak you out! Buy from responsible seller and get INSTANT DOWNLOAD now without wasting your hard-owned money on uncertainty or surprise; this manual is exactly as described.
PRODUCT DETAILS:
Total Pages: 360 pages
File Format: PDF (Windows & Mac & Linux)
Language: English
Delivery: instant download link displayed on checkout page & emailed to you after payment
Protection: DRM-free; without any restriction
Printable: Yes
This COMPLETE official full workshop service repair manual includes:
* Detailed sub-steps expand on repair procedure information
* Notes, cautions and warnings throughout each chapter pinpoint critical information.
* Numbered instructions guide you through every repair procedure step by step.
* Bold figure number help you quickly match illustrations with instructions.
* Detailed illustrations, drawings and photos guide you through every procedure.
* Enlarged inset helps you identify and examine parts in detail.
* Numbered table of contents easy to use so that you can find the information you need fast.
* This manual also makes it easy to diagnose and repair problems with your machines electrical system.
* Troubleshooting and electrical service procedures are combined with detailed wiring diagrams for ease of use.
* COMPLETE, Absolutely No Missing Pages!
* Official Service INFORMATION You Can Count On!
* Customer Satisfaction GUARANTEED!
EXCERPT (2000-2003 Aprilia RST Mille Motorcycle Service/Repair Manual):
INTRODUCTION
GENERAL INFORMATION
SERVICE AND SETTING UP
ENGINE
FUEL SYSTEM
COOLING SYSTEM
ELECTRICAL SYSTEM
CHASSIS
TROUBLESHOOTING
ANALYTICAL INDEX
INSTRUCTIONS FOR APPLYING THE TRANSFERS
When removing parts from the frame:
Handle all plastic and painted components with care to avoid scraping or scratching them.
Work very carefully.
Do not damage the tabs and/or slots into which they are fitted.
When applying the transfers, carefully follow the instructions given below.
We recommend using the following tools:
– relatively stiff spatula (1);
NOTE Generally speaking, soft squeegee-type spatulas do not remove enough water from under the transfers.
– sponge or spray bottle (2) with water.
NOTE Add a bit of detergent (1-3%) to the water, and shake to create bubbles.
Proceed as follows to apply a transfer:
• Place the transfer (3) upside-down on a work surface.
• Keeping the transfer spread flat on the work surface, remove the backing paper (4) completely.
NOTE We recommend using a spray bottle (2).
If using a sponge, sponge the surface without pressing, to keep from ruining the glue.
• Wet the surface of the adhesive with soapy water.
• Apply the transfer (3) to the surface to be decorated and move it to the desired position.
NOTE Always move the spatula in even strokes, from the center of the transfer out.
• Using the spatula (1), press down fairly hard and move the spatula across the surface of the transfer until all excess soap and water has been removed from underneath.
NOTE Do not lift the corners and/or sides of the transfer.
• Use an absorbent cloth and, working from the center out, dry the transfer.
• Move the spatula over the transfer again with firm, even strokes, pressing down as hard as possible.
Move the spatula in strokes from the center out, being especially careful at the corners and sides, to ensure that the entire surface adheres evenly.