Posted on

Hitachi EX1800 Hydraulic Excavator Factory Service & Shop Manual


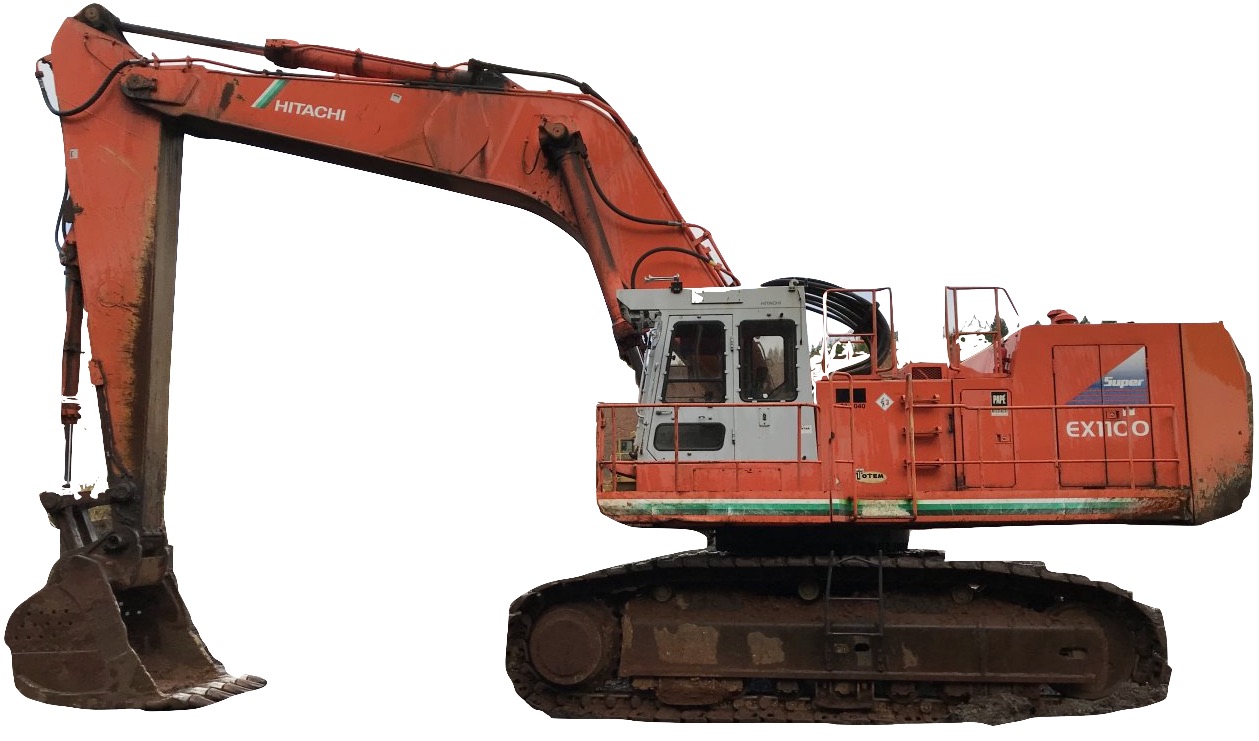
Pages from T144E00 – Hitachi EX1800-3 Hydraulic Excavator Technical Manual

MHITEX1800OPES.zip
Price: $29.99 USD

Complete workshop & service manual with electrical wiring diagrams for Hitachi EX1800-2, EX1800-3 Hydraulic Excavator. It’s the same service manual used by dealers that guaranteed to be fully functional and intact without any missing page.

This service & repair manual (including maintenance, overhaul, disassembling & assembling, adjustment, tune-up, operation, inspecting, diagnostic & troubleshooting…) is divided into different sections. Each section covers a specific component or system with detailed illustrations. A table of contents is placed at the beginning of each section. Pages are easily found by category, and each page is expandable for great detail. The printer-ready PDF documents work like a charm on all kinds of devices.

FILELIST:
KM114E01 – Hitachi EX1800-2 Hydraulic Excavator Service Manual.pdf
T144E00 – Hitachi EX1800-3 Hydraulic Excavator Technical Manual.pdf
W144E00 – Hitachi EX1800-3 Hydraulic Excavator Workshop Manual.pdf
EM18225 – Hitachi EX1800-2 Hydraulic Excavator Operator’s Manual.pdf
EM18226 – Hitachi EX1800-2 Hydraulic Excavator Operator’s Manual.pdf
EM18712 – Hitachi EX1800-3 Hydraulic Excavator Operator’s Manual.pdf
Hitachi EX1900-6 Excavator Electrical Circuit Diagram 1 of 3.pdf
Hitachi EX1900-6 Excavator Electrical Circuit Diagram 2 of 3.pdf
Hitachi EX1900-6 Excavator Electrical Circuit Diagram 3 of 3.pdf

EXCERPT:
COMPONENT OPERATION / Travel Device
Fast Speed
When the travel speed switch is turned ON (fast), the travel speed change solenoid valve is activated, allowing the pilot pressure to act on the spring side in the reducing valve. Then the pilot pressure is fed to the spool ends in the travel speed change valve without being reduced by the reducing valve.
As the pilot pressure is not reduced, the spools in the travel speed change valve are moved. Therefore, the main pressure acts on the fast side tilt piston, decreasing the travel motor swash angle and increasing travel speed.

Posted on

Hitachi EX1000, EX1100 Excavator Factory Service & Shop Manual


Pages from W142E00 – Hitachi EX1100-3 Excavator Workshop Manual

MHITEX1100OPES.zip
Price: $29.99 USD

Complete workshop & service manual with electrical wiring diagrams for Hitachi EX1000, EX1100, EX1100-3 Excavator. It’s the same service manual used by dealers that guaranteed to be fully functional and intact without any missing page.

This Hitachi EX1000, EX1100, EX1100-3 Excavator service & repair manual (including maintenance, overhaul, disassembling & assembling, adjustment, tune-up, operation, inspecting, diagnostic & troubleshooting…) is divided into different sections. Each section covers a specific component or system with detailed illustrations. A table of contents is placed at the beginning of each section. Pages are easily found by category, and each page is expandable for great detail. The printer-ready PDF documents work like a charm on all kinds of devices.

FILELIST:
KM123E01 – Hitachi EX1100 Excavator Technical Shop Manual (Service & Repair).pdf
KM10700 – Hitachi EX1000 Excavator Technical Shop Manual (Service & Repair) 1 of 2.pdf
KM10700 – Hitachi EX1000 Excavator Technical Shop Manual (Service & Repair) 2 of 2.pdf
T142E00 – Hitachi EX1100-3 Excavator Technical Manual.pdf
TO18EE-00 – Hitachi EX1200-5C Excavator Technical Manual (Operational Principle).pdf
W142E00 – Hitachi EX1100-3 Excavator Workshop Manual.pdf
EM17E21 – Hitachi EX1100-3 Excavator Operator’s Manual.pdf
EM178EN17 – Hitachi EX1100 Excavator Operator’s Manual.pdf
EM17818 – Hitachi EX1100 Excavator Operator’s Manual.pdf
Hitachi EX1200 5 & 6 Excavator Pin & Buses.pdf

EXCERPT:
UPPERSTRUCTURE / Pilot Shut-off Valve
Disassemble Pilot Shut-Off Valve
Be sure to thoroughly read Precautions for Disassembly and Assembly on page W01-01-01 before starting disassembly.
1. Remove retaining ring (1) and washer (2) and pull out spool (11).
2. Remove spring pin (9) from spool (11), then remove lever (10).
NOTE: Mark spool (11) and lever (10) for alignment when installing.
3. Remove washer (7), retaining ring (8) from spool (11).
4. Remove backup rings (3), (6), O-ring (4) and (5) from body (14).

Posted on

Hitachi EX700, EX750-5, EX800H-5 Hydraulic Excavator Factory Service & Shop Manual


Pages from W162E00 – Hitachi EX750-5, EX800H-5 Hydraulic Excavator Workshop Manual

MHITEX700EX800OPES.zip
Price: $29.99 USD

Complete workshop & service manual with electrical wiring diagrams for Hitachi EX700, EX750-5, EX800H-5 Hydraulic Excavator. It’s the same service manual used by dealers that guaranteed to be fully functional and intact without any missing page.

This Hitachi EX700, EX750-5, EX800H-5 Hydraulic Excavator service & repair manual (including maintenance, overhaul, disassembling & assembling, adjustment, tune-up, operation, inspecting, diagnostic & troubleshooting…) is divided into different sections. Each section covers a specific component or system with detailed illustrations. A table of contents is placed at the beginning of each section. Pages are easily found by category, and each page is expandable for great detail. The printer-ready PDF documents work like a charm on all kinds of devices.

FILELIST:
K0205L00 – Hitachi EX750-5, EX800H-5 Hydraulic Excavator Check Sheets – Ultrasonic (UT) Inspection – Loader Front.pdf
K021200 – Hitachi EX750-5, EX800H-5 Hydraulic Excavator Check Sheets – Recommended Preventive Service Program.pdf
KM11700 – Hitachi EX700 Hydraulic Excavator Service Manual – Loader Front Atiachment.pdf
KO205B00 – Hitachi EX750-5, EX800H-5 Hydraulic Excavator Check Sheets – Ultrasonic (UT) Inspection – Backhoe Front.pdf
KO205B01 – Hitachi EX750-5, EX800H-5 Hydraulic Excavator Check Sheets – Visual Inspection – Backhoe Front.pdf
KO205L01 – Hitachi EX750-5, EX800H-5 Hydraulic Excavator Check Sheets – Visual Inspection – Loader Front.pdf
KO17700 – Hitachi EX750-5, EX800H-5 Hydraulic Excavator Assembly Procedure Manual.pdf
KO18700 – Hitachi EX750-5, EX800H-5 Hydraulic Excavator Check Sheets – Daily (10HR) and Weekly (50HR) Maintenance.pdf
KO18800 – Hitachi EX750-5, EX800H-5 Hydraulic Excavator Check Sheets – Monthly (250HR) Maintenance.pdf
KO19200 – Hitachi EX750-5, EX800H-5 Hydraulic Excavator Check Sheets – Completed Assembly Manual.pdf
T162E00 – Hitachi EX750-5, EX800H-5 Hydraulic Excavator Technical Manual.pdf
TO162E01 – Hitachi EX750-5, EX800H-5 Hydraulic Excavator Technical Manual (Operational Principle).pdf
TT162E01 – Hitachi EX750-5, EX800H-5 Hydraulic Excavator Technical Manual (Troubleshooting Manual).pdf
TT162E01CIR – Hitachi EX750-5, EX800H-5 Hydraulic Excavator Electrical Circuit Diagrams.pdf
W162E00 – Hitachi EX750-5, EX800H-5 Hydraulic Excavator Workshop Manual.pdf
EM17C12 – Hitachi EX750-5, EX800H-5 Hydraulic Excavator Operator’s Manual.pdf
EM17C31 – Hitachi EX750-5, EX800H-5 Hydraulic Excavator Operator’s Manual.pdf
EM17C51 – Hitachi EX750-5, EX800H-5 Hydraulic Excavator Operator’s Manual.pdf
EM17224 – Hitachi EX700 Hydraulic Excavator Operator’s Manual.pdf

EXCERPT:
UNDERCARRIAGE / Travel Device
Disassemble Brake Valve
Be sure to thoroughly read Precautions for Disassembly and Assembly on page W1-1-1 before starting the disassembly work.
1. Remove socket bolts (9) (8 used). : 10 mm
2. Remove cap (5) from body (13).
3. Remove O-rings (6) (2 used) and backup rings (7) (2 used) from cap (5).
4. Loosen plugs (1) (2 used) to remove springs (3) (2 used) and balls (4) (2 used) from cap (5). : 14 mm
5. Remove spring seats (21) (2 used), (19) (2 used) and springs (20) (2 used) from cap (5).
6. Remove plunger (12) from body (13).
7. Remove plugs (18) (2 used). : 14 mm
8. Remove springs (16) (2 used) and check valves (15) (2 used) from body (13).
IMPORTANT: Place soft protectors, such as cloth, between the vise and plunger (12) so as not to damage plunger (12).
9. Insert a metal bar into the hole provided on the stepped part of plunger (12).
Note that the metal bar is used to prevent plunger (12) from turning when removing plugs (10) (2 used). Put plunger (12) in a vise.
10. Remove plugs (10) (2 used) from plunger (12). : 19 mm