INSTANT DOWNLOAD (add to cart)
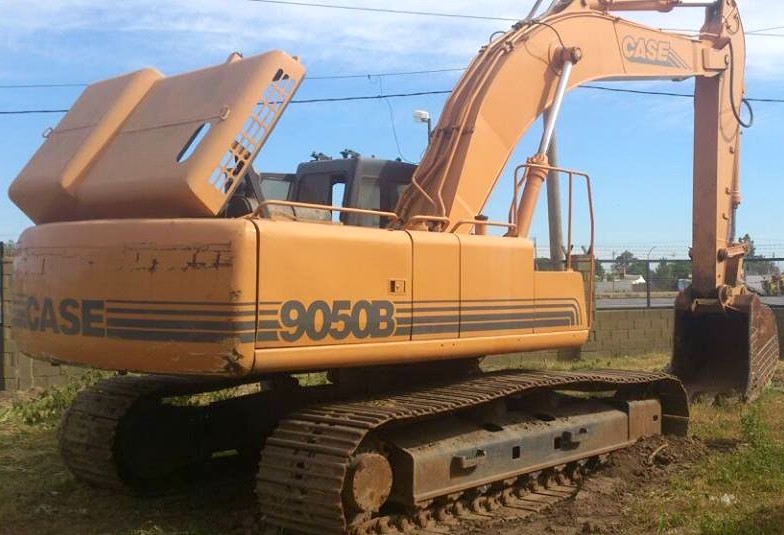
Case 9050B Excavator Workshop Repair & Service Manual
785 pages, bookmarked, Searchable, Printable, high quality PDF
7-64192 – CASE 9050B Excavator Service Manual.pdf
Complete digital official shop manual contains service, maintenance, and troubleshooting information for the Case 9050B Excavator. Diagnostic and repair procedures are covered in great detail to repair, maintain, rebuild, refurbish or restore your Case 9050B Excavator like a professional mechanic in local service/repair workshop. This cost-effective quality manual is 100% complete and intact as should be without any missing pages. It is the same factory shop manual used by dealers that guaranteed to be fully functional to save your precious time.
This manual for Case 9050B Excavator is divided into different sections. Each section covers a specific component or system and, in addition to the standard service procedures, includes disassembling, inspecting, and assembling instructions. A table of contents is placed at the beginning of each section. Pages are easily found by category, and each page is expandable for great detail. It is in the cross-platform PDF document format so that it works like a charm on all kinds of devices. You do not need to be skilled with a computer to use the manual.
EXCERPT:
SWING MOTOR
Removal
STEP 1
Park the machine on a level surface. Lower the attachment to the ground.
STEP 2
Turn the key switch to the OFF position to stop the engine.
STEP 3
Turn the key switch to the ON position. Make sure the left control console is down in the OPERATING position and the gate lock control lever is pushed down to the OPERATING position. Check that the CONTROLS LOCK symbol is not displayed on the systems display panel. If the CONTROLS LOCK symbol is displayed, push and release the CONTROLS OFF button on the left control panel.
STEP 4
Operate the swing and attachments control levers back and forth, left and right, ten times to release hydraulic system pressure.
STEP 5
Turn the key switch to the OFF position.
STEP 6
Open the left side access doors. Open the air tank drain valve to release air pressure.
STEP 7
At the top of the hydraulic reservoir, loosen the air relief plug to release air pressure in the hydraulic reservoir. When air pressure release starts, stop loosening the air relief plug. Air pressure can also be released by lifting the rubber cover from the breather, raising the rod in the breather and releasing the air pressure. When all air pressure is released, tighten the air relief plug and close the air tank drain valve.
WARNING: Before doing any maintenance on the hydraulic system, make sure that all hydraulic pressure has been released by operating the control levers several times and the hydraulic reservoir air pressure has been released. Failure to do so could cause serious injury.
WARNING: Pressurized hydraulic system; before you replace the hydraulic filters or service the hydraulic system, release the hydraulic reservoir air pressure. If you do not follow these instructions, you can be injured.
STEP 8
Install a DO NOT OPERATE tag on the ignition key and put the key in the key switch.
STEP 9
To prevent loss of hydraulic oil when disconnecting the hydraulic lines, connect a vacuum pump to the hydraulic reservoir. (See Section 8000.)
STEP 10
Remove the top front center access cover.
STEP 11
Place a four gallon (15 liter) container beneath the swing reduction gear oil drain plug. Remove the drain plug and drain oil from the swing reduction gear until the oil level is just below the crosshatch marks on the oil level dipstick. Install the oil drain plug.
STEP 12
To aid installation, install tags on all hydraulic hoses and fittings to be disconnected during removal.
Turn on the vacuum pump. (See Section 8000).
STEP 13
Turn on the vacuum pump. (See Section 8000).
STEP 14
Disconnect the return hydraulic hose and the two hydraulic hoses from the tee. Plug the hoses and cap the fittings.
STEP 15
Disconnect the two hydraulic hoses from the elbows installed in the reaction-less swing valve. Plug the hoses and cap the elbows.
STEP 16
Remove the eight socket head cap screws, lock washers, and the four flanges. Disconnect the two hydraulic hoses from the left side of the swing motor. Remove and discard the 0-rings.
Plug the swing motor ports and the hydraulic hoses.
Disconnect the swing brake release signal hydraulic hose from the elbow installed in the left side of the swing motor. Cap the elbow and plug the hose.
STEP 17
Turn off the vacuum pump.
STEP 18
Connect suitable lifting equipment to the swing motor.
STEP 19
To aid in assembly, put an alignment mark on the swing motor and swing reduction gear. Remove the twelve socket head cap screws securing the swing motor to the swing reduction gear.
STEP 20
Carefully raise the swing motor up and away from the swing reduction gear. Move the swing motor away from the machine and place on a clean work bench.
STEP 21
Place a cloth or other suitable protective covering over the swing reduction gear to prevent contamination of the gear lubricant.
…