
INSTANT DOWNLOAD (add to cart)
3,753 total pages, bookmarked, Searchable, Printable, high quality PDF
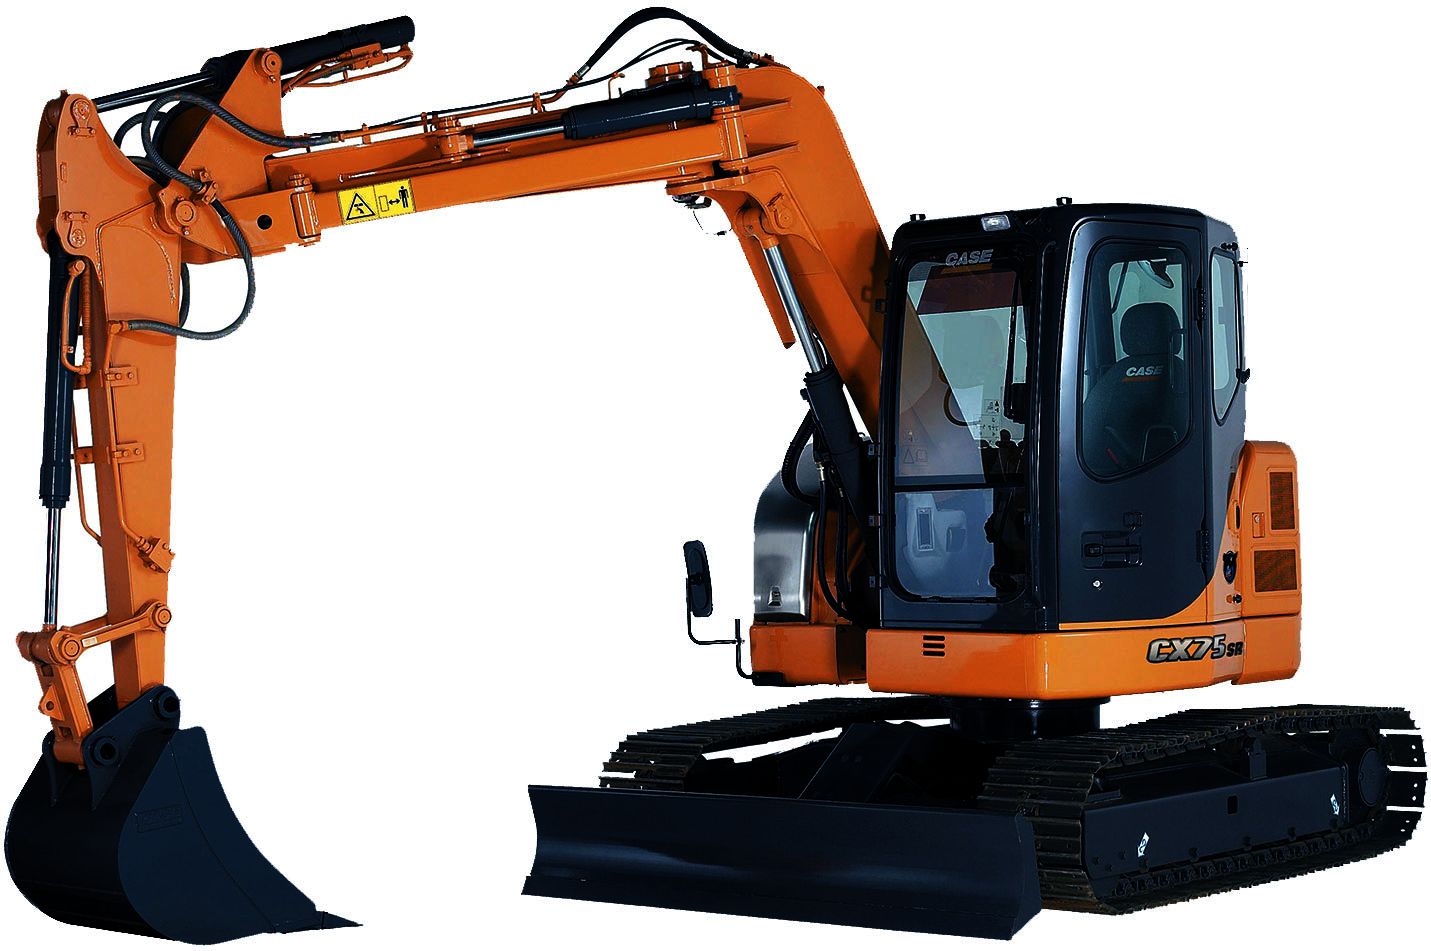
9-40590 – EXCAVADORA SOBRE ORUGAS CX75SR MANUAL DE REPARACIONES (ES).pdf
9-40600 – Case ESCAVATORE CINGOLATO CX75SR MANUALE ISTRUZIONI PER LE RIPARAZIONI (IT).pdf
9-88312GB – CX75SR, CX80 Crawler Excavators Repair Manual (EN).pdf
9-91350 – Case Pelles sur Chenilles CX75SR MANUEL DE SERVICE (FR).pdf
9-93290 – Case CX75SR-CX80 Crawler Excavators Repair Manual (EN).pdf
9-93520 – Case CX75SR-CX80 Raupenbagger REPARATUR HANDBUCH (DE).pdf
Complete digital official shop manual contains service, maintenance, and troubleshooting information for the Case/CNH CX75SR, CX80 Crawler Excavators. Diagnostic and repair procedures are covered in great detail to repair, maintain, rebuild, refurbish or restore your Case CX75SR, CX80 Crawler Excavators like a professional mechanic in local service/repair workshop. This cost-effective quality manual is 100% complete and intact as should be without any missing pages. It is the same factory shop manual used by dealers that guaranteed to be fully functional to save your precious time.
This manual for Case CX75SR, CX80 Crawler Excavators is divided into different sections. Each section covers a specific component or system and, in addition to the standard service procedures, includes disassembling, inspecting, and assembling instructions. A table of contents is placed at the beginning of each section. Pages are easily found by category, and each page is expandable for great detail. It is in the cross-platform PDF document format so that it works like a charm on all kinds of devices. You do not need to be skilled with a computer to use the manual.
EXCERPT:
TRAVELLING -WHEELS AND TRACKS Tracks
Drive sprocket – Remove (0.50.8.45 – F.1 O.A.1 0)
CX75SR, CX80
Prior operation: Steel track- Remove (0.50.8.46- F.10.A.10)
1. Move the machine so that the track is in the position shown.
2. Rotate the upper structure so that the cab is over the side of the machine where the sprocket to be removed is located.
Using the attachment, raise the side of the machine until the sprocket teeth are free of the chain.
3. To facilitate reassembly, make alignment marks (1) on the sprocket and the reduction gear.
4. Remove the screws (1) and the washers that attach the sprocket to the reduction gear.
5. Using a soft face hammer, tap the sprocket off the reduction gear housing and remove it.
Drive sprocket – Install (0.50.8.45 – F.1 O.A.15)
CX75SR, CX80
1. Install the sprocket on the drive reduction gear following the marks (1) made during removal.
2. If necessary, use a soft face hammer to seat the sprocket correctly o the reduction gear housing.
3. Apply thread lock fluid to the screws (1).
Install the washers and the screws, tighten to a torque of 267- 312 Nm.
Steel track – Remove (0.50.8.46 – F.1 O.A.1 0)
CX75SR, CX80
1. Park the machine on a hard, level surface.
Rotate the upper structure of the machine so that the cab is over the track to be removed.
2. Lower the bucket or the tool to lift the track a few centimetres off the ground.
3. Mark the master pin (1) on the flat surfaces on one side and on the retaining pin (2) at the other end.
4. Bring the master pin to a level halfway up the sprocket.
Operate the machine to lower the track to be removed to the ground.
Rotate the upper structure of the machine so that the cab is facing forwards.
Shut down the engine.
IMPORTANT: Do not remove the check valve.
DANGER
SA024 – Hydraulic fluid or grease injected into your skin can cause severe injury or death. Keep your hands and body away from any pressurized leak. If fluid is injected into your skin, see a doctor immediately and have the fluid removed.
5. Slacken the track by gradually loosening the check valve about two turns. Grease will escape from an orifice in the valve thread.
6. Remove the screws (1) and the track shoe nuts above the end of chain pin.
Remove the track shoe.
7. Straighten one of the retaining pin ends.
8. Tap the retaining pin out of the end of chain pin.
9. Remove the screws and the track shoe nuts below the end of chain pin.
Remove the track shoe.
10. Install the portable hydraulic press CAS-1 0044 on the end of chain axle.
Drive the end of chain pin out.
11. Remove the portable hydraulic press.
12. Using a crowbar, separate the chain links.
Remove the two spacers (1 ).
13. Start the engine.
Using the attachment, raise the chassis on the side of the track to be removed.
Install stands under the machine to hold it in place and lower the machine onto the stands.
Stop the engine.
14. Attach a sling to the lower end of the track.
Start the engine.
Reverse the machine, moving the dipper out at the same time.
When the track is free of the sprocket, stop the machine from reversing further.
Continue moving the dipper out until the track is pulled away from the machine.
Stop the engine, move the track to be replaced away from the machine.
…