INSTANT DOWNLOAD (add to cart)
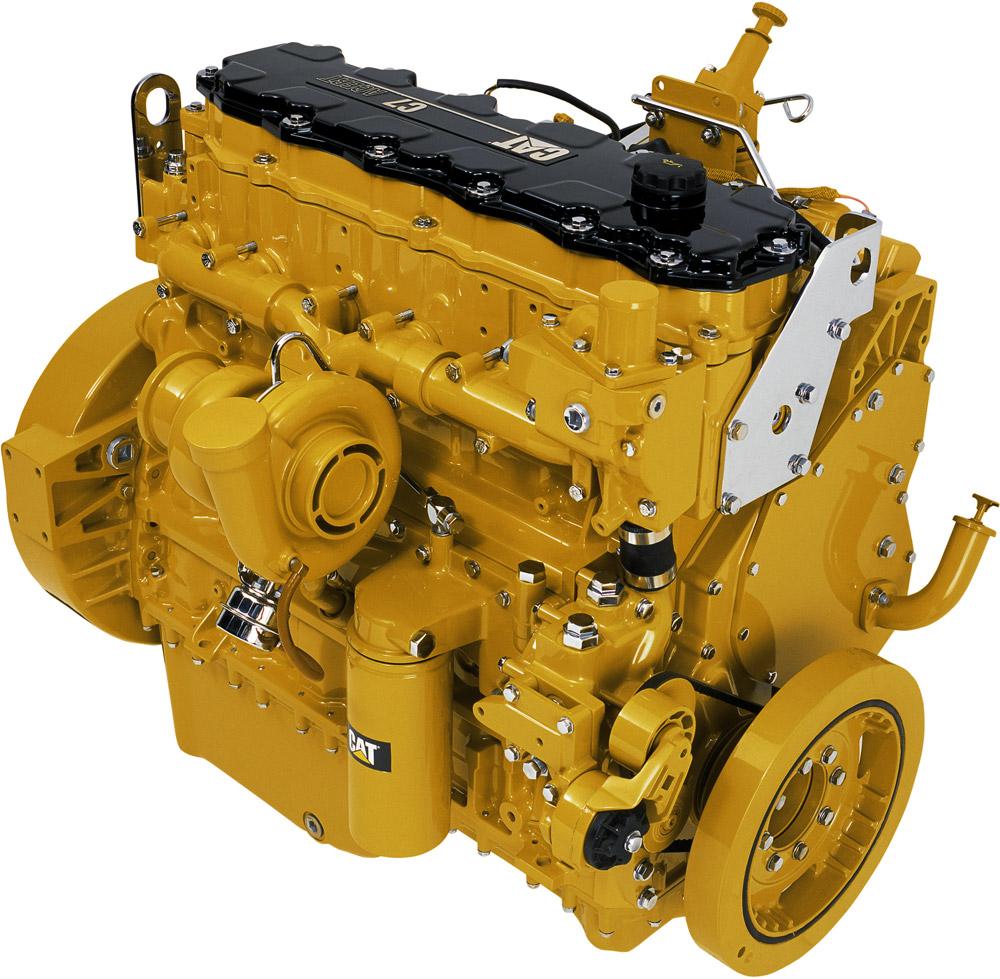
Complete digital official shop manual contains service, maintenance, and troubleshooting information for the Caterpillar C7 Engines. Diagnostic and repair procedures are covered in great detail to repair, maintain, rebuild, refurbish or restore your engine like a professional mechanic in local service/repair workshop. This cost-effective quality manual is 100% complete and intact as should be without any missing pages. It is the same factory shop manual used by dealers that guaranteed to be fully functional to save your precious time.
This manual for Caterpillar C7 Engines is divided into different sections. Each section covers a specific component or system and, in addition to the standard service procedures, includes disassembling, inspecting, and assembling instructions. A table of contents is placed at the beginning of each section. Pages are easily found by category, and each page is expandable for great detail. It is in the cross-platform PDF document format so that it works like a charm on all kinds of devices. You do not need to be skilled with a computer to use the manual.
MANUAL LIST:
ERENR9218 – Disassembly & Assembly (C7 Engines for Caterpillar Built Machines)
SENR9938 – Specifications (C7 Engines for Caterpillar Built Machines)
SENR9939 – Systems Operation (C7 Engines for Caterpillar Built Machines)
SENR9939 – Testing & Adjusting (C7 Engines for Caterpillar Built Machines)
RENR7458 – Disassembly & Assembly (C7 On-Highway Engine).pdf
RENR7571 – Specifications (C7 On-highway Engine).pdf
RENR7572 – Systems Operation, Testing & Adjusting (C7 On-highway Engine).pdf
RENR7691 – Schematic (C7 On-Highway Engine Electrical System).pdf
RENR7872 – Schematic (C7 On-Highway Engine Electrical System).pdf
RENR7913 – Schematic (C7 On-Highway Engine Electrical System).pdf
SEBP4436 – Parts Manual (C7 Industrial Engine).pdf
SEBU6875 – Owner’s Manual (Caterpillar Driver Information Display).pdf
SEBU7766 – Operation & Maintenance Manual (C7 On-highway Engine).pdf
SEBU7926 – Operation & Maintenance Manual (C7 Urban Transit Bus Engines).pdf
SEBU8089 – Operation & Maintenance Manual (C7 Industrial Engine).pdf
…
EXCERPT:
Component Description
Hydraulic Electronic Unit Injector
The HEUI fuel system utilizes a hydraulically actuated electronically controlled unit injector (5).
All fuel systems for diesel engines use a plunger and barrel in order to pump fuel under high pressure into the combustion chamber. This fuel is pumped into the combustion chamber in precise amounts in order to control engine performance. The HEUI uses engine oil under high pressure in order to power the plunger. All other fuel systems use a fuel injection pump camshaft lobe in order to power the plunger.
Because the HEUI is much different, a technician must use different troubleshooting methods.
The HEUI uses engine lubrication oil that is pressurized from 6 MPa (870 psi) to 28 MPa (4050 psi) in order to pump fuel from the injector.
The HEUI operates in the same way as a hydraulic cylinder in order to multiply the force of the high pressure oil. By multiplying the force of the high pressure oil, the HEUI can produce injection pressures that are very high. This multiplication of pressure is achieved by applying the force of the high pressure oil to a piston. The piston is larger than the plunger by approximately six times. The piston that is powered by engine lubrication oil under high pressure pushes on the plunger. This engine lubrication oil under high pressure is called the actuation pressure of the oil. The actuation pressure of the oil generates the injection pressure that is delivered by the unit injector. Injection pressure is greater than actuation pressure of the oil by approximately six times.
Low actuation pressure of the oil results in low injection pressure of the fuel. During conditions of low speed such as idle and start, low injection pressure is utilized.
High actuation pressure of the oil results in high injection pressure of the fuel. During conditions of high speed such as high idle and acceleration, high injection pressure is utilized.
…
Water Temperature Regulator – Remove and Install
Removal Procedure
NOTICE
Keep all parts clean from contaminants. Contaminants may cause rapid wear and shortened component life.
NOTICE
Care must be taken to ensure that fluids are contained during performance of inspection, maintenance, testing, adjusting and repair of the product. Be prepared to collect the fluid with suitable containers before opening any compartment or disassembling any component containing fluids.
Refer to Special Publication, NENG2500, “Caterpillar Tools and Shop Products Guide” for tools and supplies suitable to collect and contain fluids on Caterpillar products.
Dispose of all fluids according to local regulations and mandates.
1. Drain the coolant from the cooling system into a suitable container for storage or disposal. Refer to Operation and Maintenance Manual, “Cooling System Coolant – Change”.
Illustration 54 g01152619
2. Remove bolts (1), pipe (2), and the gasket from water temperature regulator housing (3).
3. Remove the water temperature regulators.
Installation Procedure
NOTICE
Keep all parts clean from contaminants.
Contaminants may cause rapid wear and shortened component life.
…