Posted on

Caterpillar 311D/311D LRR Series Excavators Factory Service & Shop Manual


Download Link

INSTANT DOWNLOAD (add to cart)


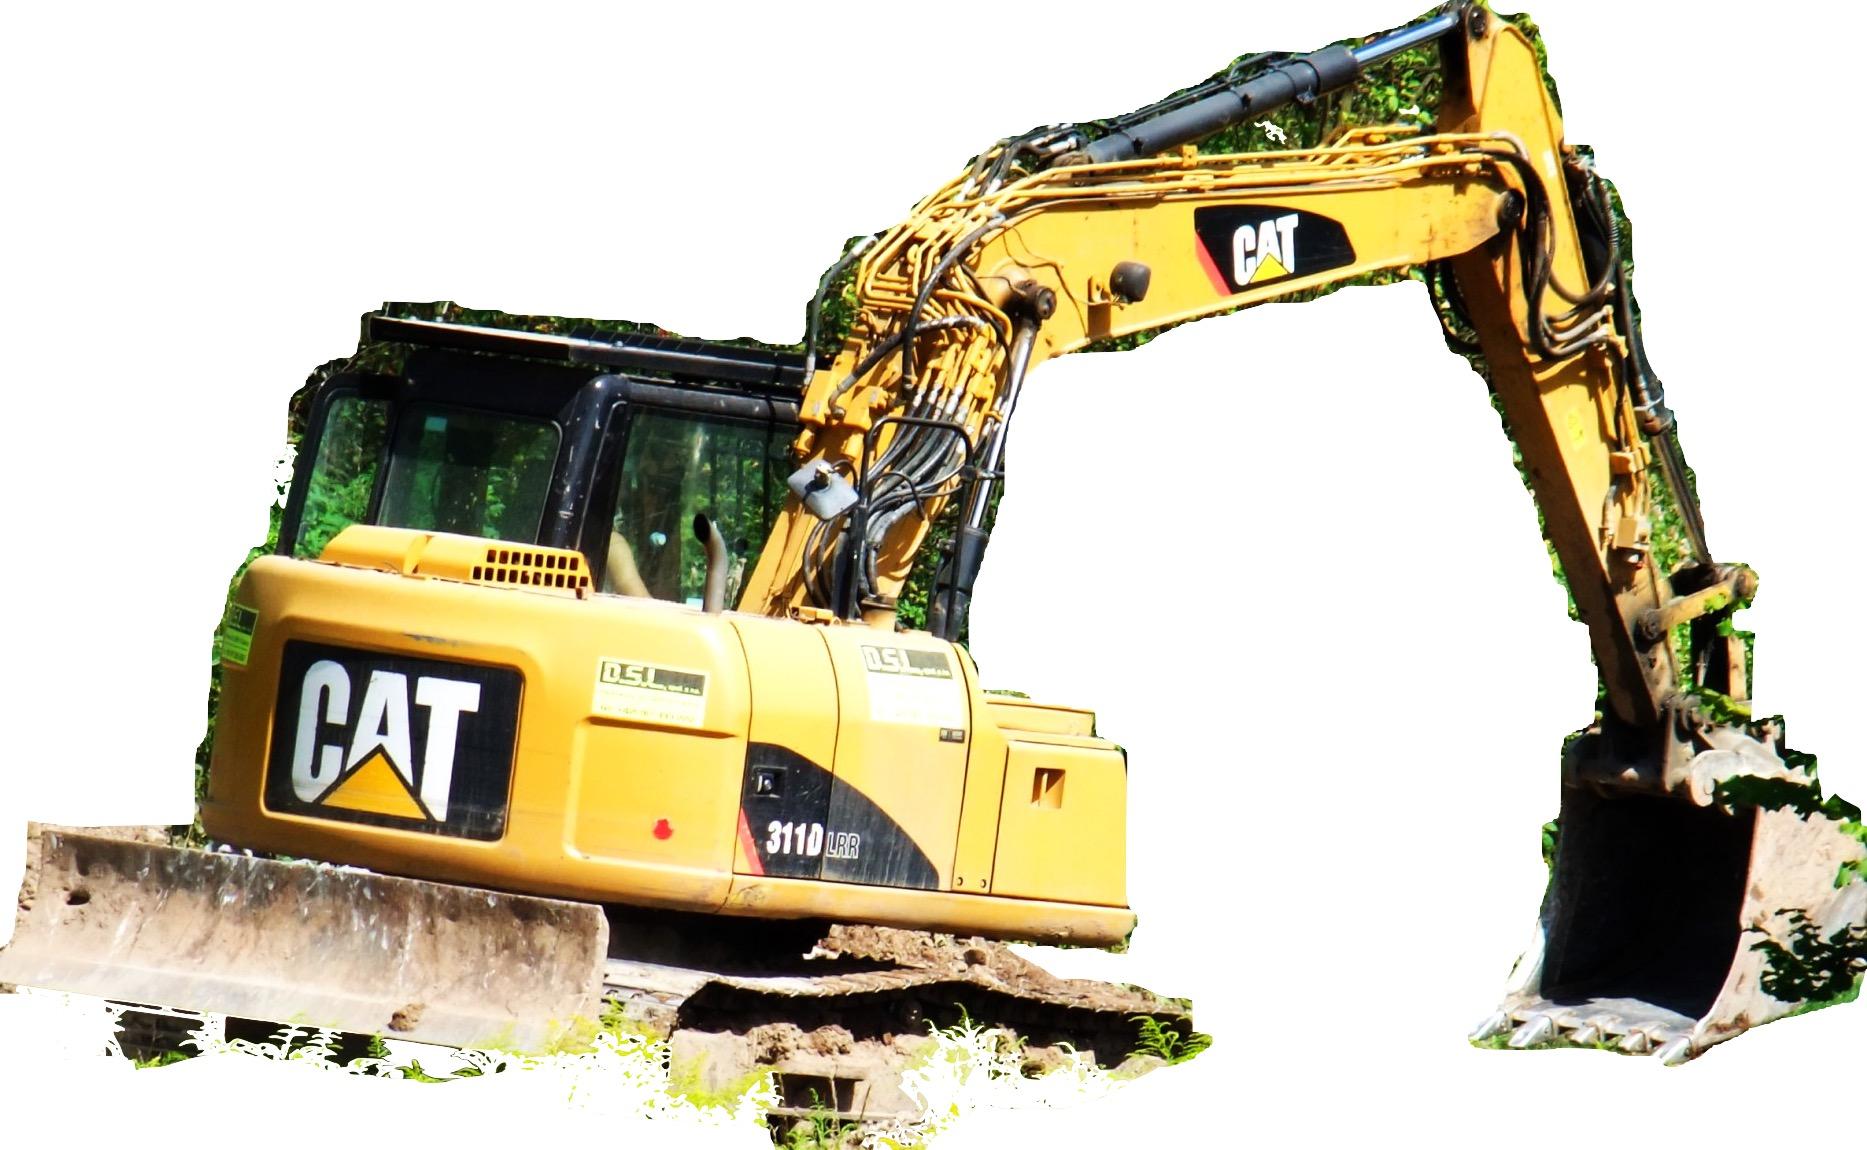
Complete workshop & service manual with electrical wiring diagrams for Caterpillar 311D Series Excavators. It’s the same service manual used by dealers that guaranteed to be fully functional and intact without any missing page.

This Caterpillar 311D, 311D LRR, 311D RR… Excavators service & repair manual (including maintenance, overhaul, disassembling & assembling, adjustment, tune-up, operation, inspecting, diagnostic & troubleshooting…) is divided into different sections. Each section covers a specific component or system with detailed illustrations. A table of contents is placed at the beginning of each section. Pages are easily found by category, and each page is expandable for great detail. The printer-ready PDF documents work like a charm on all kinds of devices.

MANUAL LIST:
KENR5212 – Schematic (311D Excavator Hydraulic System – Attachment)
KENR5528 – Schematic (311D LRR Excavator Hydraulic System – Attachment)
KENR5924 – Systems Operation (311D, 312D, 312D2, 313D, 313D2, 314D, 315D, 318D, 318D2 & 319D Excavators Machine Electronic Control System)
KENR5924 – Testing & Adjusting (311D, 312D, 312D2, 313D, 313D2, 314D, 315D, 318D, 318D2 & 319D Excavators Machine Electronic Control System)
KENR5924 – Troubleshooting (311D, 312D, 312D2, 313D, 313D2, 314D, 315D, 318D, 318D2 & 319D Excavators Machine Electronic Control System)
KENR6183 – Specifications (311D Excavator Machine System Specifications)
KENR6184 – Systems Operation (311D Excavator Hydraulic System)
KENR6187 – Schematic (311D LRR Excavator Electrical System)
KENR6589 – Schematic (311D Excavator Hydraulic System – Attachment)
KENR6598 – Schematic (311D RR Excavator Hydraulic System – Attachment)
KENR7729 – Schematic (311D Excavator Hydraulic System – Attachment)
KENR7747 – Schematic (311D RR Excavator Hydraulic System – Attachment)
KENR7748 – Schematic (311D Excavator Hydraulic System – Attachment)
KENR7749 – Schematic (311D Excavator Hydraulic System – Attachment)
KENR8616 – Schematic (311D Excavator Hydraulic System – Attachment)
KENR8617 – Schematic (311D LRR Excavator Electrical System – Attachment)
RENR9210 – Disassembly & Assembly (311D LRR Excavator Engine Supplement)
RENR9211 – Disassembly & Assembly (311D LRR Excavator Machine Systems)
RENR9739 – Systems Operation (311D, 312D, 312D2, 313D, 313D2, 314D, 315D, 318D, 318D2 & 319D Excavators Tool Control System)
RENR9739 – Testing & Adjusting (311D, 312D, 312D2, 313D, 313D2, 314D, 315D, 318D, 318D2 & 319D Excavators Tool Control System)
UENR2526 – Schematic (311D LRR Excavator Electrical System)
RENR7299 – Schematic (307D, 311D, 311F, 312D, 312D2, 313D, 313D2, 315D, 318D, 318D2, 319D, 320D, 320D2, 323D, 323D2 & M313D, M315D, M316D, M318D, M322D Air Conditioning Electrical System).pdf

EXCERPT:
4. Use Tooling (A) and a suitable lifting device to position the final drive and the travel motor onto Tooling (B). The combined weight of the final drive and travel motor is approximately 170 kg (375 lb).
5. Drain the oil from the final drive into a suitable container for storage or for disposal. Refer to Operation and Maintenance Manual, “Capacities (Refill)” for the capacity of the final drive.
6. Remove fittings (1). Remove fittings (6. 2) from traction control valve (3).
7. Remove nine bolts (4) that secure traction control valve (3) to the final drive.
8. Use two persons to remove traction control valve (3) from the final drive. The weight of travel brake valve (3) is approximately 27 kg (60 lb).
9. Remove valve plate (5) and O-ring seal (6).
Illustration 2

Posted on

Mitsubishi L400 1994-1999 Factory Service & Shop Manual


Download Link

INSTANT DOWNLOAD (add to cart)


Complete workshop & service manual with electrical wiring diagrams for Mitsubishi L400 1994-1999. It’s the same service manual used by dealers that guaranteed to be fully functional and intact without any missing page.

This Mitsubishi L400 1994-1999 service & repair manual (including maintenance, overhaul, disassembling & assembling, adjustment, tune-up, operation, inspecting, diagnostic & troubleshooting…) is divided into different sections. Each section covers a specific component or system with detailed illustrations. A table of contents is placed at the beginning of each section. Pages are easily found by category, and each page is expandable for great detail. The printer-ready PDF documents work like a charm on all kinds of devices.

MAKE: Mitsubish
YEAR: 1994, 1995, 1996, 1997, 1998, 1999 (2000, 2001, 2002, 2003, 2004, 2005, 2006, 2007 applicable)
MODEL: Delica L400 (a.k.a. Space Gear, Starwagon)

EXCERPT:
MPI – Troubleshooting
INSPECTION PROCEDURE USING AN ANALYZER
AIR FLOW SENSOR (AFS)
Adjustment procedure not listed below is the same as before.
Alternate Method (Test harness not available)
1. Connect the analyzer special patterns pickup to engine-ECU terminal 90.
TOP DEAD CENTER SENSOR AND CRANK ANGLE SENSOR
Adjustment procedure not listed below is the same as before.
Alternate Method (Test harness not available)
1 . Connect the analyzer special patterns pickup to engine-ECU terminal 88. (When checking the top dead center sensor signal wave pattern.)
2. Connect the analyzer special patterns pickup to engine-ECU terminal 89. (When checking the crank angle sensor signal wave pattern.)

Posted on

Caterpillar AP-1055B, BG-2455C Asphalt Pavers Factory Service & Shop Manual


Download Link

INSTANT DOWNLOAD (add to cart)


Complete workshop & service manual with electrical wiring diagrams for Caterpillar AP-1055B, BG-2455C Asphalt Pavers. It’s the same service manual used by dealers that guaranteed to be fully functional and intact without any missing page.

This Caterpillar AP-1055B, BG-2455C Asphalt Pavers service & repair manual (including maintenance, overhaul, disassembling & assembling, adjustment, tune-up, operation, inspecting, diagnostic & troubleshooting…) is divided into different sections. Each section covers a specific component or system with detailed illustrations. A table of contents is placed at the beginning of each section. Pages are easily found by category, and each page is expandable for great detail. The printer-ready PDF documents work like a charm on all kinds of devices.

MANUAL LIST:
KENR2699 – Schematic (Caterpillar AP-1055B Hydraulic System Hydraulic System)
KENR2803 – Disassembly & Assembly (BG-245C & BG-2455C Asphalt Paver Machine Systems)
KENR2904 – Disassembly & Assembly (3116 Engine Supplement For Ap-1055B & Ap-1050B Asphalt Paver)
KENR5013 – Specifications (AP-1055B and BG-2455C Asphalt Pavers Propel System)
KENR5013 – Systems Operation (AP-1055B and BG-2455C Asphalt Pavers Propel System)
KENR5013 – Testing and Adjusting (AP-1055B and BG-2455C Asphalt Pavers Propel System)
KENR5016 – Specifications (AP-1055B and BG-2455C Asphalt Pavers Conveyor Systems)
KENR5016 – Systems Operation (AP-1055B and BG-2455C Asphalt Pavers Conveyor Systems)
KENR5016 – Testing & Adjusting (AP-1055B and BG-2455C Asphalt Pavers Conveyor Systems)
KENR5019 – Specifications (AP-1055B and BG-2455C Asphalt Pavers Auxiliary System)
KENR5019 – Systems Operation (AP-1055B and BG-2455C Asphalt Pavers Auxiliary System)
KENR5019 – Testing and Adjusting (AP-1055B and BG-2455C Asphalt Pavers Auxiliary System)
KENR5022 – Specifications (AP-1055B and BG-2455C Asphalt Pavers Vibratory System)
KENR5022 – Systems Operation (AP-1055B and BG-2455C Asphalt Pavers Vibratory System)
KENR5022 – Testing and Adjusting (AP-1055B and BG-2455C Asphalt Pavers Vibratory System)
KENR2952 – Schematic (AP-1055B Asphalt Paver Electrical System).pdf

EXCERPT:
12. Install nut (7) and tighten to a torque of … 177-231 N·m (130-170 lb-ft).
13. Install rod (5) into housing (6).
14. Install two seals (4).
15. Install bushing (3) with the notch facing the end cap.
16. Install wiper seal (2).
17. Install end cap (1).
18. Repeat steps 10 – 17 for opposite side.

Posted on

Caterpillar AP-1055B, BG-2455C Asphalt Pavers Operation & Maintenance Manual


Download Link

INSTANT DOWNLOAD (add to cart)


Complete Operation & Maintenance Manual for Caterpillar AP-1055B, BG-2455C Asphalt Pavers. It’s the same Operation & Maintenance manual that guaranteed to be fully functional and intact without any missing page. Each section covers a specific component or system with detailed illustrations. A table of contents is placed at the beginning of each section. Pages are easily found by category, and each page is expandable for great detail. The printer-ready PDF documents work like a charm on all kinds of devices.

KEBU6838 – Operation & Maintenance Manual (AP-1055B & BG-2455C Asphalt Pavers)
Foreword.pdf
Maintenance
Safety
Product Information
Reference
Operation

EXCERPT:
Seat Belt Adjustment for Retractable Seat Belts
Fastening The Seat Belt
Pull seat belt (4) out of the retractor in a continuous motion.
Fasten seat belt catch (3) into buckle (2) . Make sure that the seat belt is placed low across the lap of the operator.
The retractor will adjust the belt length and the retractor will lock in place. The comfort ride sleeve will allow the operator to have limited movement.
Releasing The Seat Belt

Posted on

Caterpillar AP-1000D, BG-260D Factory Service & Shop Manual


Download Link

INSTANT DOWNLOAD (add to cart)


Complete workshop & service manual with electrical wiring diagrams for Caterpillar Asphalt Pavers AP-1000D, BG-260D. It’s the same service manual used by dealers that guaranteed to be fully functional and intact without any missing page.

This Caterpillar Asphalt Pavers AP-1000D, BG-260D service & repair manual (including maintenance, overhaul, disassembling & assembling, adjustment, tune-up, operation, inspecting, diagnostic & troubleshooting…) is divided into different sections. Each section covers a specific component or system with detailed illustrations. A table of contents is placed at the beginning of each section. Pages are easily found by category, and each page is expandable for great detail. The printer-ready PDF documents work like a charm on all kinds of devices.

FILELIST:
KENR5036 – Troubleshooting (AP-1000D, AP-1055D, AP-655C, BG-2255C, BG-2455D & BG-260D Asphalt Pavers)
KENR5038 – Systems Operation (AP-1000D, AP-1055D, AP-655C, BG-2255C, BG-2455D & BG-260D Asphalt Pavers)
KENR5063 – Disassembly & Assembly (AP1000D & BG260D Asphalt Pavers Engine Supplement)
KENR5064 – Specifications (AP-1000D & BG-260D Asphalt Pavers Propel System)
KENR5064 – Systems Operation (AP-1000D & BG-260D Asphalt Pavers Propel System)
KENR5064 – Testing & Adjusting (AP-1000D & BG-260D Asphalt Pavers Propel System)
KENR5065 – Specifications (AP-1000D & BG-260D Asphalt Pavers Conveyor Systems)
KENR5065 – Systems Operation (AP-1000D & BG-260D Asphalt Pavers Conveyor Systems)
KENR5065 – Testing & Adjusting (AP-1000D & BG-260D Asphalt Pavers Conveyor Systems)
KENR5066 – Specifications (AP-1000D & BG-260D Asphalt Pavers Machine Systems)
KENR5066 – Systems Operation (AP-1000D & BG-260D Asphalt Pavers Machine Systems)
KENR5066 – Testing & Adjusting (AP-1000D & BG-260D Asphalt Pavers Machine Systems)
KENR5067 – Schematic (AP-1000D Asphalt Paver, Barber Greene BG-260D Asphalt Paver Hydraulic System)
KENR5068 – Schematic (AP-1000D & BG-260D Asphalt Pavers Electrical System)
KENR5069 – Disassembly & Assembly (AP-1000D & BG-260D Asphalt Pavers Machine Systems)

EXCERPT:
Engine – Remove
Removal Procedure
Start By:
A. Remove the radiator, air cleaner, and the hydraulic oil cooler. Refer to Disassembly and Assembly, “Radiator, Air Cleaner, and Hydraulic Oil Cooler – Remove”.
1. Drain the hydraulic oil from the hydraulic oil tank into a suitable container. Refer to Operation and Maintenance Manual for the correct procedure.
2. Disconnect harness assembly (1).
3. Disconnect harness assembly (2) from alternator (4) .
4. Remove nut (5) and cable assembly (3) from alternator (4).
5. Remove the cable straps and remove harness assembly (2) and harness assembly (6) from the engine.