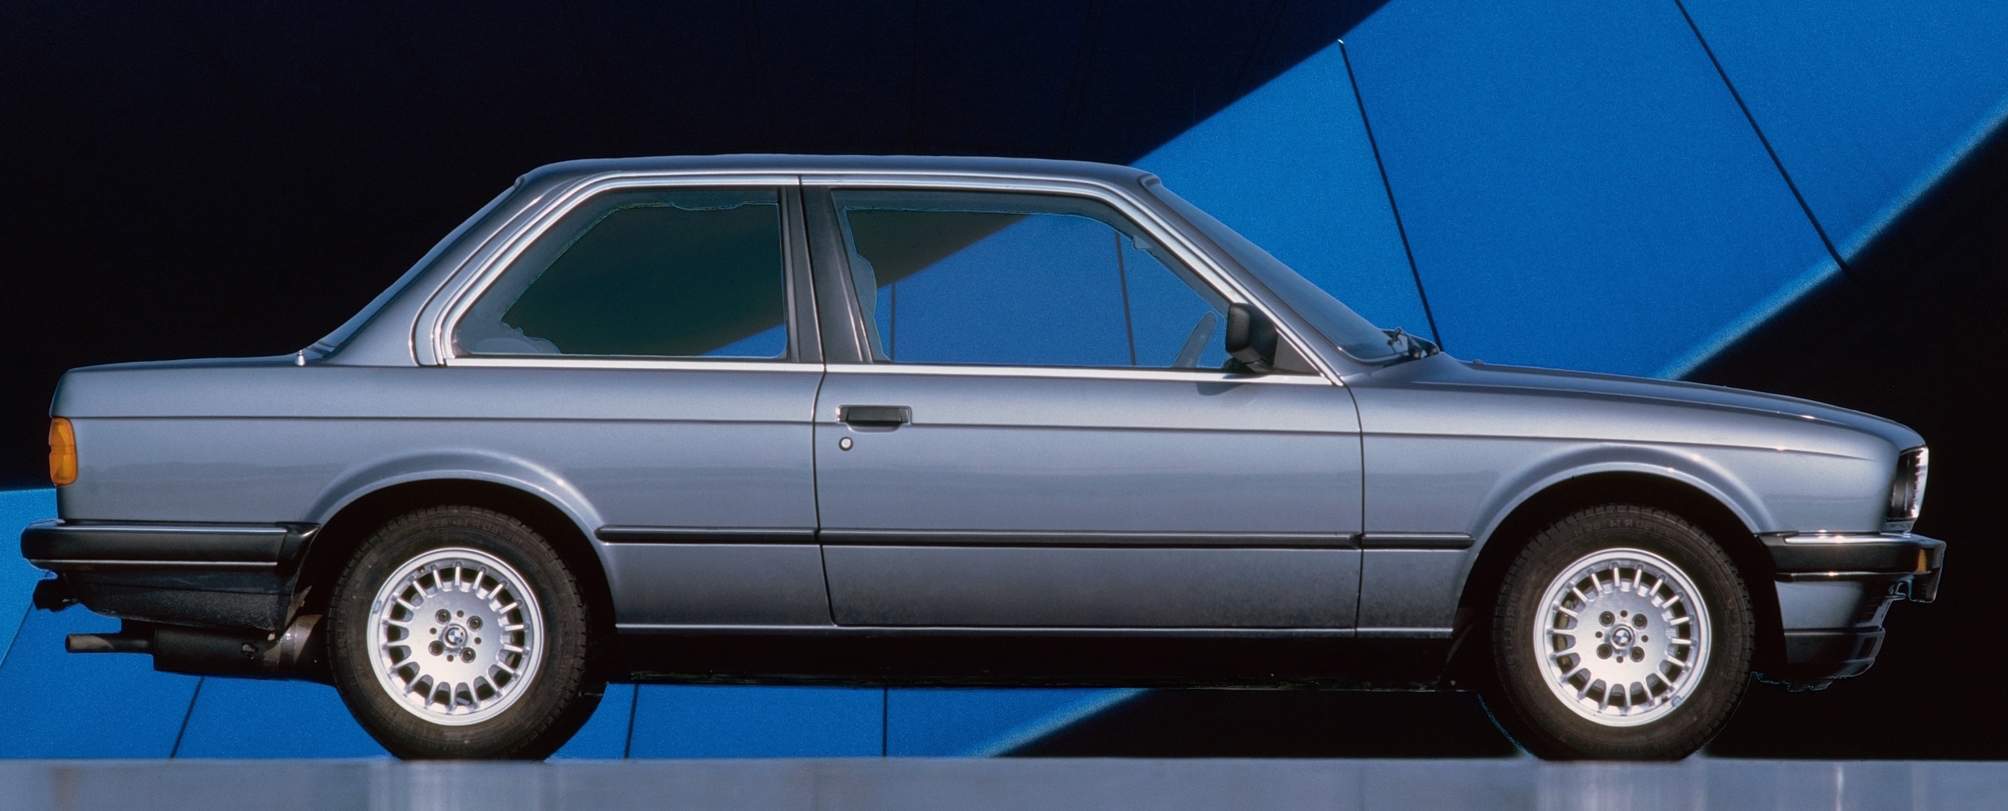
1981-1993 BMW 3-Series (E30) Workshop Repair & Service Manual (512 MB, Printable, iPad-ready PDF)
Complete digital workshop service and repair manual written for your 1981-1993 BMW 3-Series (E30). All styles covered (all models, and engines). It is in the cross-platform PDF document format so that it works like a charm on all kinds of devices.
This QUALITY manual is 100% COMPLETE and INTACT, no MISSING/CORRUPT pages/sections to freak you out! Buy from responsible seller and get INSTANT DOWNLOAD now without wasting your hard-owned money on uncertainty or surprise; this manual for 1981-1993 BMW 3-Series (E30) is exactly as described.
PRODUCT DETAILS:
Total Pages: 512 MB
File Format: PDF (Windows & Mac & Linux)
Language: English / German
Delivery: instant download link displayed on checkout page & emailed to you after payment
Protection: DRM-free; without any restriction
Printable: Yes
MAKE: BMW
MODEL:
316: 1982-1987
316i: 1988-1992
316s: 1982-1987
318i: 1982-1992
318is: 1989-1991
320i: 1982-1991
320is: 1987-1990
323i: 1981-1986
324d: 1985-1990
324td: 1987-1993
325: 1983-1988
325e/es: 1983-1988
325i: 1984-1991
325ic: 1985-1993
325is: 1987-1991
325ix: 1985-1991
333i: 1984-1986
M3: 1986-1991
M3 Evolotion/Evolution II/Sport Evolution: 1986-1990
This COMPLETE full workshop service repair manual includes:
* Detailed sub-steps expand on repair procedure information
* Notes, cautions and warnings throughout each chapter pinpoint critical information.
* Numbered instructions guide you through every repair procedure step by step.
* Bold figure number help you quickly match illustrations with instructions.
* Detailed illustrations, drawings and photos guide you through every procedure.
* Enlarged inset helps you identify and examine parts in detail.
* Numbered table of contents easy to use so that you can find the information you need fast.
* This manual also makes it easy to diagnose and repair problems with your machines electrical system.
* Troubleshooting and electrical service procedures are combined with detailed wiring diagrams for ease of use.
* COMPLETE, Absolutely No Missing Pages!
* Customer Satisfaction GUARANTEED!
EXCERPT (1981-1993 BMW 3-Series (E30) Service/Repair Manual):
INSTALLING WIND DEFLECTOR FOR SUN ROOF
Parts:
1 Wind deflector
1 Rubber seal
2 Flat head screws
2 Knurled nuts
2 Holders
Mount rubber seal on wind deflector and, if applicable, cut off protruding ends.
Open sun roof.
Press in holders between beaded edge and panel on left and right sides with a screwdriver.
Align wind deflector parallel to roof opening and tighten left and right screws uniformly.
Note: Tighten screws uniformly after driving car approx. 100 km (60 miles).
Extra for Cars with Check Control:
Pull off left wheel house trim partially.
Route extra wires along standard wire harness.
Remove control unit.
Pull off multiple-pin plug (1) on control unit and connect with female plug (2) of extra wire.
Connect multiple-pin plug (3) of extra wire on control unit.
Install control unit.
Checking Operation:
Connect battery ground lead.
Make sure connections of corresponding plug match connections of socket.
Check function of trailer lights and turn signals when hitching a trailer.
Extra indicator lamp flashes only when trailer is hitched.
Install all removed parts.
Install drawbar load label.
Important!
Install a 15 ampers fuse in place of 7.5 amp fuse in fuse position no. 6, if car has extar stop lights.