INSTANT DOWNLOAD (add to cart)
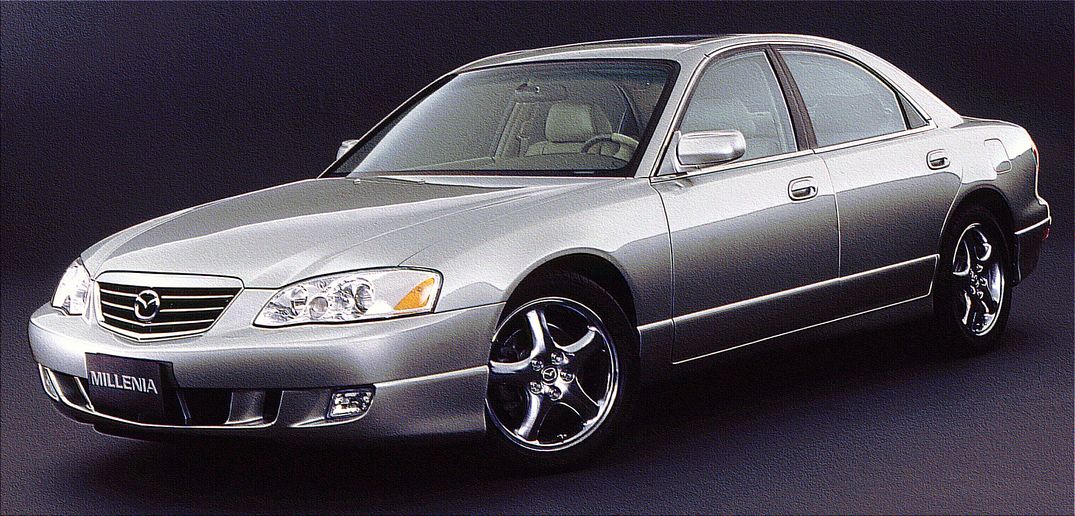
Complete digital official shop manual contains service, maintenance, and troubleshooting information for the 1989-2015 Mazda MX-5 (a.k.a. MX-5 Miata). Diagnostic and repair procedures are covered in great detail to repair, maintain, rebuild, refurbish or restore your vehicle like a professional mechanic in local service/repair workshop. This cost-effective quality manual is 100% complete and intact as should be without any missing pages. It is the same factory shop manual used by dealers that guaranteed to be fully functional to save your precious time.
This manual for 1989-2015 Mazda MX-5 Miata is divided into different sections. Each section covers a specific component or system and, in addition to the standard service procedures, includes disassembling, inspecting, and assembling instructions. A table of contents is placed at the beginning of each section. Pages are easily found by category, and each page is expandable for great detail. It is in the cross-platform PDF document format so that it works like a charm on all kinds of devices. You do not need to be skilled with a computer to use the manual.
EXCERPT:
CONTENTS
Title Section
General Information GI
Pre-Delivery Inspection and
Scheduled Maintenance Services A
Engine B
Lubrication System D
Cooling System E
Fuel and Emission Control Systems F
Engine Electrical System G
Clutch H
Manual Transmission J
Propeller Shaft L
Front and Rear Axles M
Steering System N
Braking System P
Wheels and Tires Q
Suspension R
Body S
Body Electrical System T
Heater and Air Conditioner
Systems U
Technical Data TD
Special Tools ST
Parts Index PI
2008 BRAKES Conventional Brake System – MX-5 Miata
Brake fluid type
SAE J1703, FMVSS 116 DOT-3
1. Remove the bleeder cap from the brake caliper, and connect a vinyl tube to the bleeder screw.
2. Place the other end of the vinyl tube in a clear container, and fill the container with fluid during air bleeding.
3. Working with two people, one should depress the brake pedal a few times and then depress and hold the pedal down.
4. While the brake pedal is being held down, the other person should loosen the bleeder screw using the SST, and bleed any fluid containing air bubbles. Once completed, tighten the bleeder screw.
Tightening torque
Front: 6.9-9.8 N.m {71-99 Kgf.cm, 62-86 in.lbf}
Rear: 6.0-8.0 N.m {62-81 Kgf.cm, 54-70 in.lbf}
5. Repeat Steps 3 and 4 until no air bubbles are seen.
6. Perform air bleeding as described in the above procedures for all brake calipers.
7. After air bleeding, inspect the following:
& Brake operation
& Fluid leakage
& Fluid level
…