
INSTANT DOWNLOAD (add to cart)
4,074 total pages, bookmarked, Searchable, Printable, high quality PDF
7-27343 – Pelles sur Chenilles CX130 MANUEL DE SERVICE (FR).pdf
7-27353 – CX130 Crawler Excavators Service Manual (EN).pdf
7-27363 – CX130 RAUPENBAGGER REPARATUR HANDBUCH (DE).pdf
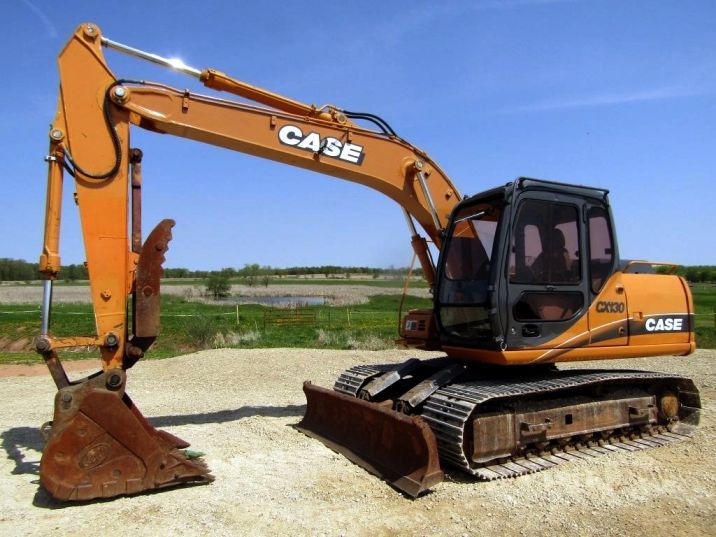
Complete workshop & service manual with electrical wiring diagrams for Case CX130 Crawler Excavator. It’s the same service manual used by dealers that guaranteed to be fully functional and intact without any missing page.
This Case CX130 Crawler Excavator service & repair manual (including maintenance, overhaul, disassembling & assembling, adjustment, tune-up, operation, inspecting, diagnostic & troubleshooting…) is divided into different sections. Each section covers a specific component or system with detailed illustrations. A table of contents is placed at the beginning of each section. Pages are easily found by category, and each page is expandable for great detail. The printer-ready PDF documents work like a charm on all kinds of devices.
EXCERPT:
NOTE: Carry out this step only if inspection reveals that the bushings (8) need to be replaced.
Using a hammer and a brass punch, drive the bushings (8) from the lower roller (1). Be careful not to damage the seal bore in the lower roller. Discard bushings.
If removed, install new bushings (8) in the lower roller (1) using a hydraulic press and a proper size rod.
STEP 1
Inspection
STEP 2
Clean all components with solvent.
STEP 3
Inspect the bushing surfaces on the shaft (6) for scoring, pitting, and other damage. Measure the diameter of the shaft at four opposing points.
Compare the values with the specifications, replace them if necessary.
STEP 4
Install an O-ring and a face seal metal bushing (5) in the seal bore on each side of the lower roller.
Inspect bushings (8) for wear and damage. Measure the inner diameter and width of the bushing.
Compare the values with the specifications, replace them if necessary.
STEP 5
Inspect the bore in each end cap and in the lower roller for damage that will result in leakage. Use new parts as required.
…