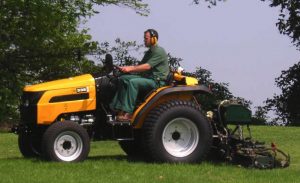
Pages from 9803-9440 – JCB 331HST, 335 HST Groundcare Tractors Service Manual
Complete workshop & service manual with electrical wiring diagrams for JCB 331HST, 335 HST Groundcare Tractors. It’s the same service manual used by dealers that guaranteed to be fully functional and intact without any missing page.
This JCB 331HST, 335 HST Groundcare Tractors service & repair manual (including maintenance, overhaul, disassembling & assembling, adjustment, tune-up, operation, inspecting, diagnostic & troubleshooting…) is divided into different sections. Each section covers a specific component or system with detailed illustrations. A table of contents is placed at the beginning of each section. Pages are easily found by category, and each page is expandable for great detail. The printer-ready PDF documents work like a charm on all kinds of devices.
9803-9440 – JCB 331HST, 335 HST Groundcare Tractors Service Manual.pdf
EXCERPT:
Section 1 – General Information
Section 2 – Care and Safety
Section 3 – Maintenance
Section A – Attachments
Section C – Electrics
Section E – Hydraulics
Section F – Transmission
Section G – Brakes
Section H – Steering
Section K – Engine
…
Disassembly, Inspection and Assembly
Hydrostatic Motor Disassembly
Important: The motor body is aluminium and can be easily damaged by steel tools. Be careful to not damage machined surfaces. Do not use a screw driver or other sharp objects to pry the motor body from back plate.
1 If not already done, remove eight socket head screws securing the hydrostatic motor B to the back plate.
Tap the motor housing with a plastic mallet to loosen it from the back plate. Keep the assembly level to ensure the rotating assembly does not slide off the shaft. Pull the motor housing, shaft, and rotating assembly away from the back plate
Fig 99.
2 Remove the valve plate B from the back plate.
3 Remove the two dowel pins C.
Note: Unless the spring pin A used to locate the valve plate is damaged or loose, do not remove it. If replacement is necessary, take care not to scratch the machined surfaces of the back plate.
…