INSTANT DOWNLOAD (add to cart)

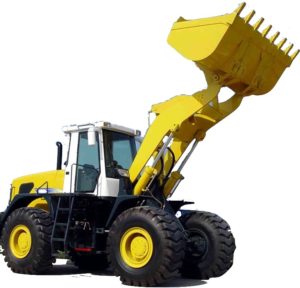
Complete workshop & service manual with electrical wiring diagrams for New Holland W50, W60, W70, W80 Wheel Loader. It’s the same service manual used by dealers that guaranteed to be fully functional and intact without any missing page.
This New Holland W50, W60, W70, W80 Wheel Loader service & repair manual (including maintenance, overhaul, disassembling & assembling, adjustment, tune-up, operation, inspecting, diagnostic & troubleshooting…) is divided into different sections. Each section covers a specific component or system with detailed illustrations. A table of contents is placed at the beginning of each section. Pages are easily found by category, and each page is expandable for great detail. The printer-ready PDF documents work like a charm on all kinds of devices.
452 pages, bookmarked, Searchable, Printable, high quality PDF
604.13.577 – W50-W60, W70-W80 Service Manual.pdf
SUMMARY
SAFETY INSTRUCTION… SECTION 0
SERVICE DATA… SECTION 1
DIESEL ENGINE… SECTION 2
TRANSMISSION… SECTION 3
AXLES … SECTION 4
STEERING… SECTION 5
BRAKE SYSTEM … SECTION 6
HYDRAULIC SYSTEM… SECTION 7
ELECTRICAL SYSTEM … SECTION 8
FRAME… SECTION 9
EXCERPT:
W50 – W60 – W70 – W80 AXLES 4 – 127
Carefully read personal and machine SAFETY INSTRUCTIONS (at the beginning of this manual)
Assembly
Some of the following pictures may not show exactly your axle, but the indicated operations are correct anyway.
1
Assemble the bearing cones (3) on the half housing (4), using the special tool 380002216 and a hammer.
2
Position a half housing (4) on a workbench and assemble all inner components: locking differential counterdiscs (5), sun
gears (6), spider (7) and (8), spider gears (9), thrust washers (10).
See: parts position shown in figure.
Join the two half boxes, aligning the reference marks made upon them.
3
Place the bevel gear (2) on the differential housing.
Apply sealant (Par. 4.5.2) on the threads and tighten the bolts (1) to the requested torque (Par. 4.5.5).
…
