INSTANT DOWNLOAD (add to cart)
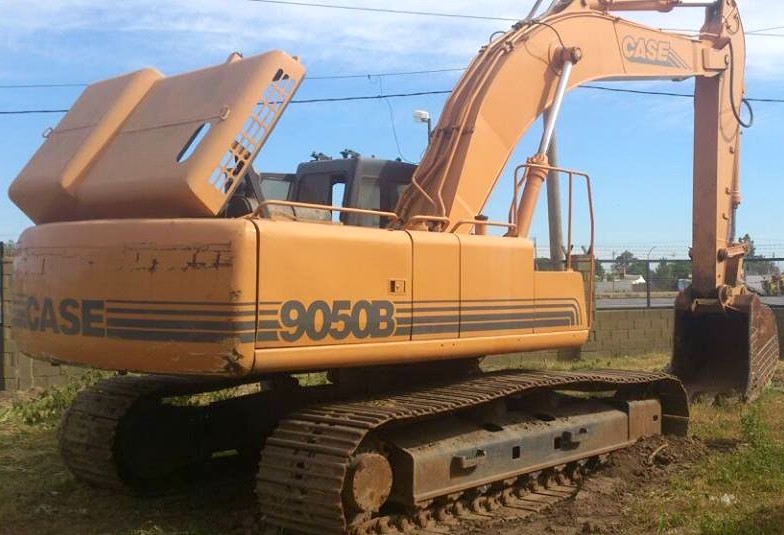
Case 9060B Excavator Workshop Repair & Service Manual + Operator’s Manual
1,000+ total pages, bookmarked, Searchable, Printable, high quality PDF
“7-65272.pdf”
9060B Excavator Service Manual
803 pages
“9-25860.pdf”
9060B Excavator Operator’s Manual
178 pages
“9-29381.pdf”
9060B Excavator Operator’s Manual (P.I.N. EAC0601026 & UP)
192 pages
Complete digital official shop manual contains service, maintenance, and troubleshooting information for the Case 9060B Excavator. Diagnostic and repair procedures are covered in great detail to repair, maintain, rebuild, refurbish or restore your Case 9060B Excavator like a professional mechanic in local service/repair workshop. This cost-effective quality manual is 100% complete and intact as should be without any missing pages. It is the same factory shop manual used by dealers that guaranteed to be fully functional to save your precious time.
This manual for Case 9060B Excavator is divided into different sections. Each section covers a specific component or system and, in addition to the standard service procedures, includes disassembling, inspecting, and assembling instructions. A table of contents is placed at the beginning of each section. Pages are easily found by category, and each page is expandable for great detail. It is in the cross-platform PDF document format so that it works like a charm on all kinds of devices. You do not need to be skilled with a computer to use the manual.
EXCERPT:
9060B Excavator
Service Manual No. 7-65272
Table of Contents
General Tab 1
Loctite Product Chart 8-98900
Safety, General Information and Torque Specifications 1001 7-62010
Specifications 1002 7-65330
Engines Tab 2
Engine – Mitsubishi 2000 7-65380
Engine – Cummins 2000 7-51980
Radiator, Oil Cooler and Cooling System Reservoir – Mitsubishi Engine 2001 7-65390
Radiator, Oil Cooler and Cooling System Reservoir – Cummins Engine 2001 7-51990
Fuel System Tab 3
Fuel Tank, Filters and Lines – Mitsubishi Engine 3001 7-65450
Fuel Tank, Filters and Lines – Cummins Engine 3001 7-52000
Electrical Tab 4
Electrical Specifications and Troubleshooting 4001 7-65310
Electrical Schematic Foldout In Rear Pocket 7-15330
Battery Testing, Maintenance and Booster Battery Connections 4002 7-64500
Controller 4003 7-62070
Tracks Tab 5
Tracks, Rollers and Idlers 5002 7-65340
Power Train Tab 6
Drive Motor and Final Drive Transmission 6002 7-65370
Swing Motor and Swing Reduction Gear 6003 7-65460
Hydraulics Tab 8
Cleaning the Hydraulic System 8000 7-64510
Hydraulic Specifications, Troubleshooting and Pressure Checks 8001 7-65321
Hydraulic Schematic Foldout In Rear Pocket 7-15330
Main Hydraulic Pump 8002 7-63660
Main Hydraulic Control Valve 8003 7-65360
Cylinders 8004 7-65480
Hand Control Valves, Foot Left and Right Travel Control Valves, Shuttle Valve and Accumulator 8005 7-64520
Eight Spool Solenoid Valve, Swing Lock and Swing Brake Solenoid Valve 8006 7-64530
Cushion Control Valve 8007 7-64540
Auxiliary Hydraulics 8008 7-62180
Hydraulic Reservoir Pressurization System 8009 7-64710
Oil Cooler and Fan Drive Motor Hydraulic Pump – Cummins Engine 8010 7-51970
Hydraulic Pilot Filter, Hydraulic Inline Filter and Bypass Oil Filter 8011 7-65490
Hydraulic Swivel 8013 7-65500
Mounted Equipment Tab 9
Upper Structure Counterweight 9002 7-64720
Boom, Arm and Bucket 9003 7-64730
Operators Seat, Operators Seat Bracket and Seat Belts 9004 7-62260
Cab and Cab Equipment 9005 7-62270
Air Conditioner Troubleshooting and System Checks 9006 7-62280
Air Conditioner Components Removal and Installation 9008 7-62300
Air Conditioner Components 9009 7-62310
STEP 1
Attach a suitable strap to the boom cylinder to hold the cylinder rod to the cylinder barrel.
NOTE: Lift the cylinder carefully. The cylinder is heavy and must be balanced by slings when lifting.
STEP 2
With a sling and a hoist attached, lift the boom cylinder. Align the boom cylinder with the mounting brackets on the main frame of the machine. Support the outer end of the boom cylinder on a suitable stand.
STEP 3
Install the pin through the mounting bracket and boom cylinder by driving the pin in. Secure the pin with the cap screw. Using a feeler gauge, check that the clearance between the mounting bracket and the cylinder tube mounting eye is between 0.059 to 0.118 inch (1.5 to 3 mm). If necessary, remove the cap screw and pin and add shim(s) as necessary to obtain the correct clearance. Install the pin and cap screw. Install first nut on the cap screw and tighten until the nut makes contact with the boss on the mounting bracket. Back off the nut 1/4 turn and using two wrenches, install the second nut to secure the first nut in place.
NOTE: Once installed, the cap screw will have approximately 1/16 inch (1.6 mm) of free play.
STEP 4
Start the vacuum pump. Remove the plugs and caps from the hydraulic hoses and fittings. Connect the two hydraulic hoses to the boom cylinder fittings. Shut off the vacuum pump.
Remove the strap securing the cylinder rod to the cylinder barrel.
STEP 5
Lift the boom cylinder and align the rod end of the cylinder with the mounting hole in the boom.
STEP 6
Repeat steps 1 through 5 to place the second boom cylinder on the opposite side of the boom into position.
STEP 7
Install the pin through the cylinder, shim, boom, shim, and second boom cylinder.
STEP 8
Install the shims on both ends of the pin. Install the lock rings on both ends of the pin. Install the two cap screws through the lock rings and pins. Using a feeler gauge, check that the clearance between the mounting bracket and the cylinder rod mounting eye is between 0.059 to 0.118 inch (1.5 to 3 mm). If necessary, remove the cap screw and pin and add or remove shim(s) as necessary to obtain the correct clearance. Install the pin and cap screw. Install first nut on the cap screw and tighten until the nut makes contact with the lock ring. Back off the nut 1/4 turn and using two wrenches, install the second nut to secure the first nut in place. Remove the sling and hoist from the boom cylinder.
NOTE: Once installed, the cap screw will have approximately 1/16 inch (1.6 mm) of free play.
…