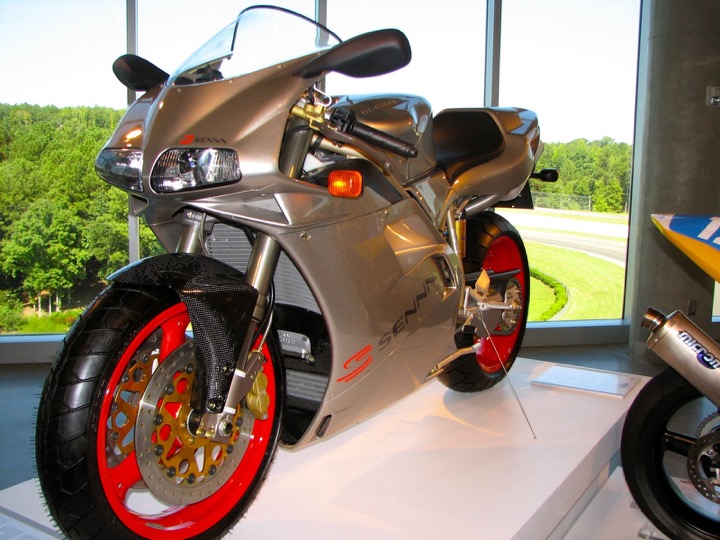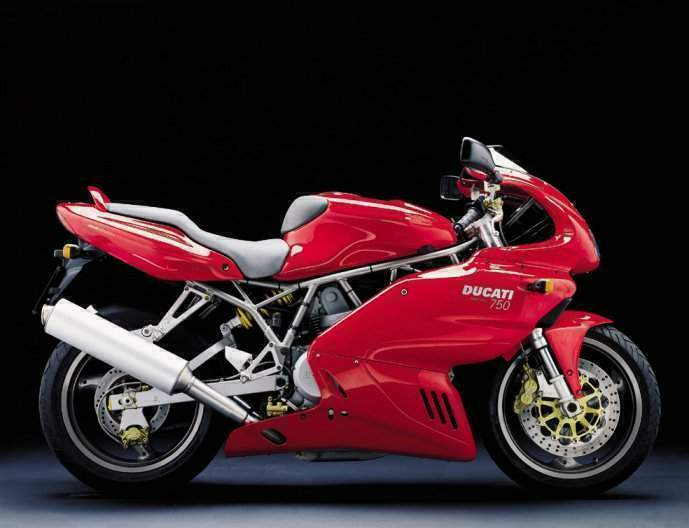
Ducati 750-900 1985-1996 Workshop Repair & Service Manual (COMPLETE & INFORMATIVE for DIY REPAIR) ☆ ☆ ☆ ☆ ☆
* COMPLETE, Absolutely No Missing Pages!
* Official Service INFORMATION You Can Count On!
* Customer Satisfaction GUARANTEED!
This high QUALITY official manual for 1985-1996 Ducati 750-900 (F1/Montjuich/Sport/S.S.) is 100 percents COMPLETE and INTACT, no MISSING, CORRUPT pages, sections to freak you out! This manual is exactly as described. It is in the cross-platform PDF document format so that it works like a charm on all kinds of devices.
FORMAT: PDF
SIZE/PAGE: 105 MB
OS: Windows/Mac OS X/Linux/Android/iOS
YEAR: 1991 1992 1993 1994 1995 1996
LANGUAGE: EN/DE/ES/FR/IT
’85-’88 750 F1/Montjuich Parts Catalog.pdf
’85-’88 750 F1/Montjuich.pdf
’88-’90 750 Sport.pdf
’91-’96 750S.S., 900S.S.pdf
INSTANT DELIVERY: A download link will be sent to you instantly after payment. Simply click on the link and save it to your computer. You can use this Manual as long as you wish with no restrictions.
CUSTOMER SATISFACTION: If there is ANY kind of problem with the item you purchased, just drop a quick email. Within HOURS the issue shall be taken care of.
PRINTABLE MANUAL WITH DIAGRAMS: Just print the manual out and start to work. You can also use the manual with your Tablet/Laptop in your garage.
REFUND/EXCHANGE POLICY: We sell high QUALITY products only. However if you encounter any problems with the item you purchased, another replacement link will be sent to you. If we’re at fault, you will get 100 percents refund.
Buy ☆THE BEST MANUAL ON THE INTERNET☆ from responsible seller and get instant download now without uncertainty or surprise.
This highly detailed workshop service repair manual for download contains virtually everything you will ever need to repair, maintain, rebuild, refurbish or restore 1985-1996 Ducati 750-900 (F1/Montjuich/Sport/S.S.) Motorbike. All diagnostic and repair procedures and gives you access to the same information that professional technicians and mechanics have. You can view and print out the complete repair procedures with this workshop service repair manual Download – you do not need to be skilled with a computer.
EXTRACTS:
Changing engine speeds.
The illustration below shows the variation in ideal air-fuel ratios as engine speeds change. The ratios are expressed in terms of weight. A 15:1 ratio, for example, represents 15 grams of air to one gram of fuel.
At idle, or during low-speed operation, the amount of the air-fuel mixture taken into the combustion chamber is small, and the speed at which the mixture enters the combustion chamber is relatively slow. These two factors prevent complete mixing of the air and fuel, and allow a high percentage of the burned exhaust gases to remain, causing a dilution of the total intake charge. When this happens, additional fuel must be supplied to assist the mixture in igniting properly.
During midrange, no-load operation, the air-fuel ratio can meet, or even exceed, the ideal 15:1 ratio. Under these ideal conditions, an engine can achieve maximum economy and efficiency. This clearly explains why gas mileage increases dramatically
during highway cruising, and why HC and CO readings drop approximately 50% during the midrange test with exhaust gas analyzer.
At high speeds, richer air-fuel mixtures are also required to prevent overheating, to compensate for the decrease in intake duration, and to efficiently use all the available air.
SOSPENSIONI E RUOTE
SUSPENSIONS AND WHEELS
SUSPENSIONS ET ROUES
AUFHÄNGUNGEN UND RÄDER
SUSPENSIONES Y RUEDAS
Sostituzione cuscinetti di sterzo.
Dovendo sostituire i cuscinetti del cannotto di sterzo procedere nel modo seguente:
– Svitare completamente la vite {1 );
– Allentare le viti (2) sui morsetti di tenuta delle canne alla lesta di sterzo;
– Allentare la vite (3) sulla testa di sterzo.
Con l’ausilio di un martello di gomma sfilare la testo di sterzo dalle canne e dal perno.
Svitare completamente lo ghiera (4) e rimuoverlo.
Sfilare dalla parte inferiore il perno dal cannotto.
Steering bearings replacement.
When replacing the steering liner bearings proceed as follows:
– completely unscrew the screw ( 1 );
– unloose the screws |2) on the liners clamping terminals to the steering head,
– unloose the screw (3) on the steering head
With o rubber hammer, extract the steering head from liners and pin
Completely unscrew the ring nut (4) and remove it.
Extract the liner pin from the lower side.
Remplacement coussinets de direction.
Pour le remplacement des coussinets du canot de direction, procéder de la façon suivante:
– Désserrer complètement la vis f 1 );
– Désserrer les vis (2) sur les étaux qui fixent les tuyaux à la tête de direction;
– Désserrer la vis (3) sur lo tête de direction.
Au moyen d’un marteau en caoutchouc, extraire la tête de direction des tuyaux et du pivot.
Extraire complètement l’embout (4) et l’enlever.
Extraire le pivot du canot de lo partie inférieure.
Austausch der Steuergetriebelager.
Beim Austausch der Lager des Steuergelrieberohrs, gehl man wie folgt vor:
– Die Schraube ( 1 ) ganz ausschrauben;
– Die Schrauben (2) auf die Klemmen lösen, welche dem Lenkungskopf die Buchsen
befestigen;
– Die Schraube (3) auf dem Lenkungskopf lösen.
Mil einem Gummihammer, den Lenkungskopf von den Buchsen und Bolzen ausziehen.
Die Nutmutter (4) ganz ausschrauben und sie beseitigen.Vom unteren Teil, den Bolzen
vom Rohr ausziehen.
Sustitución cojinetes de dirección.
Para sustituir los cojinetes de la columna de dirección proceder de la manera siguiente:
– Desatornillar completamente el tornillo ( 1 );
– Aflojar los tornillos (2) situados en los bornes de retención de las caños con la cabeza
de dirección;
– Aflojar el tornillo (3) situado en la cabeza de dirección.
Con la ayuda de un martillo de goma sacar la cabeza de dirección de las cañas y
del perno
Desenroscar completamente la virola (4) y quitarla.
Sacar el perno de la columna por la parte inferior