Posted on

Caterpillar Diesel Engines 3054/3054B/3056 Factory Service & Shop Manual


Download Link

INSTANT DOWNLOAD


Complete workshop & service manual with electrical wiring diagrams for Caterpillar Diesel Engines 3054/3054B/3056. It’s the same service manual used by dealers that guaranteed to be fully functional and intact without any missing page.

This Caterpillar Diesel Engines 3054/3054B/3056 service & repair manual (including maintenance, overhaul, disassembling & assembling, adjustment, tune-up, operation, inspecting, diagnostic & troubleshooting…) is divided into different sections. Each section covers a specific component or system with detailed illustrations. A table of contents is placed at the beginning of each section. Pages are easily found by category, and each page is expandable for great detail. The printer-ready PDF documents work like a charm on all kinds of devices.

MANUAL LIST:
SENR1117 – Specifications (3054 Truck Engine)
SENR1119 – Troubleshooting (3054 Truck Engine)
SENR1188 – Disassembly and Assembly (3054 Truck Engine)
SENR5055 – Specifications (3054, 3054B and 3056 Marine Engines Installation Guide)
SENR5055 – Systems Operation (3054, 3054B and 3056 Marine Engines Installation Guide)
SENR5056 – Disassembly and Assembly (3054, 3054B and 3056 Marine Engines)
SENR5057 – Systems Operation (3054, 3054B and 3056 Marine Engines)
SENR5057 – Testing & Adjusting (3054, 3054B and 3056 Marine Engines)
SENR5058 – Specifications (3054, 3054B and 3056 Marine Engines)
SENR5541 – Specifications (3054 & 3056 Industrial and Generator Set Engines)
SENR5542 – Systems Operation (3054 and 3056 Industrial and Generator Set Engines)
SENR5542 – Testing & Adjusting (3054 and 3056 Industrial and Generator Set Engines)
SENR5547 – Disassembly & Assembly (3054 & 3056 Industrial and Generator Set Engines)
SENR5815 – Specifications (3054 Engine)
SENR5816 – Systems Operation (3054 Engine for Caterpillar Built Machines)
SENR5816 – Testing & Adjusting (3054 Engine for Caterpillar Built Machines)
SENR6241 – Disassembly and Assembly (3054 Engine for Caterpillar Built Machines)
SENR1118 – Systems Operation (3054 Truck Engine).pdf
SENR1118 – Testing & Adjusting (3054 Truck Engine).pdf
SENR5055 – Troubleshooting (3054, 3054B and 3056 Marine Engines Installation Guide).pdf

EXCERPT:
1. (1). Remove O-ring seal (2) .
2. Remove two bolts that hold flange (7) to air intake housing (4). Remove O-ring seal (6) .
3. Remove two bolts (5) from air intake housing (4) .
Remove sixteen bolts (10) that fasten inner housing (1) to air intake housing (4). Remove the bolts in a sequence that starts at each end of the housing. Then, work toward the center of the housing.
4. Separate inner housing (1) and air intake housing (4). Slide air intake housing (4) away from line (9) for the sea water outlet. Remove the air intake housing.

Posted on

Caterpillar 3046 Diesel Engine Factory Service & Shop Manual


Download Link

INSTANT DOWNLOAD


Complete workshop & service manual for 3046 Engine for Caterpillar Built Machines. It’s the same service manual used by dealers that guaranteed to be fully functional and intact without any missing page.

This Caterpillar 3046 Diesel Engine service & repair manual (including maintenance, overhaul, disassembling & assembling, adjustment, tune-up, operation, inspecting, diagnostic & troubleshooting…) is divided into different sections. Each section covers a specific component or system with detailed illustrations. A table of contents is placed at the beginning of each section. Pages are easily found by category, and each page is expandable for great detail. The printer-ready PDF documents work like a charm on all kinds of devices.

MANUAL LIST:
SENR6458 – Disassembly and Assembly (3046 Engine for Caterpillar Built Machines)
SENR6457 – Systems Operation (3046 Engine for Caterpillar Built Machines)
SENR6457 – Testing and Adjusting (3046 Engine for Caterpillar Built Machines)
SENR6456 – Specifications (3046 Engine for Caterpillar Built Machines)

EXCERPT:
2. bolts (12) onto air inlet manifold (11) .
Note: Check condition of the elbow gasket. If the gasket is damaged, use a new part for replacement.
3. Install the gasket and elbow (10) onto air inlet manifold (11) .
4. Install washers and four bolts (9) onto air inlet manifold (11) .
5. Install bolt (8) and the washer onto fuel injection lines.
6. Install two bolts (7) onto air inlet manifold (11) .
7. If necessary, reposition two hoses (6) onto air inlet manifold (11) .
8. Install the washer and bolt (5) onto air inlet manifold (11) .

Posted on

Caterpillar 3044C Diesel Engines Factory Service & Shop Manual


Download Link

INSTANT DOWNLOAD

Complete workshop & service manual with electrical wiring diagrams for Caterpillar 3044C Diesel Engines. It’s the same service manual used by dealers that guaranteed to be fully functional and intact without any missing page.

This Caterpillar 3044C Diesel Engines service & repair manual (including maintenance, overhaul, disassembling & assembling, adjustment, tune-up, operation, inspecting, diagnostic & troubleshooting…) is divided into different sections. Each section covers a specific component or system with detailed illustrations. A table of contents is placed at the beginning of each section. Pages are easily found by category, and each page is expandable for great detail. The printer-ready PDF documents work like a charm on all kinds of devices.

MANUAL LIST:
RENR7577 – Specifications (3044C Industrial Engine and Engines for Caterpillar Built Machines)
RENR7578 – Systems Operation (3044C Industrial Engine & Engines for Caterpillar Built Machines)
RENR7578 – Testing & Adjusting (3044C Industrial Engine & Engines for Caterpillar Built Machines)
RENR7582 – Disassembly & Assembly (3044C Industrial Engine & Engines for Caterpillar Built Machines)
SENR3981 – Schematic (Fluid Power & Electrical Graphic Symbols)

EXCERPT:
4. Ensure that timing marks on teeth (4) are in the correct position.
5. Install O-ring seal (3) and cover (1). Install bolts (2) .
6. Check the fuel injection timing. Refer to Testing and Adjusting, “Fuel Injection Timing – Check – Distributor Pump”.
End By: Install the fuel injection lines. Refer to Disassembly and Assembly, “Fuel Injection Lines – Remove and Install”.

Posted on

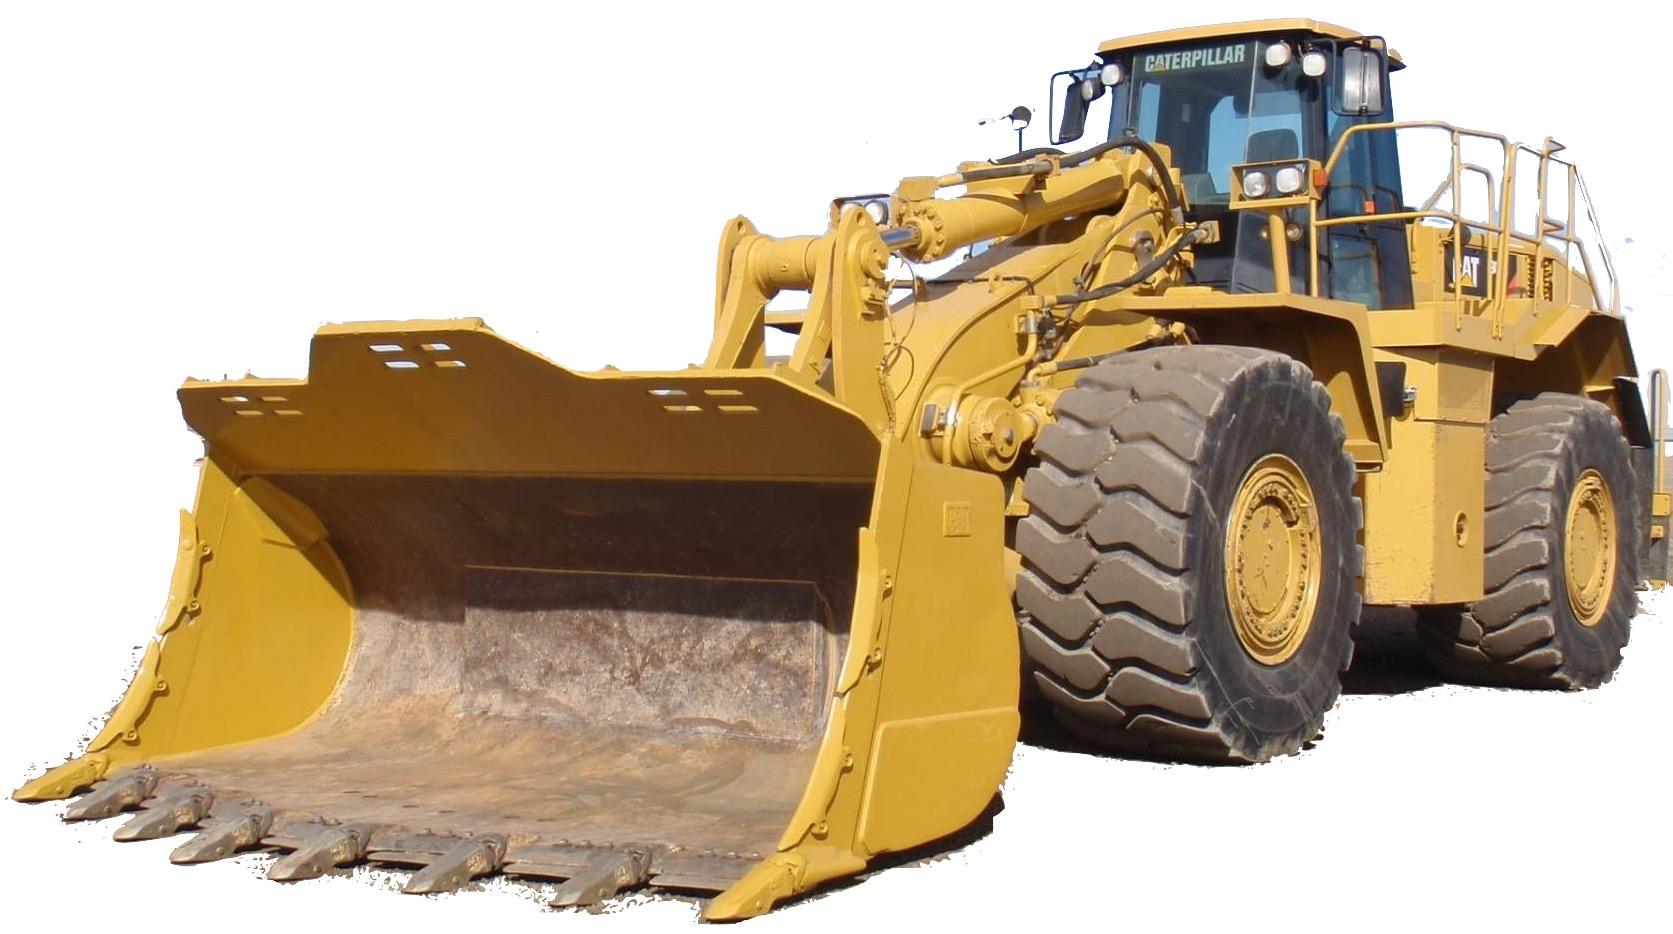
Caterpillar Wheel Loader 988H Factory Service & Shop Manual


Download Link

INSTANT DOWNLOAD


Complete workshop & service manual with electrical wiring diagrams for Caterpillar Wheel Loader 988H. It’s the same service manual used by dealers that guaranteed to be fully functional and intact without any missing page.

This Caterpillar Wheel Loader 988H service & repair manual (including maintenance, overhaul, disassembling & assembling, adjustment, tune-up, operation, inspecting, diagnostic & troubleshooting…) is divided into different sections. Each section covers a specific component or system with detailed illustrations. A table of contents is placed at the beginning of each section. Pages are easily found by category, and each page is expandable for great detail. The printer-ready PDF documents work like a charm on all kinds of devices.

MANUAL LIST:
RENR6218 – Troubleshooting (988H Wheel Loader Electrohydraulic System)
KENR6328 – Schematic (988H Steel Mill Wheel Loader Electrical System – Attachment)
RENR3079 – Schematic (834H Wheel Tractor, 836H Landfill Compactor & 988H Wheel Loader Electrical System)
RENR5397 – Specifications (988H, 988K, 990H, 990K, 992G, 992K, 993K, 994K Wheel Loaders, 854K Wheel Dozers Automatic Lubrication System (Hydraulic Actuated System))
RENR5397 – Systems Operation (988H, 988K, 990H, 990K, 992G, 992K, 993K, 994K Wheel Loaders, 854K Wheel Dozers Automatic Lubrication System (Hydraulic Actuated System))
RENR5397 – Testing & Adjusting (988H, 988K, 990H, 990K, 992G, 992K, 993K, 994K Wheel Loaders, 854K Wheel Dozers Automatic Lubrication System (Hydraulic Actuated System))
RENR6203 – Specifications (988H Wheel Loader Power Train)
RENR6204 – Systems Operation (988H Wheel Loader Power Train)
RENR6205 – Testing & Adjusting (988H Wheel Loader Power Train)
RENR6205 – Troubleshooting (988H Wheel Loader Power Train)
RENR6206 – Disassembly & Assembly (988H and 988K Wheel Loaders Power Train)
RENR6207 – Disassembly and Assembly (988H Wheel Loader C18 Engine Supplement)
RENR6210 – Specifications (988H Wheel Loader Steering System)
RENR6211 – Systems Operation (988H Wheel Loader Steering System)
RENR6212 – Testing and Adjusting (988H Wheel Loader Steering System)
RENR6213 – Specifications (988H Wheel Loader Braking System)
RENR6214 – Systems Operation (988H Wheel Loader Braking System)
RENR6215 – Testing & Adjusting (988H Wheel Loader Braking System)
RENR6216 – Specifications (988H Wheel Loader Electrohydraulic System)
RENR6217 – Systems Operation (988H Wheel Loader Electrohydraulic System)
RENR6218 – Testing & Adjusting (988H Wheel Loader Electrohydraulic System)
RENR6219 – Schematic (988H Wheel Loader Tier 3 Hydraulic System)
RENR6220 – Specifications (988H Wheel Loader, 834H Wheel Dozer and 836H Landfill Compactor Machine Systems)
RENR6222 – Disassembly and Assembly (988H Wheel Loader Machine Systems)
RENR6223 – Schematic (834H Wheel Tractor, 836H Landfill Compactor and 988H Wheel Loader Electrical System)
UENR0331 – Testing & Adjusting (988H Wheel Loader Electrohydraulic System)
UENR0331 – Troubleshooting (988H Wheel Loader Electrohydraulic System)
UENR0333 – Schematic (834H Wheel Tractor 836H Landfill Compactor 988H Wheel Loader Electrical System)
UENR1249 – Schematic (988H Wheel Loader Tier 3 Hydraulic System)

EXCERPT:
a. Install backup ring (26) and O-ring seal (27) to the retainer. Install the retainer in the valve assembly.
b. Install O-ring seal (29) and backup ring (30).
c. If locknut (34) was loosened, install O-ring seal (32) to the adjustment screw. Install the adjustment screw and tighten locknut (34) to a torque of 44 ± 10 N·m (32 ± 7 lb ft).
d. Install O-ring seal (31) to cap (33). Install cap (33). Tighten cap (33) to a torque of 80 ± 10 N·m (59 ± 7 lb ft).
e. Install O-ring seal (28).

Posted on

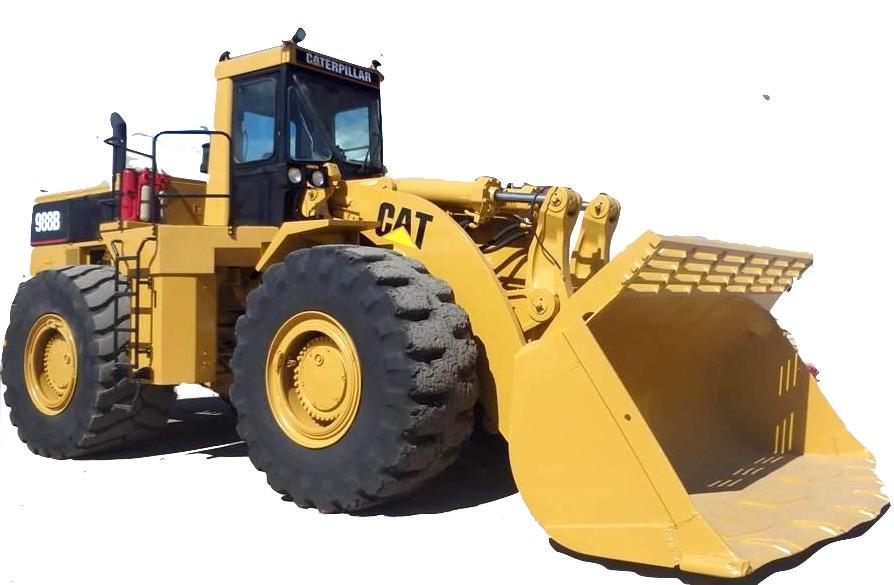
Caterpillar Wheel Loader 988B Factory Service & Shop Manual


Download Link

INSTANT DOWNLOAD


Complete workshop & service manual with electrical wiring diagrams for Caterpillar Wheel Loader 988B. It’s the same service manual used by dealers that guaranteed to be fully functional and intact without any missing page.

This Caterpillar Wheel Loader 988B service & repair manual (including maintenance, overhaul, disassembling & assembling, adjustment, tune-up, operation, inspecting, diagnostic & troubleshooting…) is divided into different sections. Each section covers a specific component or system with detailed illustrations. A table of contents is placed at the beginning of each section. Pages are easily found by category, and each page is expandable for great detail. The printer-ready PDF documents work like a charm on all kinds of devices.

MANUAL LIST:
SEBP1388 – Parts Manual (988B Wheel Loader, Powered by 3408 Engine)
SENR2528 – Disassembly & Assembly (988B & 992B Wheel Loader Operator’s Station)
SENR2624 – Specifications (988B Wheel Loader Power Train)
SENR2628 – Specifications (988B Wheel Loader Steering System)
SENR2630 – Specifications (988B Wheel Loader Brake System)
SENR2632 – Specifications (988B Wheel Loader Hydraulic System)
SENR2635 – Schematic (988B Wheel Loader Hydraulic System)
SENR2636 – Schematic (988B Wheel Loader Electrical System)
SENR7322 – Specifications (988B Wheel Loader Power Train)
SENR7325 – Disassembly & Assembly (988B Wheel Loader Power Train)
SENR7326 – Specifications (988B Wheel Loader Steering System)
SENR7328 – Specifications (988B Wheel Loader Brake System)
SENR7330 – Specifications (988B Wheel Loader Hydraulic System)
SENR7333 – Schematic (988B Wheel Loader Electrical System)
SENR7334 – General Service Information (988B Wheel Loader Operator’s Station)
SENR7334 – Troubleshooting (988B Wheel Loader Operator’s Station)
SENR7498 – Specifications (988B Wheel Loader Brake System)
SENR2625 – Systems Operation (988B Wheel Loader Power Train).pdf
SENR2625 – Testing & Adjusting (988B Wheel Loader Power Train).pdf
SENR2626 – Testing and Adjusting (988B Wheel Loader Power Shift Transmission).pdf
SENR2629 – Systems Operation (988B Wheel Loader Steering System).pdf
SENR2629 – Testing & Adjusting (988B Wheel Loader Steering System).pdf
SENR2631 – Systems Operation (988B Wheel Loader Brake System).pdf
SENR2631 – Testing & Adjusting (988B Wheel Loader Brake System).pdf
SENR2633 – Systems Operation (988B Wheel Loader Hydraulic System).pdf
SENR2633 – Testing & Adjusting (988B Wheel Loader Hydraulic System).pdf
SENR2637 – Systems Operation (988B Wheel Loader Operator’s Station And Electrical System).pdf
SENR2637 – Testing & Adjusting (988B Wheel Loader Operator’s Station And Electrical System).pdf
SENR7323 – Systems Operation (988B Wheel Loader Power Train).pdf
SENR7323 – Testing & Adjusting (988B Wheel Loader Power Train).pdf
SENR7324 – Testing & Adjusting (988B Power Shift Transmission).pdf
SENR7327 – Systems Operation (988B Wheel Loader Steering System).pdf
SENR7327 – Testing & Adjusting (988B Wheel Loader Steering System).pdf
SENR7329 – Systems Operation (988B Wheel Loader Brake System).pdf
SENR7329 – Testing & Adjusting (988B Wheel Loader Brake System).pdf
SENR7331 – Systems Operation (988B Wheel Loader Hydraulic System).pdf
SENR7331 – Testing & Adjusting (988B Wheel Loader Hydraulic System).pdf
SENR7332 – Systems Operation (988B Wheel Loader Power Train).pdf
SENR7332 – Testing & Adjusting (988B Wheel Loader Power Train).pdf
SENR7334 – Electrical Schematics (988B Wheel Loader Operator’s Station).pdf
SENR7468 – Testing & Adjusting (988B Insert_for Use With Steering Tee Test Procedure – I).pdf
SENR7469 – Testing & Adjusting (988B(50W) Insert_ For Use With Flow Meter Tee Test Procedure).pdf

EXCERPT:
There are two different ways to check the accuracy of a temperature gauge:
1. The gauge can be checked with its respective sender in water or oil at a specific temperature.
2. The gauge can also be checked with a specific resistance instead of a sender.
The 2W1091 Coolant Temperature Gauge, the 2W1092 Converter Oil Temperature Gauge and the 2W1095 Hydraulic Oil Temperature Gauge can each be checked with either a 6N5926 Sender or an 8N3844 Sender.
To check the 8N2976 Coolant Temperature Gauge or the 8N2982 Hydraulic Oil Temperature Gauge with a sender, the gauge must have +24 to 28 volts connected between the IGN and GRD terminals; the sender must be in an oil bath (a reservoir of heated oil) at 127°C (261°F) for 7 minutes or more.
The gauge must show a temperature at the last mark on the right hand side (past the 120°C mark).
With the sender in a water or oil bath at 40°C (104°F), the gauge must show a temperature at the first mark on the left hand side (40°C).
To check the 8N2977 Converter Oil Temperature Gauge with a sender, the gauge must have +24 to 28 volts connected between the IGN and the GRD terminals; the sender must be in an oil bath at 160°C (320°F) for 7 minutes or more. The gauge must show a temperature at the last mark on the right hand side (160°C). With the sender in a water or oil bath at 40°C (104°F), the gauge must show a temperature at the first mark on the left hand side (40°C).