
INSTANT DOWNLOAD (add to cart)
1,360 + 141 pages, bookmarked, Searchable, Printable, high quality PDF
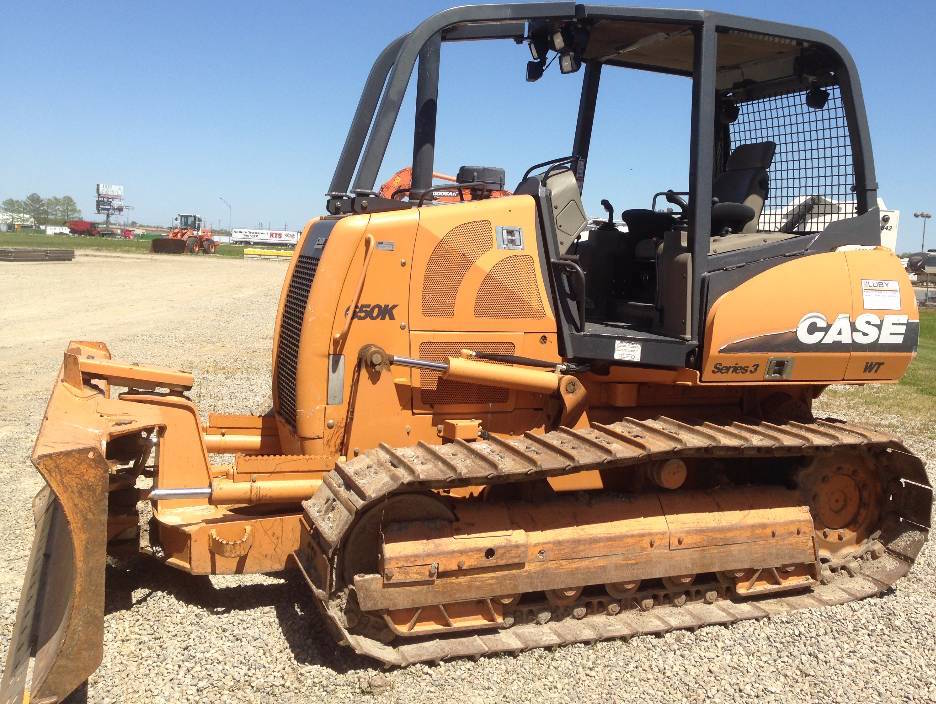
MAKE: Case
MODEL: 650K, 750K, 850K
FORMAT: PDF
PAGES / SIZE: 1,360 (Service Manual) + 141 (Operator’s Manual)
“87364103.pdf”
650K TIER II, 750K TIER II, 850K TIER II Repair Manual
1,360 pages
87364103-NA 2 4/12/2007
6-85641.pdf
650K, 750K, 850K Series Crawler Operator’s Manual
141 pages
6-85641 NA; 12-2005
Complete digital official shop manual contains service, maintenance, and troubleshooting information for the Case 650K, 750K, 850K Crawler. Diagnostic and repair procedures are covered in great detail to repair, maintain, rebuild, refurbish or restore your Case 650K, 750K, 850K like a professional mechanic in local service/repair workshop. This cost-effective quality manual is 100% complete and intact as should be without any missing pages. It is the same factory shop manual used by dealers that guaranteed to be fully functional to save your precious time.
This manual for Case 650K, 750K, 850K Crawler is divided into different sections. Each section covers a specific component or system and, in addition to the standard service procedures, includes disassembling, inspecting, and assembling instructions. A table of contents is placed at the beginning of each section. Pages are easily found by category, and each page is expandable for great detail. It is in the cross-platform PDF document format so that it works like a charm on all kinds of devices. You do not need to be skilled with a computer to use the manual.
EXCERPT:
DISTRIBUTION SYSTEMS- FAULT CODES
4521-Bump up switch stuck on at power up
650K TIER II [CALOOOOOO ~ CAL012143], 750K TIER II [CALOOOOOO ~ CAL003348], 850K TIER II [CALOOOOOO ~ CAL005666]
Cause:
1. Connectors not mated fully, pins not pushed into connector fully, bent pin or broken wire at rear of connector.
2. Button is mechanically stuck.
3. Wiring or switch circuits shorted.
4. Failed Drivetrain Control Module.
Possible failure modes:
1. The Instrument Cluster is indicating that the Maximum Speed setting is increasing, when Bump Up Switch is not being commanded.
Solution:
1. Find out if the fault code is still active, refer to Command Display/service switch – Dynamic description (C.20.F).
Prior to clearing fault codes write down all fault codes, number of occurrences, and engine hours at last occurrence.
A. Turn ignition switch to RUN position to power drivetrain controller.
B. Clear all fault codes from the controller.
C. To check for fault code: Move directional control to neutral, ignition switch to run (engine does not need to be running), move both parking levers to down position, move hand throttle to high idle position, and push directional control to forward position.
D. NOT OK- Fault code 4521 is recorded again. Go to step 2.
E. OK for return to service.
2. Inspect the Bump Up Switch Connection.
A. Turn ignition switch and master disconnect off.
B. Check for button mechanically stuck.
C. Clear buttons of any foreign debris.
D. NOT OK- Return to Step 1 to confirm elimination of fault.
E. OK – Go to Step 3.
3. Check for open circuit in the Bump Up Switch.
A Disconnect the Bump Up Switch Connector.
B. Check wiring and connector for Bump Up Switch.
C. NOT OK- Replace handle and button. and return to Step 1 to confirm elimination of fault.
D. OK- Go to Step 4.
4. Replace the Drivetrain Control Module.
A Remove and replace Drivetrain Control Module. refer to Electrical control -Remove (C.20.F) and Electrical control -Install (C.20.F).
B. Write symptom on failed Drivetrain Control Module.
C. Install program with Electronic Service Tool (EST) and calibrate the system.
4522-Bump down switch stuck on at power up
650K TIER II [CAL012200 -], 750K TIER II [CAL003400-], 850K TIER II [CAL005700-]
Cause:
1. Connectors not mated fully, pins not pushed into connector fully, bent pin or broken wire at rear of connector.
2. Button is mechanically stuck.
3. Wiring or switch circuits shorted.
4. Failed Drivetrain Control Module.
Possible failure modes:
1. The Instrument Cluster is indicating that the Maximum Speed setting is increasing, when Bump Down Switch is not being commanded.
Solution:
1. Find out if the fault code is still active, refer to Command Display/service switch -Dynamic description (C.20.F).
Prior to clearing fault codes write down all fault codes, number of occurrences, and engine hours at last occurrence.
A. Turn ignition switch to RUN position to power drivetrain controller.
B. Clear all fault codes from the controller.
C. To check for fault code: Move directional control to neutral, ignition switch to run (engine does not need to be running), move both parking levers to down position, move hand throttle to high idle position, and push directional control to forward position.
D. NOT OK- Fault code 4522 is recorded again. Go to step 2.
E. OK for return to service.
2. Inspect the Bump Down Switch Connection.
A. Turn ignition switch and master disconnect off.
B. Check for button mechanically stuck.
C. Clear buttons of any foreign debris.
D. NOT OK- Return to Step 1 to confirm elimination of fault.
E. OK – Go to Step 3.
3. Check for open circuit in the Bump Down Switch.
A. Disconnect the Bump Down Switch Connector.
B. Check wiring and connector for Bump Down Switch.
C. NOT OK- Replace handle and button, and return to Step 1 to confirm elimination of fault.
D. OK-Go to Step 4.
4. Replace the FNR joystick.
A. Return to Step 1 to confirm elimination of fault.
B. NOT OK-Go to Step 5.
5. Turn ignition switch and master disconnect OFF, disconnect controller Connector C1, turn master disconnect ON.
A. Check for continuity from pins 2 and 28 to ground.
B. NOT OK- Repair ground circuit. Return to Step 1 to confirm elimination of fault.
C. OK-Go to Step 6.
6. Turn the ignition switch ON.
A. Check for power at pins 1 and 27 to ground.
B. Check fuse #9 and fuse #3.
C. Check circuit from pins 1 and 27 Connector C1 to pin 16 Connector C4, form pin 16 Connector M10 to pin 9A Connector M2.
D. NOT OK- Repair power circuit. Return to Step 1 to confirm elimination of fault.
E. OK-Go to Step 7.
7. At Connector C1.
…