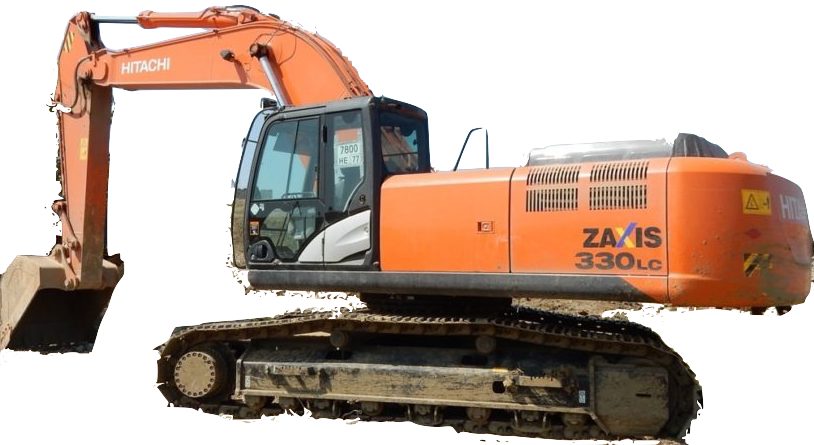
Hitachi ZX330 Excavator Factory Service & Shop Manual
Complete workshop & service manual with electrical wiring diagrams for Hitachi ZX330, ZX330-5G, ZX330LC-5G, ZX330H-5G, ZX330LCH-5G, ZX330K-5G, ZX330LCK-5G Excavator. It’s the same service manual used by dealers that guaranteed to be fully functional and intact without any missing page.
This service & repair manual (including maintenance, overhaul, disassembling & assembling, adjustment, tune-up, operation, inspecting, diagnostic & troubleshooting…) is divided into different sections. Each section covers a specific component or system with detailed illustrations. A table of contents is placed at the beginning of each section. Pages are easily found by category, and each page is expandable for great detail. The printer-ready PDF documents work like a charm on all kinds of devices.
FILELIST:
TO1V7E00 – Hitachi ZAXIS 330-3 class Hydraulic Excavator Technical Manual (Operational Principle).pdf
TT1V7E00 – Hitachi ZAXIS 330-3 class Hydraulic Excavator Technical Manual (Troubleshooting).pdf
TTLA0678TX – Hitachi ZAXIS 200-3 class, 240-3 class, 270-3 class, 330-3 class Training Text (Maintenance).pdf
WDDEEN00 – Hitachi ZX330-5G, ZX330LC-5G, ZX330H-5G, ZX330LCH-5G, ZX330K-5G, ZX330LCK-5G Hydraulic Excavator Workshop Manual.pdf
EM1V7SL21 – Hitachi ZAXIS 330LC-3, 350LC-3 (Super Long Front Rype H22) Operator’s Manual.pdf
TT1V7E00 (attach) – Hitachi ZAXIS 330-3 Class Hydraulic Circuit Diagram circuit_updated+infomation_1pages.pdf
EXCERPT:
SECTION 1 GENERAL INFORMATION
Group 1 Precautions for Disassembling and Assembling
Group 2 Tightening
Group 3 Painting
Group 4 Bleeding Air
Group 5 Pressure Release Procedure
Group 6 Preparation
SECTION 2 MAINTENANCE STANDARD
Group 1 Upperstructure
Group 2 Undercarriage
Group 3 Front Attachment
SECTION 3 UPPERSTRUCTURE
Group 1 Cab
Group 2 Counterweight
Group 3 Main Frame
Group 4 Engine
Group 6 Hydraulic Oil Tank
Group 7 Fuel Tank
Group 8 Pump Device
Group 9 Control Valve
Group 10 Swing Device
Group 11 Pilot Valve
Group 12 Solenoid Valve
Group 13 Signal Control Valve
SECTION 4 UNDERCARRIAGE
Group 1 Swing Bearing
Group 2 Travel Device
Group 3 Center Joint
Group 4 Track Adjuster
Group 5 Upper and Lower Rollers
Group 6 Track
SECTION 5 FRONT ATTACHMENT
Group 1 Front Attachment
Group 2 Cylinder
…
SECTION 3 UPPERSTRUCTURE
Disassembly of Pilot Shut-Off Solenoid Valve
IMPORTANT: Filter (9) cannot be removed.
1. Put the matching marks on body (4) and solenoid (2). Secure body (4) in a vise. Remove socket bolts (1) (2 used) from body (4). Remove solenoid (2) and O-ring (3) from body (4). : 4 mm
2. Remove plug (8) from body (4). Remove O-ring (7) from plug (8). : 6 mm
3. Remove spring (6) and spool (5) from body (4).
…