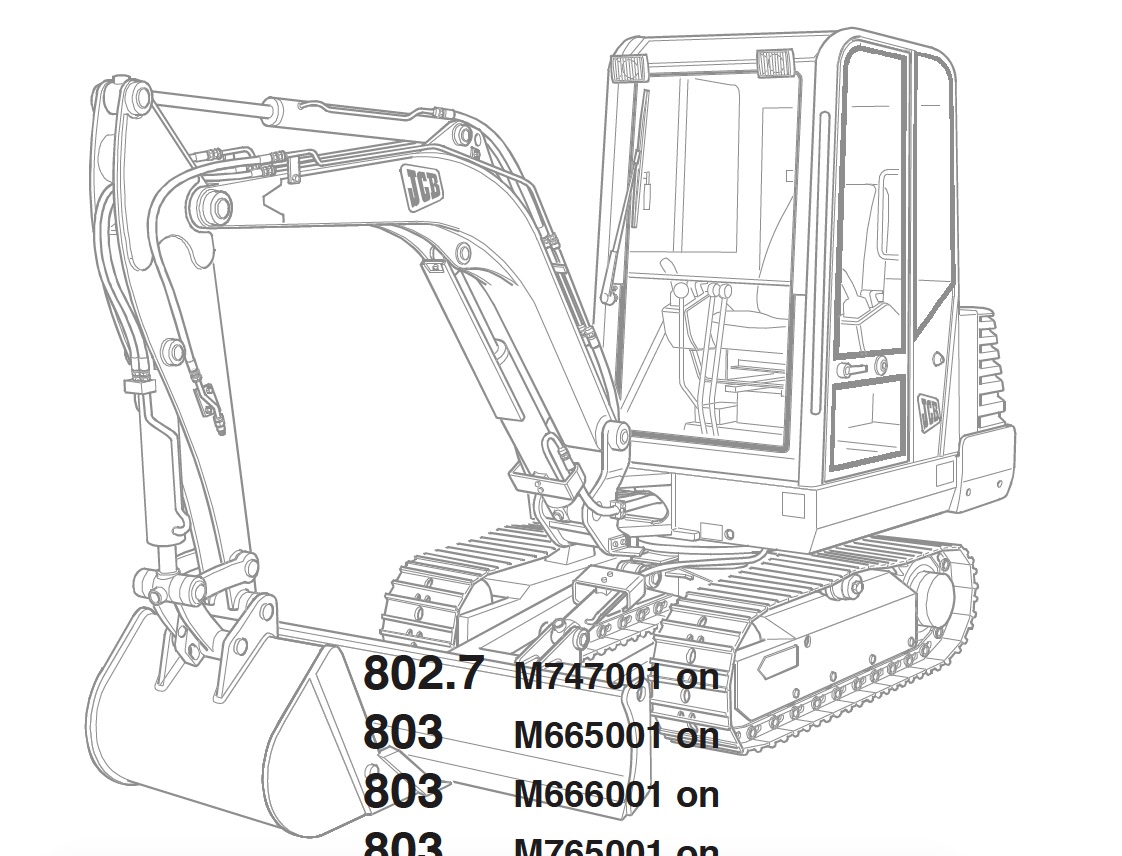
Complete workshop & service manual with electrical wiring diagrams for JCB Excavators 801, 801.4, 801.5, 801.6, 802, 802.4, 802 Super, 802.7, 802.7 Plus, 802.7 Super, 803, 803 Plus, 803 Super, 804, 804 Plus, 804 Super. It’s the same service manual used by dealers that guaranteed to be fully functional and intact without any missing page.
This JCB Excavators 801, 801.4, 801.5, 801.6, 802, 802.4, 802 Super, 802.7, 802.7 Plus, 802.7 Super, 803, 803 Plus, 803 Super, 804, 804 Plus, 804 Super service & repair manual (including maintenance, overhaul, disassembling & assembling, adjustment, tune-up, operation, inspecting, diagnostic & troubleshooting…) is divided into different sections. Each section covers a specific component or system with detailed illustrations. A table of contents is placed at the beginning of each section. Pages are easily found by category, and each page is expandable for great detail. The printer-ready PDF documents work like a charm on all kinds of devices.
FILELIST:
9803-3110 – JCB Hydrapower 802.7, 803, 804 Mini-Excavator Service Manual.pdf
9803-3130 – JCB Hydrapower 801.4, 801.5, 801.6 Mini-Excavator Service Manual.pdf
9803-3140 – JCB 802, 802.4, 802 Super Mini-Excavator Service Manual.pdf
9803-3145 – JCB 802.7 Plus, 802.7 Super, 803 Plus, 803 Super, 804 Plus, 804 Super Mini-Excavator Service Manual.pdf
9803-3161 – JCB 801 Tracked-Excavator Service Manual.pdf
EXCERPT:
Typical – Dismantling and Assembly
WARNING
If air or hydraulic pressure is used to force out the piston assembly, ensure that the end cap is securely fitted. Severe injury can be caused by a suddenly released piston rod.
The numerical sequence shown in the figures are intended as a guide to dismantling.
Discard all seals and ‘O’ rings.
Try to lay out the parts in the correct order for assembly. For assembly the sequence should be reversed.
Fit new ‘O’ rings and seals on assembly.
Torque tighten the end cap and piston nut.
For correct torque settings, refer to Section 3.
…