Posted on

Komatsu HB205, HB215LC Hybrid Workshop Repair & Service Manual

Komatsu HB205, HB215LC Hybrid


INSTANT DOWNLOAD


Complete digital official shop manual contains service, maintenance, and troubleshooting information for the Komatsu HB205-1, HB215LC-1 Hybrid Hydraulic Excavator. Diagnostic and repair procedures are covered in great detail to repair, maintain, rebuild, refurbish or restore your HB205, HB215LC like a professional mechanic in local service/repair workshop. This cost-effective quality manual is 100% complete and intact as should be without any missing pages. It is the same factory shop manual used by dealers that guaranteed to be fully functional to save your precious time.

This manual for Komatsu HB205-1, HB215LC-1 Hybrid Hydraulic Excavator is divided into different sections. Each section covers a specific component or system and, in addition to the standard service procedures, includes disassembling, inspecting, and assembling instructions. A table of contents is placed at the beginning of each section. Pages are easily found by category, and each page is expandable for great detail. It is in the cross-platform PDF document format so that it works like a charm on all kinds of devices. You do not need to be skilled with a computer to use the manual.

“Shop Manual (SEN05393-04).pdf”
Komatsu HB205-1, HB215LC-1 Hybrid Hydraulic Excavator Shop Manual; 1,451 pages

EXCERPT:

General information on troubleshooting – Checks before troubleshooting

Replacing fuel pre-filter cartridge
1. Turn valve (1) at the bottom of the fuel tank to the “CLOSE” (S) position.
2. Open the side cover on the rear right side of the machine.
3. Place a container under the fuel pre-filter cartridge to receive the fuel.
4. Loosen drain valve (2) and drain water and sediments from transparent cup (3), and also drain all the fuel from filter cartridge (4).
5. Disconnect connector (5). Wrap the removed connector with a vinyl bag or the like to protect it from being exposed to fuel, oil and water.
6. Using the filter wrench, rotate transparent cap (3) to remove. (This cap is reused.)
7. Using the filter wrench, rotate filter cartridge (4) to remove.
8. Install currently removed transparent cap (3) to the bottom of the new filter cartridge.
– At this time, replace O-ring (6) with a new one.
9. When installing the transparent cap, apply a thin film of oil to the O-ring, set it against the sealing surface of filter cartridge (4), and then tighten the transparent cap 1/4 to 1/2 turn.
– If the transparent cap is over tightened, fuel will leak because the O-ring will have been damaged. If the transparent cap is not tightened sufficiently, fuel will also leak through the clearance around the O-ring. Therefore, observe the tightening angle.
10. Clean the filter holder, fill the new filter cartridge with clean fuel, apply a thin film of oil to the O-ring, and then install the new filter cartridge with the O-ring on the filter holder.
– Be sure to add fuel through eight small holes (A) which are on the dirty side of the filter without removing center cap (B).
– After filling with the fuel, remove center cap (B) before installing the fuel pre-filter.
– Add clean fuel taking care not to allow dirt to mix in it. Be sure to add fuel without removing center cap (B) which is on the clean side of the filter to prevent dirt from entering.


INSTANT DOWNLOAD


Posted on

Komatsu/DEMAG Hydraulic Shovels Factory Service & Shop Manual

Pages from H185S06111SM – Hydraulic Shovel H185S Shop Manual


INSTANT DOWNLOAD


INSTANT DOWNLOAD


Complete workshop & service manual with electrical wiring diagrams for Komatsu/DEMAG Hydraulic Shovels. It’s the same service manual used by dealers that guaranteed to be fully functional and intact without any missing page.

This Komatsu/DEMAG Hydraulic Shovels H185S, H285S service & repair manual (including maintenance, overhaul, disassembling & assembling, adjustment, tune-up, operation, inspecting, diagnostic & troubleshooting…) is divided into different sections. Each section covers a specific component or system with detailed illustrations. A table of contents is placed at the beginning of each section. Pages are easily found by category, and each page is expandable for great detail. The printer-ready PDF documents work like a charm on all kinds of devices.

FILELIST:
DEMAG Hydraulic Shovel Repair Manual.pdf
H185S06081OMM – Hydraulic Shovel H185S Operation & Maintenance Manual.pdf
H185S06081SM – Hydraulic Shovel H185S Shop Manual.pdf
H185S06108OMM – Mining Shovel H185S Operation & Maintenance Manual.pdf
H185S06108SM – Hydraulic Shovel H185S Electrical & Hydraulic Diagrams.pdf
H185S06111OMM – Hydraulic Shovel H185S Operation & Maintenance Manual.pdf
H185S06111SM – Hydraulic Shovel H185S Shop Manual.pdf
H285S78067OMM – Hydraulic Shovel H285S Operation & Maintenance Manual.pdf
H285S78067SM – Hydraulic Shovel H285S Shop Manual.pdf
H285S78094OMM – Hydraulic Shovel H285S Operation & Maintenance Manual.pdf
H285S78094SM – Hydraulic Shovel H285S Shop Manual.pdf
H285S78115SM – Hydraulic Shovel H285S Operation & Maintenance Manual.pdf
H285S78135SM – Hydraulic Shovel H285S Electrical Diagram.pdf
H285S78139OMM – DEMAG Komatsu Hydraulic Mining Shovels Parts & Service.pdf

EXCERPT:
UPPERSTRUCTURE
The revolving platform is a fabricated box sectioned open frame structure which carries the main module and distributes the attachment and torque forces to the slew ring mounting. The revolving platform is machined at one multi-function tool to ensure consistent accuracy in all planes and to receive without stress the jig assembled modules. The spread at the rear of the frame provides a wide support for the single piece cast steel counterweight.

Posted on

Komatsu Motor Grader GD750A, GD825A Factory Service & Shop Manual

Komatsu GD825A-2

MKMTSGD825OPEK.PDF
Price: $29.99 USD

Complete workshop service manual with electrical wiring diagrams for Komatsu Motor Grader GD750A-1, GD705A-4, GD825A-1, GD825A-2. It’s the same service manual used by dealers that guaranteed to be fully functional and intact without any missing page.

This Komatsu Motor Grader GD750A-1, GD705A-4, GD825A-1, GD825A-2 service & repair manual (including maintenance, overhaul, disassembling & assembling, adjustment, tune-up, operation, inspecting, diagnostic & troubleshooting…) is divided into different sections. Each section covers a specific component or system with detailed illustrations. A table of contents is placed at the beginning of each section. Pages are easily found by category, and each page is expandable for great detail. The printer-ready PDF documents work like a charm on all kinds of devices.

FILELIST:
CEAM002402 – Motor Grader GD750A-1 Operation & Maintenance Manual.pdf
CEBM002104 – Motor Grader GD750A-1 Shop Manual.pdf
SEAM234Y01 – Motor Grader GD705A-3 Operation & Maintenance Manual.pdf
SEAM021400 – Motor Grader GD825A-2 Operation & Maintenance Manual.pdf
SEAM021403T – Motor Grader GD825A-2 Operation & Maintenance Manual.pdf
SEAM036701 – Motor Grader GD705A-4 Operation & Maintenance Manual.pdf
SEAM02350100 – Motor Grader GD825A-1 Operation & Maintenance Manual.pdf
SEBM002308 – Motor Grader GD825A-2 Shop Manual.pdf
SEBM022104 – Motor Grader GD705A-4 Shop Manual.pdf
SEBM02350106 – Motor Grader GD825A-1 Shop Manual.pdf
TEN00012-00 – Motor Grader GD825A-2 Operation & Maintenance Manual.pdf
TEN00334-02 – Motor Grader GD825A-2 Operation & Maintenance Manual.pdf

EXCERPT:
PILOT REDUCING VALVE
Function
• The pilot reducing valve acts to control the pressure needed to actuate the transmission spools.
Operation
• The oil from the pump passes through the pilot filter and enters port A of pilot reducing valve (1).
The oil passes through port B and enters through the orifice of transmission spool (2) to fill the inside of port C.
• When the pressure inside port C rises, pressurized oil flows from orifice “a” of pilot reducing valve (1) and goes to port D.
As a result pilot reducing valve (1) moves to the right, and ports A and Bare shut off, so the pressurized oil at port C is maintained at the same pressure.

Function of pilot circuit drain
This pilot valve functions as a reducing valve primary pressure: 1.47 MPa (15 kg/cm2); secondary pressure: 1.06 MPa (1 0.8 kg/cm2). If the reducing valve does not have drain port a at the secondary side, it is impossible to obtain the specified reducing pressure.
For example, at the Neutral position, if there is no secondary pressure at drain port a, theoretically the pressure generated at the secondary side is the same pressure as the primary pressure. (Actually, it is not as high as the primary side because of leakage from the valve spool.)

Posted on

Komatsu Motor Grader GD555, GD655, GD675 Workshop Repair & Service Manual

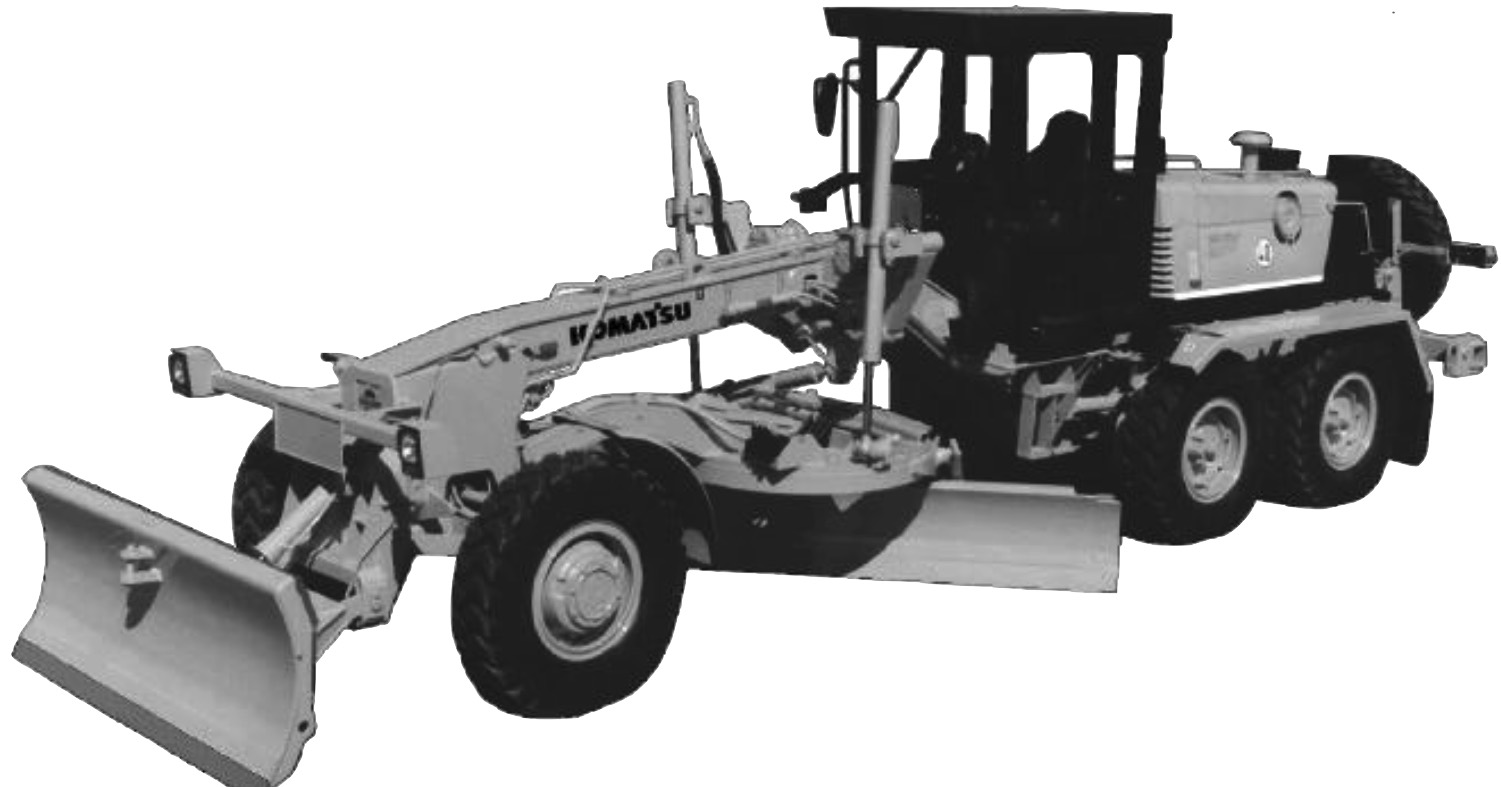
Komatsu GD555-3C, GD655-3C, GD675-3C Motor Grader

MKMTSGD555675OPEK.PDF
Price: $29.99 USD

Complete digital official shop manual contains service, maintenance, and troubleshooting information for the Komatsu GD555-3A, GD555-3C, GD555-5, GD655-3A, GD655-3C, GD655-3E0, GD655-5, GD675-3A, GD675-3C, GD675-3E0, GD675-5 Motor Grader. Diagnostic and repair procedures are covered in great detail to repair, maintain, rebuild, refurbish or restore your motor grader like a professional mechanic in local service/repair workshop. This cost-effective quality manual is 100% complete and intact as should be without any missing pages. It is the same factory shop manual used by dealers that guaranteed to be fully functional to save your precious time.

This manual for Komatsu Motor Grader GD555-3A, GD555-3C, GD555-5, GD655-3A, GD655-3C, GD655-3E0, GD655-5, GD675-3A, GD675-3C, GD675-3E0, GD675-5 is divided into different sections. Each section covers a specific component or system and, in addition to the standard service procedures, includes disassembling, inspecting, and assembling instructions. A table of contents is placed at the beginning of each section. Pages are easily found by category, and each page is expandable for great detail. It is in the cross-platform PDF document format so that it works like a charm on all kinds of devices. You do not need to be skilled with a computer to use the manual.

FILELIST:
GSAM042401 – Motoniveladora GALEO GD555-3A Manual de Operacion y Mantenimiento.pdf
GSBM021002 – GD555-3A, GD655-3A, GD675-3A Manual de Taller.pdf
KEAM037900 – Motor Grader GALEO GD655-3C Operation & Maintenance Manual.pdf
KEAM038000 – Motor Grader GALEO GD675-3C Operation & Maintenance Manual.pdf
KEAM038100 – Motor Grader GALEO GD555-3C Operation & Maintenance Manual.pdf
PEN00178-01 – Motor Grader GD555-3A Operation & Maintenance Manual.pdf
SEAM23DA03 – Motor Grader GD605A-1, GD655A-1 Operation & Maintenance Manual.pdf
SEAM023DUS01 – Motor Grader GD605A-3, GD655A-3 Operation & Maintenance Manual.pdf
SEAM037902T – Motor Grader GD655-3C Operation & Maintenance Manual.pdf
SEAM038002 – Motor Grader GD675-3C Operation & Maintenance Manual.pdf
SEAM038003 – Motor Grader GD675-3C Operation & Maintenance Manual.pdf
SEAM038102T – Motor Grader GD555-3C Operation & Maintenance Manual.pdf
SEAM042401 – Motor Grader GALEO GD555-3A Operation & Maintenance Manual.pdf
SEAM052800T – Motor Grader GALEO GD655-3A Operation & Maintenance Manual.pdf
SEBM020906 – Motor Grader GD555-3C, GD655-3C, GD675-3C Shop Manual.pdf
SEBM020909 – Motor Grader GD555-3C, GD655-3C, GD675-3C Shop Manual.pdf
SEBM021007 – Motor Grader GD555-3A, GD655-3A, GD675-3A Shop Manual.pdf
SEBM021008 – Motor Grader GD555-3A, GD655-3A, GD675-3A Shop Manual.pdf
SEN01775-05 – Motor Grader GD655-3E0, GD675-3E0 Shop Manual.pdf
SEN05215-06 – Motor Grader GD555-5, GD655-5, GD675-5 Shop Manual.pdf
TEN00095-01 – Motor Grader GALEO GD655-3C Operation & Maintenance Manual.pdf
TEN00149-05 – Motor Grader GD655-3E0 Operation & Maintenance Manual.pdf
TEN00150-05 – Motor Grader GD675-3E0 Operation & Maintenance Manual.pdf
TEN00177-02 – Motor Grader GD555-3A Operation & Maintenance Manual.pdf
TEN00178-02 – Motor Grader GD555-3C Operation & Maintenance Manual.pdf
TEN00179-02 – Motor Grader GD655-3A Operation & Maintenance Manual.pdf
TEN00368-01 – Motor Grader GD655-5 Operation & Maintenance Manual.pdf
TEN00369-01 – Motor Grader GD675-5 Operation & Maintenance Manual.pdf
TEN00445-02 – Motor Grader GD555-5 Operation & Maintenance Manual.pdf
TEN00446-02 – Motor Grader GD655-5 Operation & Maintenance Manual.pdf
TEN00447-02 – Motor Grader GD675-5 Operation & Maintenance Manual.pdf
TEN00448-00 – Motor Grader GD655-3E0 Operation & Maintenance Manual.pdf
TEN00449-01 – Motor Grader GD675-3E0 Operation & Maintenance Manual.pdf

EXCERPT:

STRUCTURE, FUNCTION AND MAINTENANCE STANDARD HYDRAULIC PUMP
FUNCTION
• The engine rotation and torque transmitted to the pump shaft is converted into hydraulic energy, and pressurized oil is discharged according to the load.
• It is possible to change the discharge amount by changing the swash plate angle.
STRUCTURE
• Cylinder block (7) is supported to shaft (1) by spline a, and shaft (1) is supported by the front and rear bearings.
• The tip of piston (6) is a concave ball, and shoe (5) is caulked to it to form one unit. Piston (6) and shoe (5) form a spherical bearing.
• Rocker cam (4) has flat surface A, and shoe (5) is always pressed against this surface while sliding in a circular movement. Rocker cam (4) brings high pressure oil at cylindrical surface B with cradle (2), which is secured to the case and forms a static pressure bearing when it slides.
• Piston (6) carries out relative movement in the axial direction inside each cylinder chamber of cylinder block (7).
• Cylinder block (7) seals the pressure oil to valve plate (8) and carries out relative rotation. This surface is designed so that the oil pressure balance is maintained at a suitable level.
The oil inside each cylinder chamber of cylinder block (7) is sucked in and discharged through valve plate (8).

OPERATION
1. Operation of pump
i) Cylinder block (7) rotates together with shaft (1), and shoe (5) slides on flat surface A.
When this happens, rocker cam (4) moves along cylindrical surface B, so angle between center line X of rocker cam (4) and the axial direction of cylinder block (7) changes. Angle is called the swash plate angle.
ii) Center line X of rocker cam (4) maintains swash plate angle in relation to the axial direction of cylinder block (7), and flat surface A moves as a cam in relation to shoe (5).
In this way, piston (6) slides on the inside of cylinder block (7), so a difference between volume E and F is created inside cylinder block (7). The suction and discharge is carried out by this difference F – E.
In other words, when cylinder block (7) rotates and the volume of chamber E becomes smaller, the oil is discharged during that stroke.
At the same time, the volume of chamber F becomes larger, and as the volume becomes larger, oil is sucked in.
(The diagram shows chamber F at the end of the suction process and chamber E at the end of the discharge process.)
iii) If center line X of rocker cam (4) is in line with the axial direction of cylinder block (7) (swash plate angle = 0), the difference between volumes E and F inside cylinder block (7) becomes 0, so the pump does not carry out any suction or discharge of oil. (In actual fact, the swash plate angle never becomes 0.)
iv) In other words, there is a proportional relationship between swash plate angle and the pump discharge amount.

Posted on

Komatsu Motor Grader GD530A(W), GD600R, GD605A-R, GD611-R, GD613A-R, GD615A, GD621A-R, GD622A, GD623A-R, GD625A, GD650A(W)-R, GD655A-R, GD661A, GD663A, GD670A(W), GD672A Factory Service & Shop Manual

Pages from SEBMG5250107 – Motor Grader GD510 & GD520 Series Shop Manual

MKMTSGD530670OPES.PDF
Price: $29.99 USD

Complete workshop & service manual with electrical wiring diagrams for Komatsu Motor Grader GD530A(W), GD600R, GD605A, GD605R, GD611A, GD611R, GD613A, GD613R, GD615A, GD621A, GD621R, GD622A, GD623A, GD623R, GD625A, GD650A(W), GD650R, GD655A, GD655R, GD661A, GD663A, GD670A(W), GD672A. It’s the same service manual used by dealers that guaranteed to be fully functional and intact without any missing page.

This Komatsu Motor Grader GD530A(W), GD600R, GD605A, GD605R, GD611A, GD611R, GD613A, GD613R, GD615A, GD621A, GD621R, GD622A, GD623A, GD623R, GD625A, GD650A(W), GD650R, GD655A, GD655R, GD661A, GD663A, GD670A(W), GD672A service & repair manual (including maintenance, overhaul, disassembling & assembling, adjustment, tune-up, operation, inspecting, diagnostic & troubleshooting…) is divided into different sections. Each section covers a specific component or system with detailed illustrations. A table of contents is placed at the beginning of each section. Pages are easily found by category, and each page is expandable for great detail. The printer-ready PDF documents work like a charm on all kinds of devices.

FILELIST:
CEAM003900 – Motor Grader with Emissionised Engine GD530A-2EY,AW-2EY & GD650A-2EY,AW-2EY & GD670A-2EY,AW-2EY Operation & Maintenance Manual.pdf
CEAM009700 – Motor Grader GD530A(W)-2B(C)Y & GD650A(W)-2B(C)Y & GD670A(W)-2B(C)Y Operation & Maintenance Manual.pdf
CEAMG65040 – Motor Grader GD530A(W)-2 & GD650A(W)-2 & GD670A(W)-2 Operation & Maintenance Manual.pdf
CEBM003902 – Motor Grader GD530A(W)-2 & GD650A(W)-2 & GD670A(W)-2 Shop Manual.pdf
CEBM009900 – Motor Grader GD530A(W)-2B(C)Y & GD650A(W)-2B(C)Y & GD670A(W)-2B(C)Y Shop Manual.pdf
CEBMG65194 – Motor Grader GD530A,AW & GD650A,AW & GD67OA,AW Shop Manual.pdf
SEAMG6150101 – Motor Grader GD625A-1 Operation & Maintenance Manual.pdf
SEBM023BA02 – Motor Grader GD600-1 Series Shop Manual.pdf
SEBMG6150109 – Motor Grader GD610 & GD620 & GD660 & GD670 Shop Manual.pdf

EXCERPT:
CONTENTS
01 GENERAL . . . . . . . . . 01-1
10 STRUCTURE AND FUNCTION . . . . . . . . . 10-1
20 TESTING, ADJUSTING AND TROUBLESHOOTING. . . . . . . . 20-1
30 DISASSEMBLY AND ASSEMBLY. . . . . . . . . . . 30-1
40 MAINTENANCE STANDARD . . . . . . . . . . 40-1
90 OTHER. . . . . . . . 90-1

DISASSEMBLY AND ASSEMBLY ALL-WHEEL-DRIVE PUMP
REBUILDING THE PUMP (OUT-OF-WARRANTY SERVICE)
If the pump requires rebuilding during the warranty timeframe, return the pump for an overhaul.
1. Remove the control device.
2. Remove the auxiliary pump. Mark the assembly position previously.
3. Mark the position of the index screw (1). Record the setting measure. Set the index screw to the disassembly position (2).
4. Mark the position of the connection plate. Loosen the connection plate fixation.
5. Lift off the port plate and control plate.
6. Press the cylinder to the bottom (1) and then remove the fixed indexing screw (2).
7. Push off the hydraulic section of the rotary group.
8. Remove the retaining ring and radial seal ring.