Posted on

Komatsu Dump Truck 210E Factory Service & Shop Manual

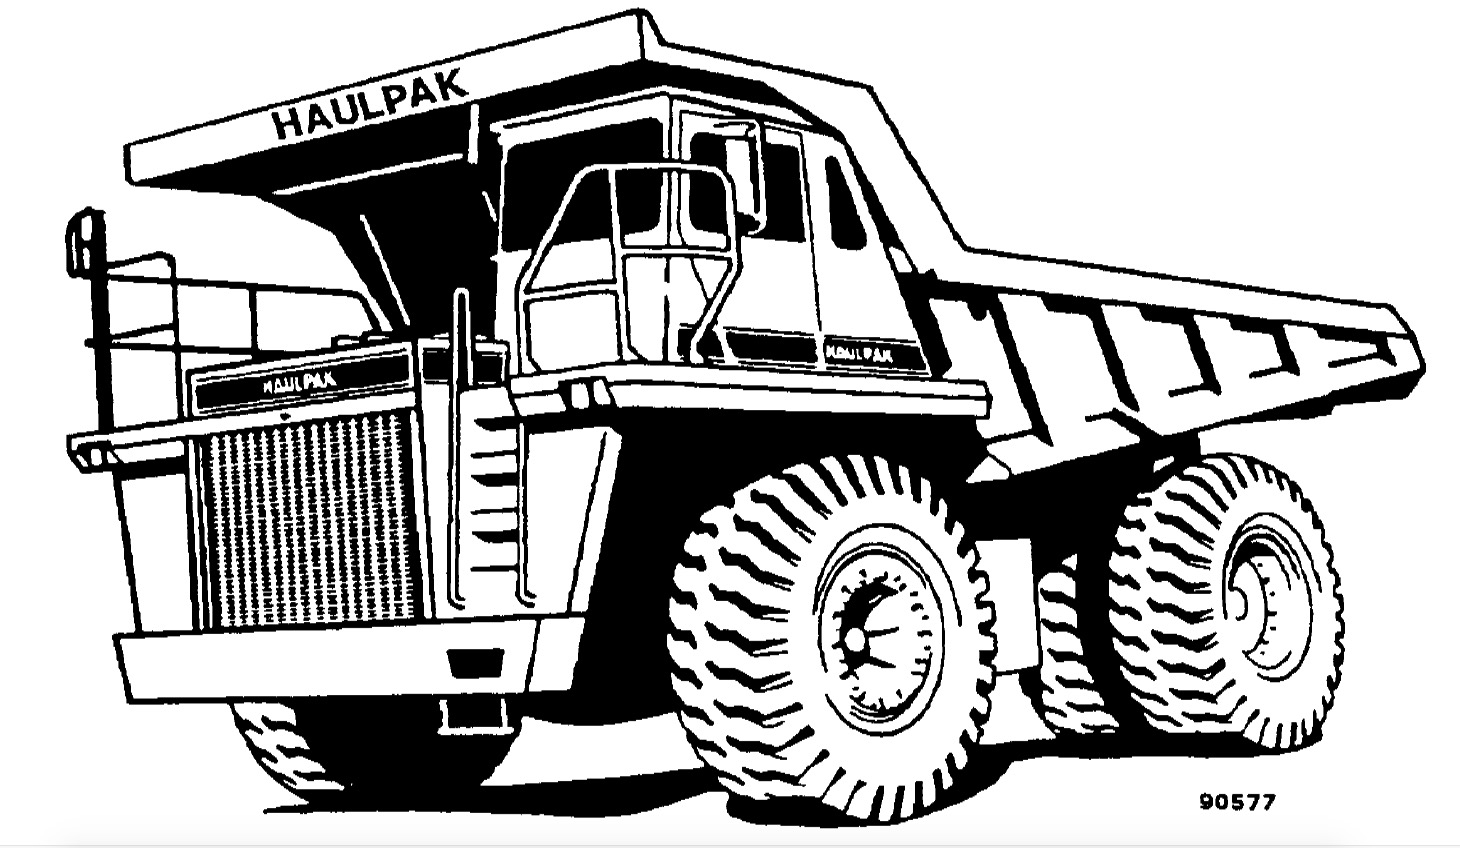
Pages from DG715 – Dump Truck 210E Shop Manual

MKMTS210MOPEK.PDF
Price: $29.99 USD

Complete workshop & service manual with electrical wiring diagrams for Komatsu Dump Truck 210E. It’s the same service manual used by dealers that guaranteed to be fully functional and intact without any missing page.

This Komatsu Dump Truck 210E service & repair manual (including maintenance, overhaul, disassembling & assembling, adjustment, tune-up, operation, inspecting, diagnostic & troubleshooting…) is divided into different sections. Each section covers a specific component or system with detailed illustrations. A table of contents is placed at the beginning of each section. Pages are easily found by category, and each page is expandable for great detail. The printer-ready PDF documents work like a charm on all kinds of devices.

DG610 – Dump Truck 210E Shop Manual.pdf
DG615 – Dump Truck 210E Operation & Maintenance Manual.pdf
DG692 – Dump Truck 210E Operation & Maintenance Manual.pdf
DG694 – Dump Truck 210E Shop Manual.pdf
DG714 – Dump Truck 210E Operation & Maintenance Manual.pdf
DG715 – Dump Truck 210E Shop Manual.pdf
DG725 – Dump Truck 210E Operation & Maintenance Manual.pdf

EXCERPT:
TABLE OF CONTENTS
SUBJECT . . . . . SECTION
GENERAL INFORMATION . . . . . A
STRUCTURES . . . . . . . . . . . . B
ENGINE, FUEL, COOLING AND AIR CLEANER . . . . . . . C
ELECTRIC SYSTEM (24 VDC. NON-PROPULSION) . . . . . D
TRANSMISSION AND PTO . . . . . F
DRIVE AXLE, SPINDLES AND WHEELS . . . . . . . . G
HYDRAIR® II SUSPENSIONS . . . . . . H
BRAKE CIRCUIT . . . . . . . . . . . J
HYDRAULIC SYSTEM . . . . . . . . L
OPTIONS AND SPECIAL TOOLS . . . . . . . . . . . . M
OPERATOR’S CAB . . . . . . . . N
LUBRICATION AND SERVICE . . . . . . P
ALPHABETICAL INDEX . . . . . . Q
SYSTEM SCHEMATICS . . . . . . . R

STEERING CONTROL VALVE
Removal
1. Shut down engine and bleed down steering circuit.
Allow at least 90 seconds for system to bleed.
Open the manual bleeddown valves to release the pressure from the brake accumulators.
NOTE: To insure the hydraulic oil has completely drained from the accumulator, turn the steering wheel.
If the wheels do not turn, all the hydraulic pressure has been drained from accumulator.
2. Clean exterior of steering control valve thoroughly.
3. Tag and disconnect hydraulic lines. Plug lines and ports securely to prevent spillage and possible contamination to the system.
4. Remove capscrews at flange (3, Figure 5-1).
Remove nuts (6), washers (7 & 8) and capscrew at each rubber bushing. Lower and remove valve.
Installation
1. Assemble steering control valve (10, Figure 5-1) to mounting plate (11). Insert assembly through bottom of cab floor and align splines on valve column (4) with the flange assembly (3). Install capscrews (9), from bottom side of mounting
plate, through the rubber bushings (12). Install flatwashers, lockwashers and nuts. Tighten to standard torque.
2. Install capscrews in flange (3) and tighten to standard torque.
3. Remove caps from hydraulic lines. Be certain that previously tagged lines are connected to their respective ports according to the markings on the steering control valve assembly.

Posted on

Komatsu Dump Trucks 140M Factory Service & Shop Manual

DG693 – Dump Truck 140M Shop Manual

MKMTS140MOPEK.PDF
Price: $29.99 USD

Complete workshop & service manual with electrical wiring diagrams for Komatsu Dump Trucks 140M. It’s the same service manual used by dealers that guaranteed to be fully functional and intact without any missing page.

This Komatsu Dump Trucks 140M service & repair manual (including maintenance, overhaul, disassembling & assembling, adjustment, tune-up, operation, inspecting, diagnostic & troubleshooting…) is divided into different sections. Each section covers a specific component or system with detailed illustrations. A table of contents is placed at the beginning of each section. Pages are easily found by category, and each page is expandable for great detail. The printer-ready PDF documents work like a charm on all kinds of devices.

DG693 – Dump Truck 140M Shop Manual.pdf

EXCERPT:
TABLE OF CONTENTS
SUBJECT . . . . . . SECTION
GENERAL INFORMATION ………………….. A
STRUCTURES . . . . . . . . . B
ENGINE, FUEL, COOLING AND AIR CLEANER . . . . . . C
ELECTRIC SYSTEM (24 VDC. NON-PROPULSION) . . . . . . . . D
TRANSMISSION AND PTO . . . . . . F
DRIVE AXLE, SPINDLES AND WHEELS . . . . . . G
HYDRAIR® II SUSPENSIONS . . . . . . . . H
BRAKE CIRCUIT . . . . . . . . J
HYDRAULIC SYSTEM . . . . . . . . L
OPTIONS AND SPECIAL TOOLS . . . . . M
OPERATOR’S CAB . . . . . . . . . N
LUBRICATION AND SERVICE ………………… P
ALPHABETICAL INDEX . . . . . . . . Q
SYSTEM SCHEMATICS ………. R

RADIATOR SHUTTERS
TEMPERATURE CONTROL CIRCUIT
The temperature control system contains a solenoid valve, temperature switch and relay, shutter control cylinder, radiator shutter assembly and the necessary hoses and wiring for operation.
OPERATION
Hydraulic pressure to operate the shutters is supplied from a pilot port on the auxiliary manifold and directed to the solenoid valve located on the right side of the radiator top tank.
On engine start up, the solenoid valve will be in its normally open position, allowing oil pressure to be applied to the shutter control cylinder to move the shutters to a fully closed position. This blocks air flow through the radiator to speed the warm up of coolant through the system.
The 24 volt unswitched side of the engine oil pressure switch supplies 24 volts to the solenoid switch.

Posted on

Bobcat 319 Compact Excavator Factory Service & Shop Manual

Pages from Service Manual (319 Compact Excavator) 6904188 (2-06)

MBOBC319OPEK.PDF
Price: $29.99 USD

Complete workshop & service manual with electrical wiring diagrams for Bobcat 319 Compact Excavator. It’s the same service manual used by dealers that guaranteed to be fully functional and intact without any missing page.

This Bobcat 319 Compact Excavator service & repair manual (including maintenance, overhaul, disassembling & assembling, adjustment, tune-up, operation, inspecting, diagnostic & troubleshooting…) is divided into different sections. Each section covers a specific component or system with detailed illustrations. A table of contents is placed at the beginning of each section. Pages are easily found by category, and each page is expandable for great detail. The printer-ready PDF documents work like a charm on all kinds of devices.

Operation & Maintenance Manual (319 Compact Excavator) 6904116 (10-05).pdf
Service Manual (319 Compact Excavator) 6904188 (2-06).pdf
Schematics

EXCERPT:
CONTENTS
FOREWORD. . . . . . . . . . . . . . . . . . . . . . . . . . . . . . . . . . . . . . III
SAFETY INSTRUCTIONS . . . . . . . . . . . . . . . . . . . . . . . . . . . . . . . . V
SERIAL NUMBER LOCATIONS . . . . . . . . . . . . . . . . . . . . . . . . . . . . IX
DELIVERY REPORT. . . . . . . . . . . . . . . . . . . . . . . . . . . . . . . . . . . . . X
EXCAVATOR IDENTIFICATION . . . . . . . . . . . . . . . . . . . . . . . . . . . .XI
SAFETY AND MAINTENANCE. . . . . . . . . . . . . . . . . . . . . . . . . . 10-01
HYDRAULIC SYSTEM . . . . . . . . . . . . . . . . . . . . . . . . . . . . . . . . 20-01
UNDERCARRIAGE. . . . . . . . . . . . . . . . . . . . . . . . . . . . . . . . . . . 30-01
UPPERSTRUCTURE & SWING SECTION . . . . . . . . . . . . . . . . 40-01
ELECTRICAL SYSTEM AND ANALYSIS . . . . . . . . . . . . . . . . . . 50-01
ENGINE SERVICE . . . . . . . . . . . . . . . . . . . . . . . . . . .. . . . . . . . 60-01
HEATER . . . . . . . . . . . . . . . . . . . . . . . . . . . . . . . . . . . . . 70-01
SPECIFICATIONS. . . . . . . . . . . . . . . . . . . . . . . . . . . . . . . . . SPEC-01

SAFETY AND MAINTENANCE
HYDRAULIC SYSTEM
UNDERCARRIAGE
UPPERSTRUCTURE & SWING SECTION
ELECTRICAL SYSTEM AND ANALYSISRI
ENGINE SERVICE
HEATER
SPECIFICATIONS

RIGHT CONTROL LEVER (JOYSTICK) (CONT’D)
Disassembly
Remove the right handle. (See Handle Removal And Installation on Page 20-100-3.)
Clean the outside of the control lever before disassembly.
Figure 20-100-11

Posted on

Bobcat 316 Excavator Factory Service & Shop Manual

Service Manual (316 Excavator) 6902285 (2-06)

MBOBC316OPEK.PDF
Price: $29.99 USD

Complete workshop & service manual with electrical wiring diagrams for Bobcat 316 Excavator. It’s the same service manual used by dealers that guaranteed to be fully functional and intact without any missing page.

This Bobcat 316 Excavator service & repair manual (including maintenance, overhaul, disassembling & assembling, adjustment, tune-up, operation, inspecting, diagnostic & troubleshooting…) is divided into different sections. Each section covers a specific component or system with detailed illustrations. A table of contents is placed at the beginning of each section. Pages are easily found by category, and each page is expandable for great detail. The printer-ready PDF documents work like a charm on all kinds of devices.

Operation & Maintenance Manual (316 Excavator) 6902283 (12-05).pdf
Service Manual (316 Excavator) 6902285 (2-06).pdf

EXCERPT:
Replacement:
When the cracks reach so deep that they expose the steel cords, track replacement is required.
Causes Of The Damage:
Because of wound stress applied to rubber tracks around the undercarriage parts during operation, the fatigue especially causes cracks on the lug side rubber surface.
Once the cracks occur, they gradually deteriorate with even small external cracks. Also when operating near seashores or under cold temperatures, rubber tracks are more likely to suffer from ozone cracks.
Prevention:
Rubber tracks are designed with special rubber compounds to prevent cracks due to fatigue. However, external injuries on the lug side rubber sometimes cause more chance of cracking. Machine operators should observe soil conditions when driving, so as not to cause external injuries to the lug side rubber. In order to minimize the occurrence of ozone cracks, attention should be paid to the following instructions for maintenance:
Avoid exposing stored tracks to direct sun light.
Avoid exposing stored tracks to direct rain and snow fall.
Store tracks in well ventilated warehouses.
Use the tracks at least once a month.

Posted on

Bobcat 310, 313 Loader Factory Service & Shop Manual

Pages from Service Manual (310, 313 Loader) 6556606 (12-82)

MBOBC310313OPEK.PDF
Price: $29.99 USD

Complete workshop & service manual with electrical wiring diagrams for Bobcat 310, 313 Loader. It’s the same service manual used by dealers that guaranteed to be fully functional and intact without any missing page.

This Bobcat 310, 313 Loader service & repair manual (including maintenance, overhaul, disassembling & assembling, adjustment, tune-up, operation, inspecting, diagnostic & troubleshooting…) is divided into different sections. Each section covers a specific component or system with detailed illustrations. A table of contents is placed at the beginning of each section. Pages are easily found by category, and each page is expandable for great detail. The printer-ready PDF documents work like a charm on all kinds of devices.

Operation & Maintenance Manual (310 Loader) 6556215 (9-81).pdf
Operation & Maintenance Manual (313 Loader) 6556353 (4-83).pdf
Service Manual (310, 313 Loader) 6556606 (12-82).pdf

EXCERPT:
“7-1.4 Timing the FuelSystem”
“Timing of the fuel injection system is done by changing the number of shims between the injection pump and the gear-case housing (Fig. 7-3). Each shim will change the timing 1.5 degrees. The timing of the fuel injection pump will be later when a shim is added and earlier when a shim is removed. Adjust the timing so the “”1FL”” mark on the flywheel cover will align with the mark on the flywheel (Fig. 7-5). Fuel delivery must begin when these marks are in alignment.”
“To time the fuel system:”
“(1) Install a short pipe to the outlet connection for the number one injector nozzle. Point the pipe up (Vertical).”
“(2) With fuel supply to the injection pump turned on, rotate the flywheel in a counterclockwise direction. Fuel must flow from the pipe as soon as the mark on the flywheel comes in alignment with the “”1FL”” mark on the flywheel cover (Fig. 7-5).”
“(3) Add or subtract shims as necessary to adjust the delivery time of the fuel. Each shim will change the timing by 1.5 degrees. Add shims to delay fuel delivery. Subtract shims to advance time of fuel delivery.”
“7-1.5 Fuel Lift Pump I Fig. 7-6)”
“Fig. 7-5 Flywheel Timing Marks”
“The electrical fuel lift pump is engerised by the key switch circuit . It operates on 12 volt DC and is grounded by the bolts which fasten it to the engine.”
“Fuel pressure is 3 to 4.5 PSI at zero volume delivery (no flow).”
“Be sure to disconnect the battery ground cable when removing the fuel lift pump, to avoid possible spark ignition of fuel.”