Pages from 9803-9330 – JCB Excavators 8085 Service Manual
Complete workshop & service manual with electrical wiring diagrams for JCB Excavators 8080, 8085. It’s the same service manual used by dealers that guaranteed to be fully functional and intact without any missing page.
This JCB Excavators 8080, 8085 service & repair manual (including maintenance, overhaul, disassembling & assembling, adjustment, tune-up, operation, inspecting, diagnostic & troubleshooting…) is divided into different sections. Each section covers a specific component or system with detailed illustrations. A table of contents is placed at the beginning of each section. Pages are easily found by category, and each page is expandable for great detail. The printer-ready PDF documents work like a charm on all kinds of devices.
FILELIST:
9803-9330 – JCB Excavators 8080 Service Manaual.pdf
9803-9330 – JCB Excavators 8085 Service Manual.pdf
EXCERPT:
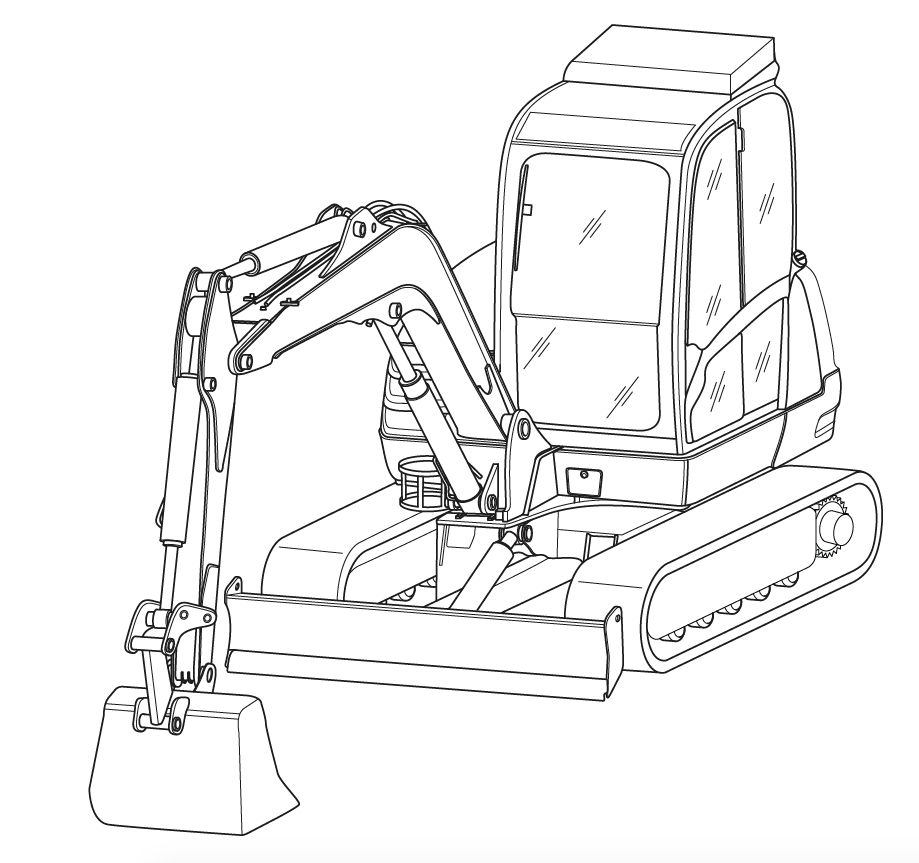
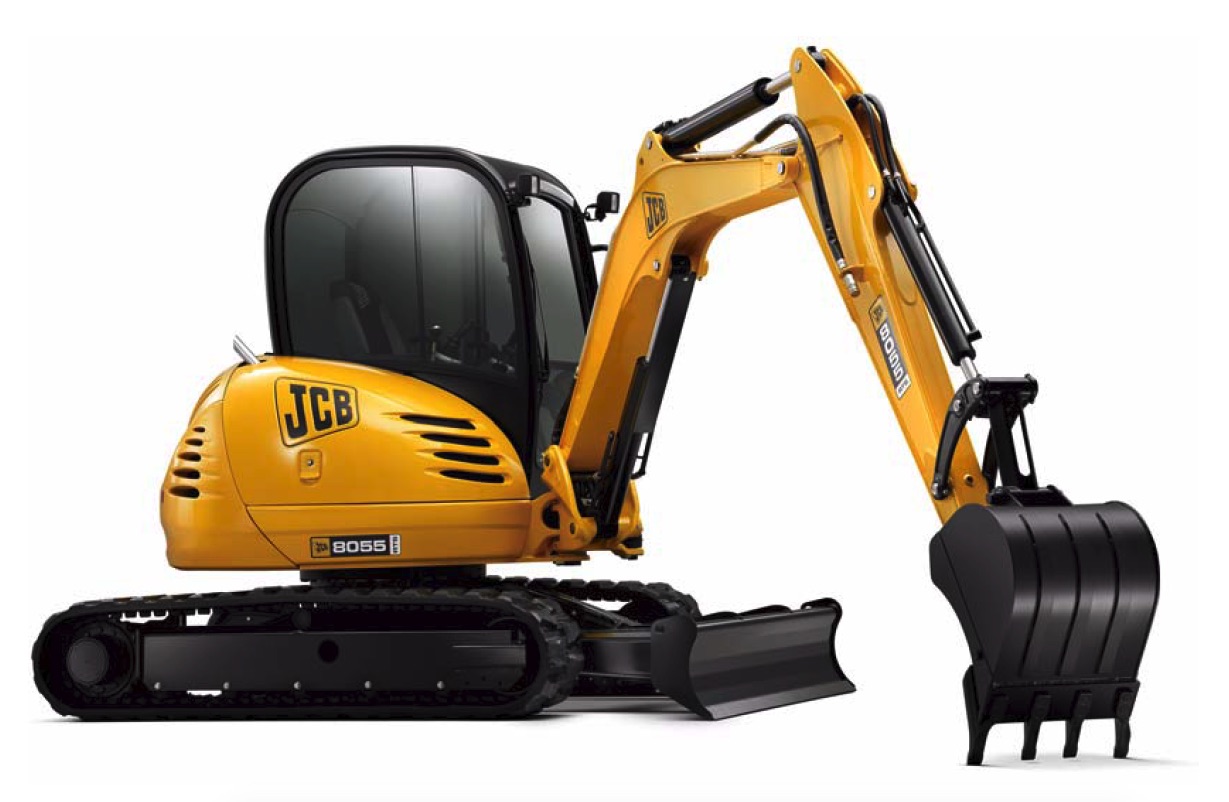
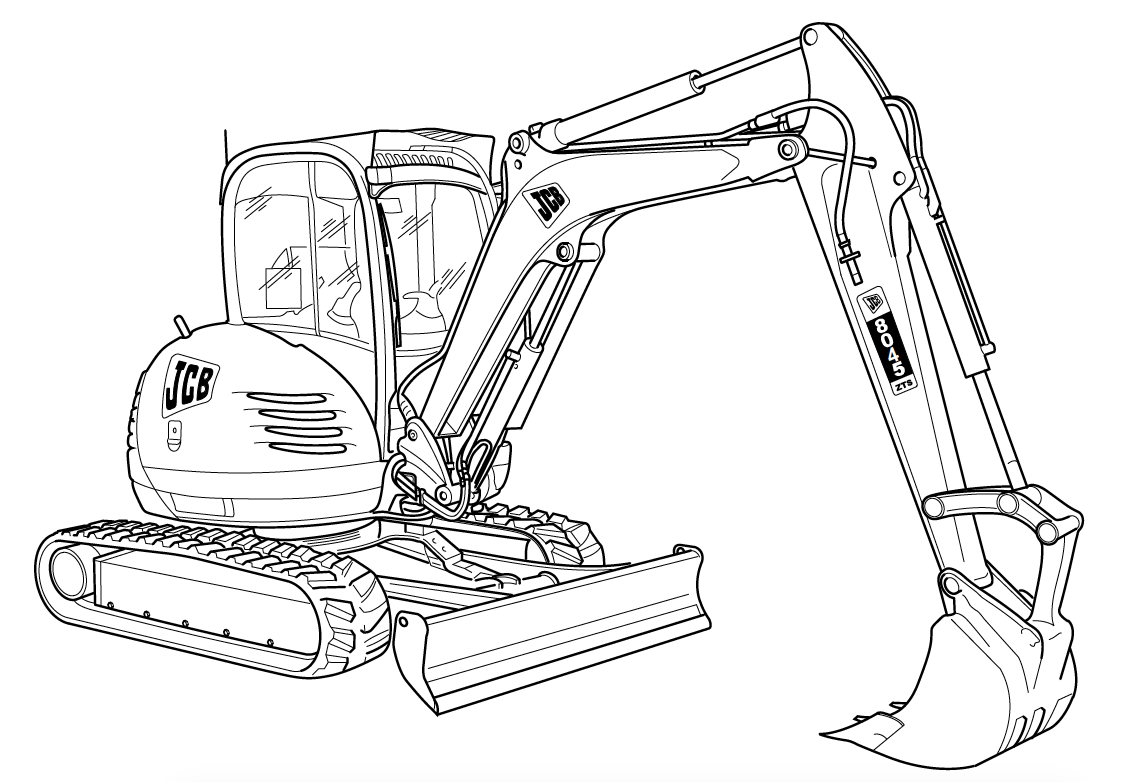
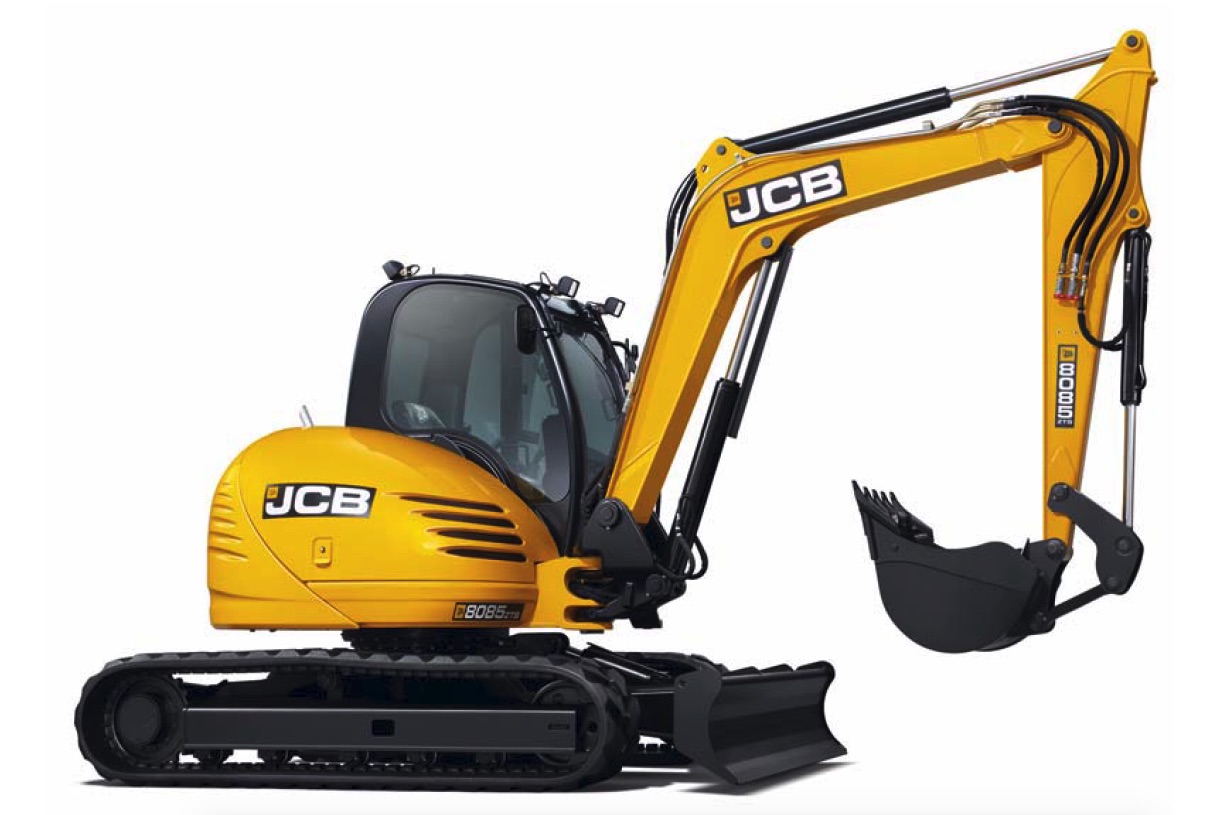
Service Manual
8080
General Information 1
Care & Safety 2
Routine Maintenance 3
Body and Framework B
Electrics C
Controls D
Hydraulics E
Transmission F
Track and Running Gear J
Engine K
…
Service Manual
JCB 8085
Section 1 – General Information
Section 2 – Care & Safety
Section 3 – Routine Maintenance
Section B – Body & Framework
Section C – Electrics
Section E – Hydraulics
Section F – Transmission
Section J – Tracks
Section K – Engine
…
Service Procedures
Hydraulic Contamination
Hydraulic Fluid Quality
This machine uses a large volume of fluid in the hydraulic system for power transmission, equipment lubrication, rust prevention and sealing. According to a survey conducted by a pump manufacturer, seventy per cent of the causes of problems in hydraulic equipment were attributable to inadequate maintenance of the quality of the hydraulic fluid. Therefore, it is obvious that control of the quality of the hydraulic fluid helps prevent hydraulic equipment problems and greatly improves safety and reliability.
Furthermore from an economic angle it extends the life of the hydraulic fluid if quality is maintained.
Effects of Contamination
Once inside the system, hydraulic circuit contaminants greatly effect the performance and life of hydraulic equipment. For example, contaminants in a hydraulic pump develop internal wear to cause internal leakage and hence lower discharges. Wear particles generated will circulate with the hydraulic fluid to cause further deterioration in the performance of this and other equipment. Contaminants also enter principal sliding sections of the equipment causing temporary malfunction, scuffing, sticking and leakage and can lead to major problems.The main contaminants can be classified as follows:
…