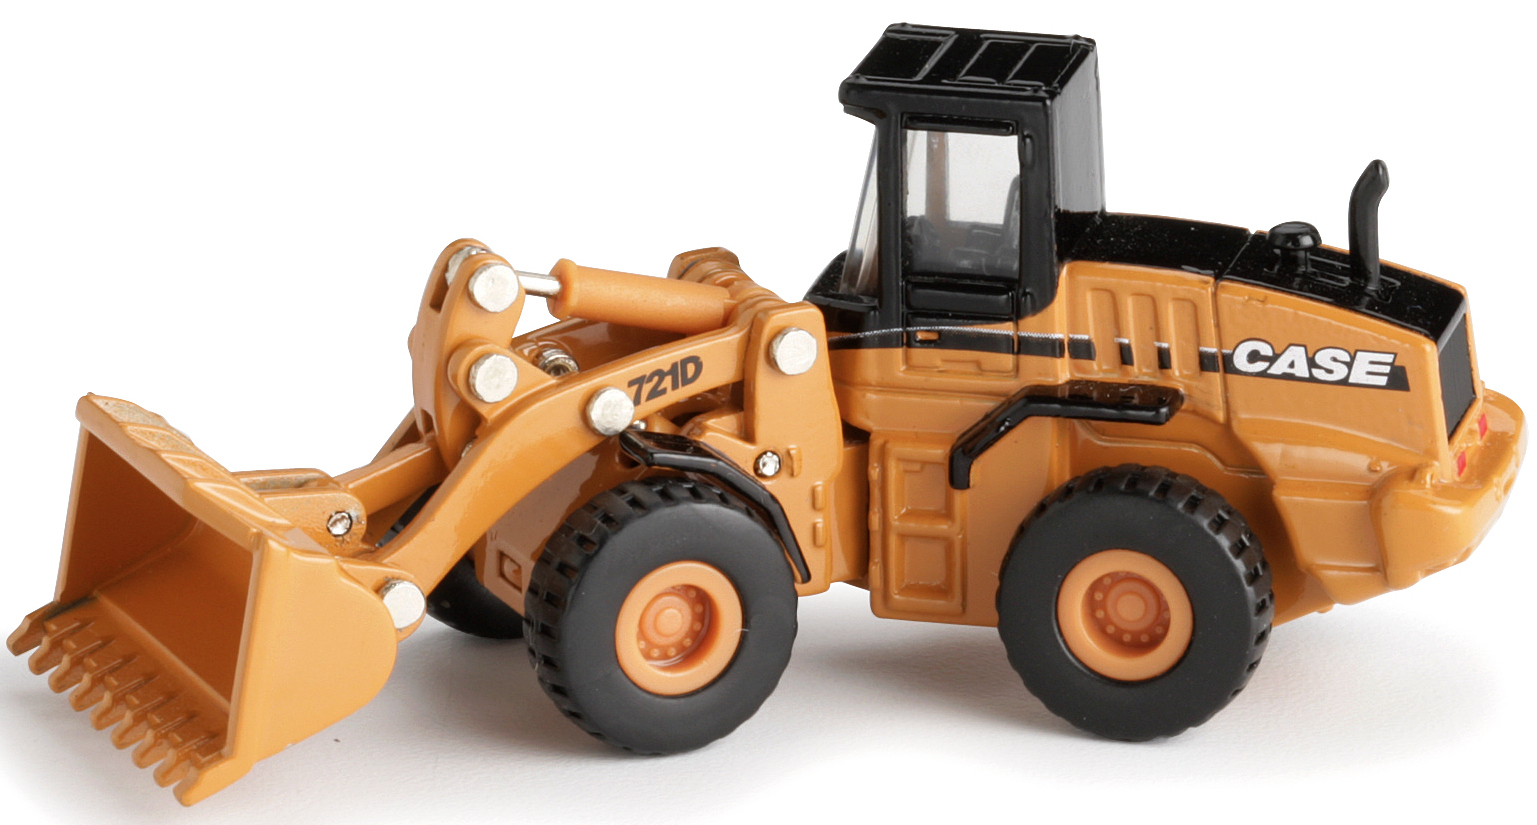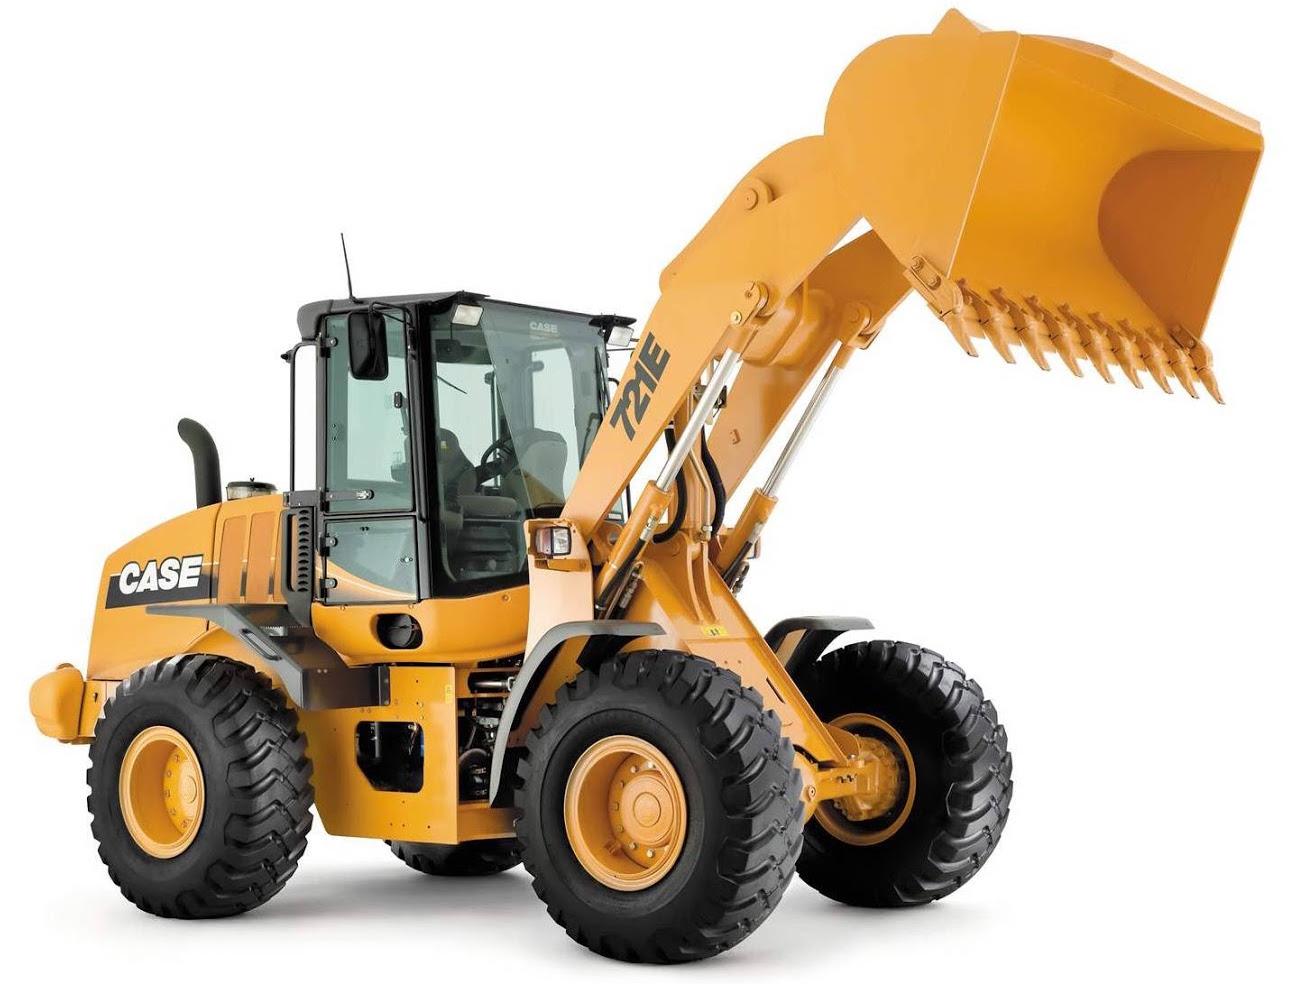
Complete digital official shop manual contains service, maintenance, and troubleshooting information for the Case 845B, 845B DHP, 865B, 865B VHP, 865B AWD, 885B, 885B DHP, 885B AWD Grader. Diagnostic and repair procedures are covered in great detail to repair, maintain, rebuild, refurbish or restore your 845B/845B DHP/865B/865B VHP/865B AWD/885B/885B DHP/885B AWD like a professional mechanic in local service/repair workshop. This cost-effective quality manual is 100% complete and intact as should be without any missing pages. It is the same factory shop manual used by dealers that guaranteed to be fully functional to save your precious time.
This manual for Case 845B, 845B DHP, 865B, 865B VHP, 865B AWD, 885B, 885B DHP, 885B AWD Grader is divided into different sections. Each section covers a specific component or system and, in addition to the standard service procedures, includes disassembling, inspecting, and assembling instructions. A table of contents is placed at the beginning of each section. Pages are easily found by category, and each page is expandable for great detail. It is in the cross-platform PDF document format so that it works like a charm on all kinds of devices. You do not need to be skilled with a computer to use the manual.
FILELIST:
71114392 – 845B, 845B DHP, 865B, 865B VHP, 865B AWD, 885B, 885B DHP, 885B AWD Grader Service Manual.pdf
84300294 – 845B, 865B, 885B Grader Operators’s Manual.pdf
EXCERPT:
6000-48
INPUT SHAFT, OUTPUT SHAFT AND CLUTCHES KV / KR / K1 / K2 / K3 / K4
Removal
Force out both cylindrical pins (1).
Loosen bolted connection (2) between housing front and rear part and separate housing rear part by means of lifting device.
(S) Eye bolt M20 0636 804 003
(S) Eye nut M12 0664 462 774
Loosen bolted connection (1) of oil screen sheets.
Remove output shaft (1) and lower oil screen sheet (2) from housing.
FIGURE 75
FIGURE 76
FIGURE 77
Remove all rectangular rings (1) from the clutches and all Orings (2) from the oil tubes.
Use lifting device to bring housing rear part (1) into contact position with housing front part (2) again.
(S) Eye bolt M20 0636 804 003
(S) Eye nut M12 0664 462 774
Due to the installation conditions, the removal of single clutches without using the special tool is not possible. Risk of injury.
Fix all clutches by means of handle (1).
(S) Handle 5870 260 010
Separate housing rear part incl. clutches from housing front part by means of the lifting device and attach it to the assembly truck.
Loosen cylindrical screws of oil tubes (1) in the housing front part and remove them.
NOTE: The suction tube (2) and the lubrication lines
(3) are rolled in and are highly difficult to remove. In case of damage, use of the appropriate ZF special tool is imperative for fitting or replacing these components.
(S) Suction tube 0501 210 712
(S) Rolling tool 5870 600 003
Remove bearing outer rings (arrows) from the housing front part.
NOTE: If, contrary to the ZF recommendation, the tapered roller bearings of clutches, input and output are not replaced, it is imperative to ensure the previous pairing (bearing outer ring/ bearing inner ring).
Bearing outer ring and bearing inner ring must be marked.
Lift the clutches out of the housing in numerical order as described in the legend.
Remove bearing outer rings (arrows) from the housing rear part.
NOTE: If, contrary to the ZF recommendation, the tapered roller bearings of clutches, input and output are not replaced, it is imperative to ensure the previous pairing (bearing outer ring/ bearing inner ring).
Bearing outer ring and bearing inner ring must be marked.
…