Posted on

JCB Fastrac 8280, 8310 Factory Service & Shop Manual


Pages from 9813-0350 – JCB Fastrac 8280, 8310 Service Manual
Complete workshop & service manual with electrical wiring diagrams for JCB Fastrac 8280, 8310. It’s the same service manual used by dealers that guaranteed to be fully functional and intact without any missing page.

This JCB Fastrac 8280, 8310 service & repair manual (including maintenance, overhaul, disassembling & assembling, adjustment, tune-up, operation, inspecting, diagnostic & troubleshooting…) is divided into different sections. Each section covers a specific component or system with detailed illustrations. A table of contents is placed at the beginning of each section. Pages are easily found by category, and each page is expandable for great detail. The printer-ready PDF documents work like a charm on all kinds of devices.

9813-0350 – JCB Fastrac 8280, 8310 Service Manual.pdf

EXCERPT:
Service Manual
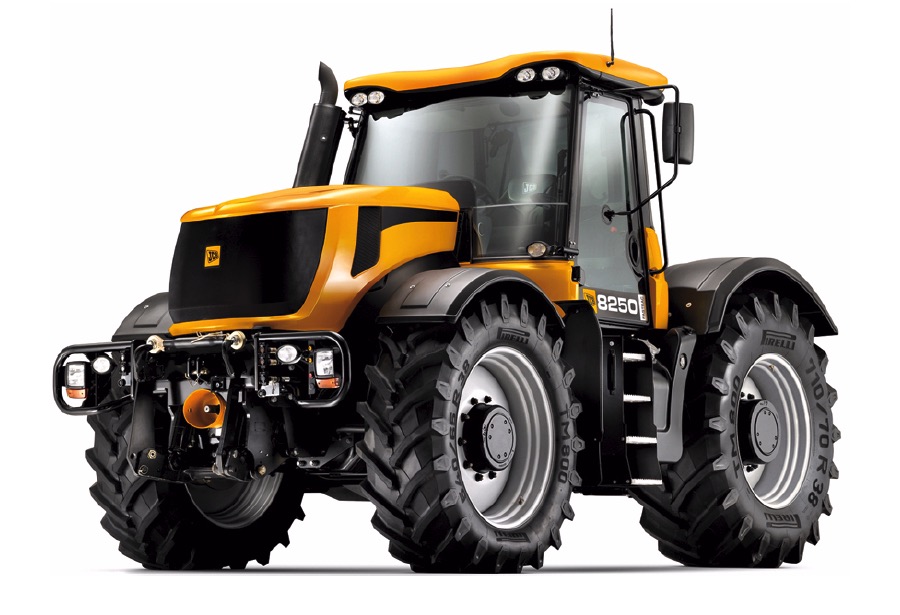
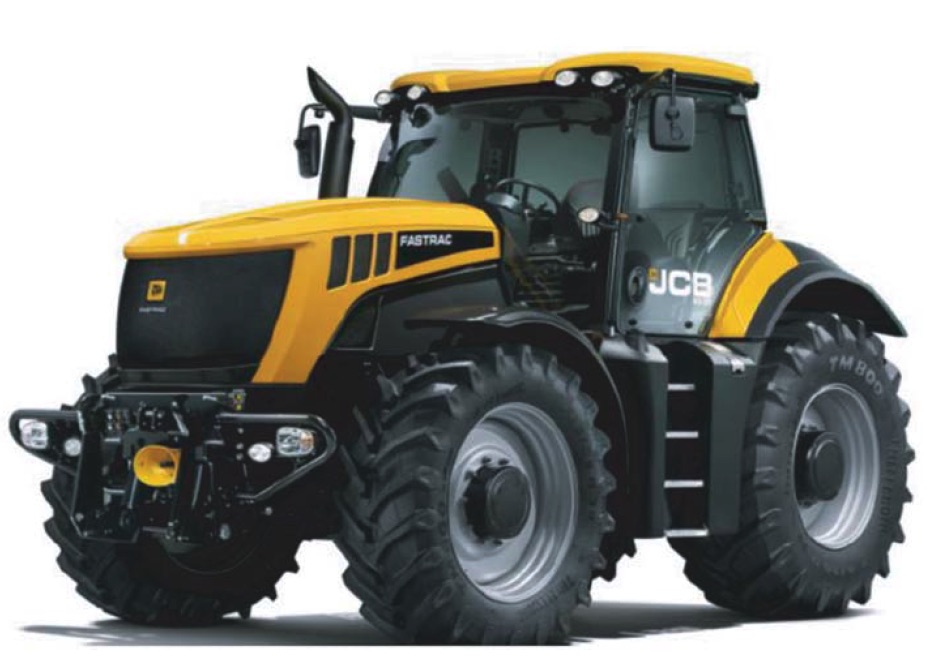
Fastrac 8280 and 8310
Section 1 – General Information
Section 2 – Care and Safety
Section 3 – Maintenance
Section A – Optional Equipment
Section B – Body and Framework
Section C – Electrics
Section E – Hydraulics
Section F – Transmission
Section G – Brakes
Section H – Steering
Section S – Suspension
Section T – Engine

When Removing
Note: Before assuming that the steer box is the cause of a steering problem, ensure that all other steering system faults have been rectified.
To gain access to the top of the steer box, remove the cooling pack including radiator and coolers.
Note: To avoid having to exhaust the air conditioning refrigerant, do not disturb the condensor connections.
Simply remove the condensor from its mountings and fold back the hoses to put the condensor out of the way.
The numerical sequence shown on the illustration is intended as a guide to removal.K Fig 10. ( T H-15)
For replacement the sequence should be reversed.
!MWARNING

Posted on

JCB Fastrac 8250 Factory Service & Shop Manual


Pages from 9803-8040 – JCB Fastrac 8250 Service Manual

MJCB8025OPEK.zip
Price: $29.99 USD

Complete workshop & service manual with electrical wiring diagrams for JCB Fastrac 8250. It’s the same service manual used by dealers that guaranteed to be fully functional and intact without any missing page.

This JCB Fastrac 8250 service & repair manual (including maintenance, overhaul, disassembling & assembling, adjustment, tune-up, operation, inspecting, diagnostic & troubleshooting…) is divided into different sections. Each section covers a specific component or system with detailed illustrations. A table of contents is placed at the beginning of each section. Pages are easily found by category, and each page is expandable for great detail. The printer-ready PDF documents work like a charm on all kinds of devices.

9803-8040 – JCB Fastrac 8250 Service Manual.pdf
9803-8070 – JCB Fastrac 8250 Service Manual.pdf

EXCERPT:
Service Manual
JCB 8250 Fastrac
Section 1 – General Information
Section 2 – Care and Safety
Section 3 – Maintenance
Section A – Optional Equipment
Section B – Body and Framework
Section C – Electrics
Section E – Hydraulics
Section F – Transmission
Section G – Brakes
Section H – Steering
Section S – Suspension
Section T – Engine

Non-Return Air Valve
Dismantling and Assembly
Important: Refer to Safety at the front of this section before proceeding further.
The numerical sequence shown on the illustration is intended as a guide to dismantling.
For assembly the sequence should be reversed.
When Dismantling
Note: A Service Kit should be obtained before starting this job. Ensure that the kit obtained is correct for the valve fitted. Items shown grouped as K are the only parts available and are obtainable only as a complete kit.
When Assembling
Use the components from the Service Kit during assembly.

Posted on

JCB Excavators 8080, 8085 Factory Service & Shop Manual


Pages from 9803-9330 – JCB Excavators 8085 Service Manual

MJCB80808085OPES.zip
Price: $29.99 USD

Complete workshop & service manual with electrical wiring diagrams for JCB Excavators 8080, 8085. It’s the same service manual used by dealers that guaranteed to be fully functional and intact without any missing page.

This JCB Excavators 8080, 8085 service & repair manual (including maintenance, overhaul, disassembling & assembling, adjustment, tune-up, operation, inspecting, diagnostic & troubleshooting…) is divided into different sections. Each section covers a specific component or system with detailed illustrations. A table of contents is placed at the beginning of each section. Pages are easily found by category, and each page is expandable for great detail. The printer-ready PDF documents work like a charm on all kinds of devices.

FILELIST:
9803-9330 – JCB Excavators 8080 Service Manaual.pdf
9803-9330 – JCB Excavators 8085 Service Manual.pdf

EXCERPT:
Service Manual
8080
General Information 1
Care & Safety 2
Routine Maintenance 3
Body and Framework B
Electrics C
Controls D
Hydraulics E
Transmission F
Track and Running Gear J
Engine K

Service Manual
JCB 8085
Section 1 – General Information
Section 2 – Care & Safety
Section 3 – Routine Maintenance
Section B – Body & Framework
Section C – Electrics
Section E – Hydraulics
Section F – Transmission
Section J – Tracks
Section K – Engine

Service Procedures
Hydraulic Contamination
Hydraulic Fluid Quality
This machine uses a large volume of fluid in the hydraulic system for power transmission, equipment lubrication, rust prevention and sealing. According to a survey conducted by a pump manufacturer, seventy per cent of the causes of problems in hydraulic equipment were attributable to inadequate maintenance of the quality of the hydraulic fluid. Therefore, it is obvious that control of the quality of the hydraulic fluid helps prevent hydraulic equipment problems and greatly improves safety and reliability.
Furthermore from an economic angle it extends the life of the hydraulic fluid if quality is maintained.
Effects of Contamination
Once inside the system, hydraulic circuit contaminants greatly effect the performance and life of hydraulic equipment. For example, contaminants in a hydraulic pump develop internal wear to cause internal leakage and hence lower discharges. Wear particles generated will circulate with the hydraulic fluid to cause further deterioration in the performance of this and other equipment. Contaminants also enter principal sliding sections of the equipment causing temporary malfunction, scuffing, sticking and leakage and can lead to major problems.The main contaminants can be classified as follows:

Posted on

JCB Excavators 8061 Factory Service & Shop Manual


Pages from 9813-1750 – JCB Excavators 8061 Service Manaual

MJCB8061OPES.zip
Price: $29.99 USD

Complete workshop & service manual with electrical wiring diagrams for JCB Excavators 8061. It’s the same service manual used by dealers that guaranteed to be fully functional and intact without any missing page.

This JCB Excavators 8061 service & repair manual (including maintenance, overhaul, disassembling & assembling, adjustment, tune-up, operation, inspecting, diagnostic & troubleshooting…) is divided into different sections. Each section covers a specific component or system with detailed illustrations. A table of contents is placed at the beginning of each section. Pages are easily found by category, and each page is expandable for great detail. The printer-ready PDF documents work like a charm on all kinds of devices.

FILELIST:
9813-1750 – JCB Excavators 8061 Service Manaual.pdf

EXCERPT:
Service Manual
8061
Section 1 – General Information
Section 2 – Care and Safety
Section 3 – Maintenance
Section A – Attachments
Section B – Body and Framework
Section C – Electrics
Section D – Controls
Section E – Hydraulics
Section F – Gearboxes
Section J – Track and Running Gear
Section K – Engine

Health and Safety
Lubricants
Introduction
It is most important that you read and understand this information and the publications referred to. Make sure all your colleagues who are concerned with lubricants read it too.
Hygiene
JCB lubricants are not a health risk when used properly for their intended purposes.
However, excessive or prolonged skin contact can remove the natural fats from your skin, causing dryness and irritation.
Low viscosity oils are more likely to do this, so take special care when handling used oils, which might be diluted with fuel contamination.
Whenever you are handling oil products you should maintain good standards of care and personal and plant hygiene. For details of these precautions we advise you to read the relevant publications issued by your local health authority, plus the following.
Storage
Always keep lubricants out of the reach of children.
Never store lubricants in open or unlabelled containers.
Waste Disposal

Posted on

JCB Excavators 8056 Factory Service & Shop Manual


Pages from 9803-9296 – JCB Excavators 8056 Service Manaual

MJCB8056OPES.zip
Price: $29.99 USD

Complete workshop & service manual with electrical wiring diagrams for JCB Excavators 8056. It’s the same service manual used by dealers that guaranteed to be fully functional and intact without any missing page.

This JCB Excavators 8056 service & repair manual (including maintenance, overhaul, disassembling & assembling, adjustment, tune-up, operation, inspecting, diagnostic & troubleshooting…) is divided into different sections. Each section covers a specific component or system with detailed illustrations. A table of contents is placed at the beginning of each section. Pages are easily found by category, and each page is expandable for great detail. The printer-ready PDF documents work like a charm on all kinds of devices.

FILELIST:
9803-9296 – JCB Excavators 8056 Service Manaual.pdf

EXCERPT:
Service Manual
8056
Section 1 – General Information
Section 2 – Care and Safety
Section 3 – Maintenance
Section A – Attachments
Section B – Body and Framework
Section C – Electrics
Section D – Controls
Section E – Hydraulics
Section F – Gearboxes
Section J – Track and Running Gear
Section K – Engine

Alternator
Removal and Replacement
Removal
1 Raise the engine cover.
2 Disconnect the battery. Disconnect the earth lead first.
Fig 24.
3 Loosen the alternator mounting bolt A located underneath the alternator and B and on the adjusting bracket. Remove the fan belt C from the alternator drive pulley.
4 Disconnect the electrical connections from the alternator.
5 Support the alternator and remove the mounting bolts.
6 Remove the alternator.
Replacement
1 Put the alternator in position and install the mounting bolts, Do not tighten the bolts.
2 Put the fan belt on to the pulley.
3 Depress the fan belt C at the centre between the alternator pulley and the crankshaft pulley with a finger force of 49Nm, (11lbf – 5kgf) approx. The belt deflection should be 10 mm (0.4in) approx.
4 Connect the electrical connections.
5 Reconnect the battery.
Important: Connect the earth lead last.
B 6 Close the engine cover.