Posted on

Takeuchi Compact Excavator TB108 Factory Service & Shop Manual


Download Link

INSTANT DOWNLOAD (add to cart)

Complete workshop & service manual with electrical wiring diagrams for Takeuchi Compact Excavator TB108. It’s the same service manual used by dealers that guaranteed to be fully functional and intact without any missing page.

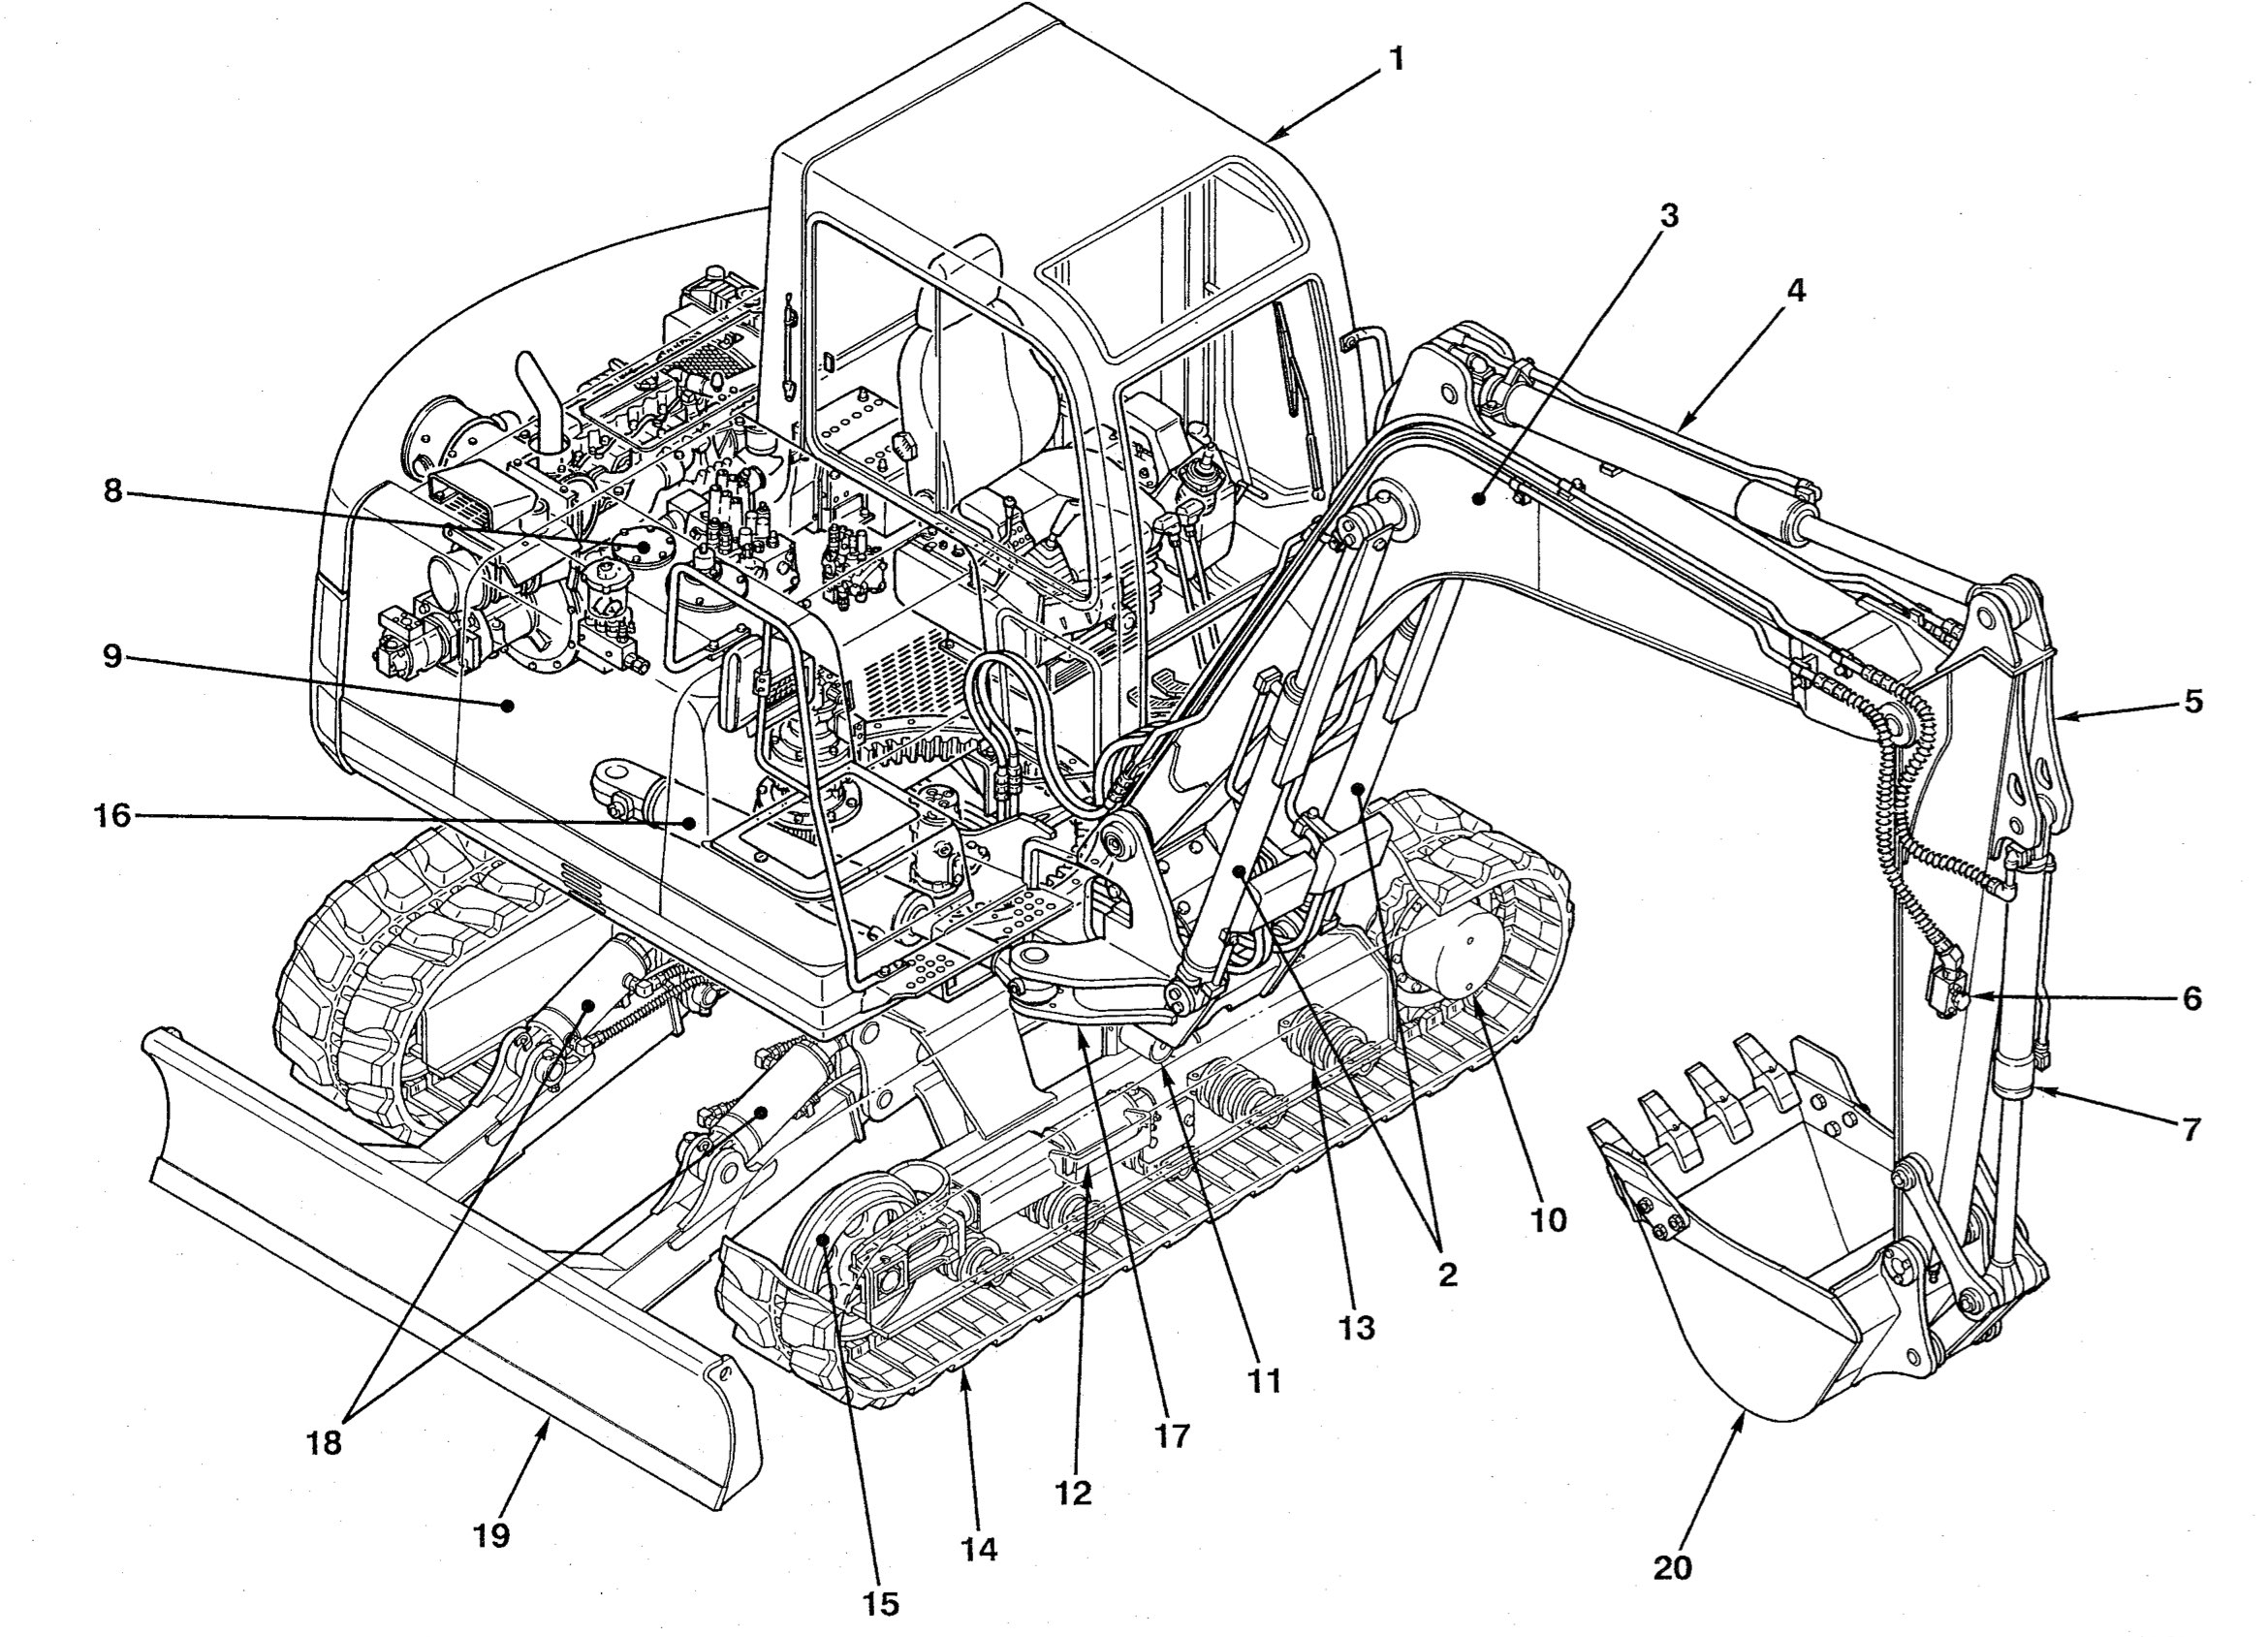
This Takeuchi Compact Excavator TB108 service & repair manual (including maintenance, overhaul, disassembling & assembling, adjustment, tune-up, operation, inspecting, diagnostic & troubleshooting…) is divided into different sections. Each section covers a specific component or system with detailed illustrations. A table of contents is placed at the beginning of each section. Pages are easily found by category, and each page is expandable for great detail. The printer-ready PDF documents work like a charm on all kinds of devices.

355 pages, bookmarked, Searchable, Printable, high quality PDF
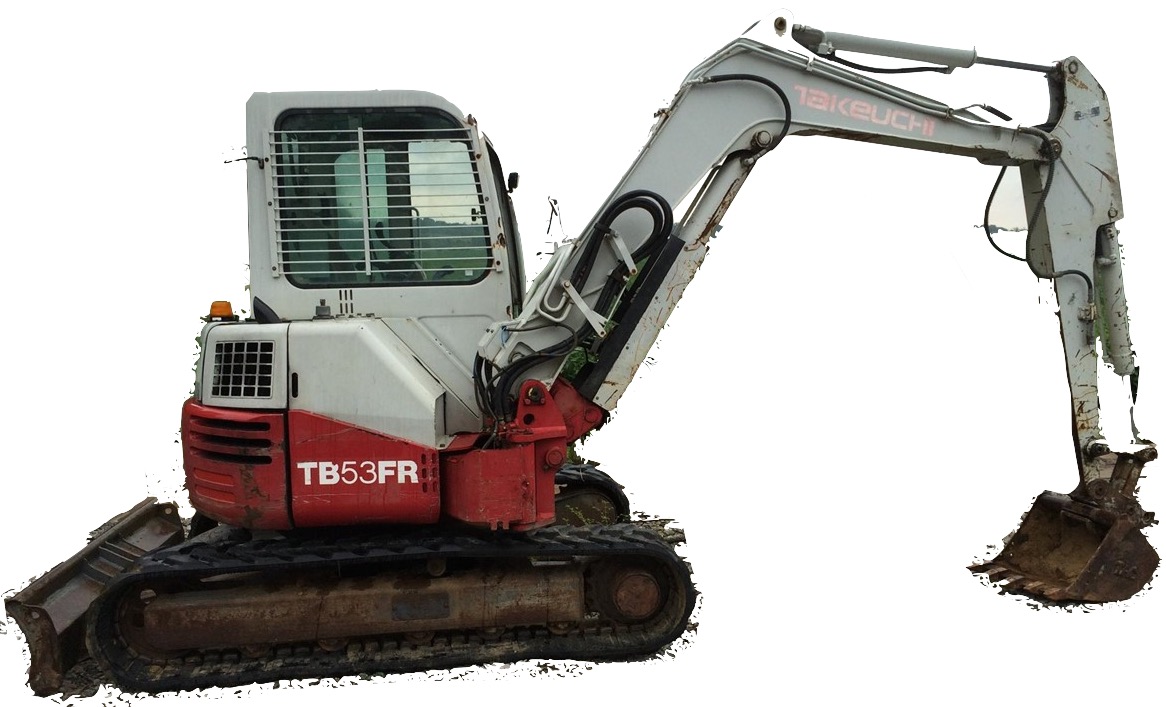
Takeuchi Compact Excavator TB108 Workshop Manual; 355 pages; Serial Number: 10820001~.

EXCERPT:
SLEW MOTOR – HYDRAULIC UNITS
Assembly
Hydraulic Motor
1. Install the ball bearing in the bearing housing by using a press or plastic hammer.
2. Turn the bearing housing upside down and install the ball bearing by using a press or plastic hammer.
3. Install the X-ring in the bearing housing.
4. Insert the shaft into the bearing housing.
• Use a supporting tool and insert the shaft using a press.
5. Fit the retaining ring to the shaft. • Fix the flange to the vise.
6. Fit the shaft face seal (10) to the wear plate (9).
7. Mount the drive gear on the bearing housing.
8. Fit the O-ring to the bearing housing.
9. Mount the wear plate on the bearing housing.
10. Fit the large and small O-rings to the wear plate, and install the geroller.
• Align the drain hole of the wear plate with that of the geroller.

Posted on

Takeuchi Compact Excavator TB80FR Factory Service & Shop Manual


Download Link

INSTANT DOWNLOAD (add to cart)

Complete workshop & service manual with electrical wiring diagrams for Takeuchi Compact Excavator TB80FR. It’s the same service manual used by dealers that guaranteed to be fully functional and intact without any missing page.

This Takeuchi Compact Excavator TB80FR service & repair manual (including maintenance, overhaul, disassembling & assembling, adjustment, tune-up, operation, inspecting, diagnostic & troubleshooting…) is divided into different sections. Each section covers a specific component or system with detailed illustrations. A table of contents is placed at the beginning of each section. Pages are easily found by category, and each page is expandable for great detail. The printer-ready PDF documents work like a charm on all kinds of devices.

1,036 pages, bookmarked, Searchable, Printable, high quality PDF
Takeuchi Compact Excavator TB80FR Workshop Manual; 516 pages; Serial Number TB80FR: 17810006~.
Takeuchi Compact Excavator TB80FR Workshop Manual; 520 pages; Serial Number TB80FR: 17820001~.

EXCERPT:
I . GENERAL
II . SPECIFICATIONS
III. MACHINE CONFIGURATION IV. HYDRAULIC UNITS
V . TROUBLESHOOTING VI. ENGINE

INTERFERENCE PREVENTION SYSTEM
MACHINE CONFIGURATION

OPERATION
The interference prevention system detects the boom position by the cams (1), (2) and (3) and the boom switches A, B and C; and detects the offset arm position by the angle (4) and the offset switches B and A. When the attachment enters the interference area, the solenoids C, 1, 2 and 3 of the solenoid valve are switched by the detected signal to control the spools of the boom section (5) and the offset section (6) of the control valve. Then, the boom cylinder (7) raise is decelerated and stopped, and the left offset of the offset cylinder (8) is stopped, thus preventing interference between the attachment and the cab.
• Structure and operations of the solenoid valve “IV. Hydraulic Unit, Solenoid Valve”
• Switches and solenoids and their functions

Posted on

Takeuchi Compact Excavator TB070, TB070W Factory Service & Shop Manual


Download Link

INSTANT DOWNLOAD (add to cart)


Complete workshop & service manual with electrical wiring diagrams for Takeuchi Compact Excavator TB070, TB070W. It’s the same service manual used by dealers that guaranteed to be fully functional and intact without any missing page.

This Takeuchi Compact Excavator TB070, TB070W service & repair manual (including maintenance, overhaul, disassembling & assembling, adjustment, tune-up, operation, inspecting, diagnostic & troubleshooting…) is divided into different sections. Each section covers a specific component or system with detailed illustrations. A table of contents is placed at the beginning of each section. Pages are easily found by category, and each page is expandable for great detail. The printer-ready PDF documents work like a charm on all kinds of devices.

950+ pages, bookmarked, Searchable, Printable, high quality PDF
Takeuchi Compact Excavator TB070W Workshop Manual; 488 pages; Serial Number TB070W: 17n00004~.
Takeuchi Compact Excavator TB070 Workshop Manual; 456 pages; Serial Number TB070: 1703004~.

EXCERPT:
CONTROL VALVE – HYDRAULIC UNITS
Slew Flow Control Function
This function switches the quantity of hydraulic oil flowing to the slew motor to change the slewing speed between normal and slow. It also keeps the flow to the motor steady even when the supply pressure changes during slow speed slewing.
1. Normal speed mode
When there is no pilot pressure at port FC, spool (1), push rod (2) and piston (3) are positioned at the left side by spring (4). In addition, pre-choke pressure Pl is led to the left side of spool (1) through pilot hole (5) and post-choke pressure P2 is led to the right side of spool (1) through pilot hole (6). At this time, all the oil supplied from port P3 flows to the slew motor.
2. Slow speed mode
When the pilot pressure reaches port FC, piston (3) moves to the right side, push rod (2) and spool (1) also move, and the difference between pre-choke pressure Pl and post-choke pressure P2 at spool (1) works to maintain a constant pressure (PC). Part of the hydraulic oil supplied from port P3 passes through the control orifice (7) and flows to the slew motor, and the remaining oil flows to tank port T2. The pressure at port P3 (PS) at this time increases, and when the flow increases, the difference in pressure between Pl and P2 increases, so spool (1) moves to the right side, the control orifice (7) is choked, the pressure difference [Pl – P2] is kept at PC, and the flow to the slew motor does not increase.
Inversely, when the pressure (PS) at port P3 decreases, the difference in pressure between Pl and P2 decreases, so spool (1) is moved to the left side by spring (4) until the pressure difference reaches PC and orifice (7) opens, so the flow to the slew motor does not decrease.
In this way, only a specific quantity of the oil supplied flows to the slew motor even when the supply pressure changes, the remaining being release to tank port T2.
This makes it possible to slew in the slow speed mode with a slow flow.

Posted on

Takeuchi Compact Excavator TB68 Factory Service & Shop Manual


Download Link

INSTANT DOWNLOAD (add to cart)

Complete workshop & service manual with electrical wiring diagrams for Takeuchi Compact Excavator TB68. It’s the same service manual used by dealers that guaranteed to be fully functional and intact without any missing page.

This Takeuchi Compact Excavator TB68 service & repair manual (including maintenance, overhaul, disassembling & assembling, adjustment, tune-up, operation, inspecting, diagnostic & troubleshooting…) is divided into different sections. Each section covers a specific component or system with detailed illustrations. A table of contents is placed at the beginning of each section. Pages are easily found by category, and each page is expandable for great detail. The printer-ready PDF documents work like a charm on all kinds of devices.

208 pages, bookmarked, Searchable, Printable, high quality PDF
Takeuchi Compact Excavator TB68 Workshop Manual; 208 pages

EXCERPT:
MANUAL OVERVIEW
This manual is classified in the following series, and issued for each machine model.
I. GENERAL
II. SPEICIFICATIONS
III. DISASSEMBLY, REASSEMBLY
IV. HYDRAULIC UNITS
V. TROUBLESHOOTING

DISASSEMBLY, REASSEMBLY
Hydraulic Oil Tank Installation
1. Hoses which are tightened with clamps should have the oil wiped off when tightened.
2. Connect the safety lever control cable.
• With the lever in the lowered position, attach control cable to the relief and unload valve, and adjust the cable so that a stroke of spool can be 6 mm.

Posted on

Takeuchi Compact Excavator TB53FR Factory Service & Shop Manual


Download Link

INSTANT DOWNLOAD (add to cart)


Complete workshop & service manual with electrical wiring diagrams for Takeuchi Compact Excavator TB53FR. It’s the same service manual used by dealers that guaranteed to be fully functional and intact without any missing page.

This Takeuchi Compact Excavator TB53FR service & repair manual (including maintenance, overhaul, disassembling & assembling, adjustment, tune-up, operation, inspecting, diagnostic & troubleshooting…) is divided into different sections. Each section covers a specific component or system with detailed illustrations. A table of contents is placed at the beginning of each section. Pages are easily found by category, and each page is expandable for great detail. The printer-ready PDF documents work like a charm on all kinds of devices.

447 pages, bookmarked, Searchable, Printable, high quality PDF
Takeuchi Compact Excavator TB53FR Workshop Manual; 447 pages; Serial No. 15810005~

EXCERPT:
INDEX
I . GENERAL
II . SPECIFICATIONS
III. MACHINE CONFIGURATION IV. HYDRAULIC UNITS
V . TROUBLESHOOTING VI. ENGINE

MACHINE CONFIGURATION
HYDRAULIC SYSTEM
Filling with Hydraulic Oil
1. Fill the tank with the specified amount of hydraulic oil through the filler inlet.
2. Bleed the air from the hydraulic pump. “Bleeding the air”
3. Run the engine for 2~3minutes at low speed.
4. Retract the arm and bucket cylinders fully, lower the boom and lower the bucket to the ground.
5. Lower the dozer blade to the ground.
6. Check if the oil level is proper using a level gauge.
Bleeding the Air
Bleed the air after replacing the hydraulic oil or reassembling hydraulic devices or hoses.
1. Remove the vent plug (7), on the hydraulic pump,
bleed the air from the housing, and tighten plug (7) once hydraulic oil begins to come out.
• Be sure to stop the engine.